Custom GameCube to USB Cable

Custom GameCube to USB Cable

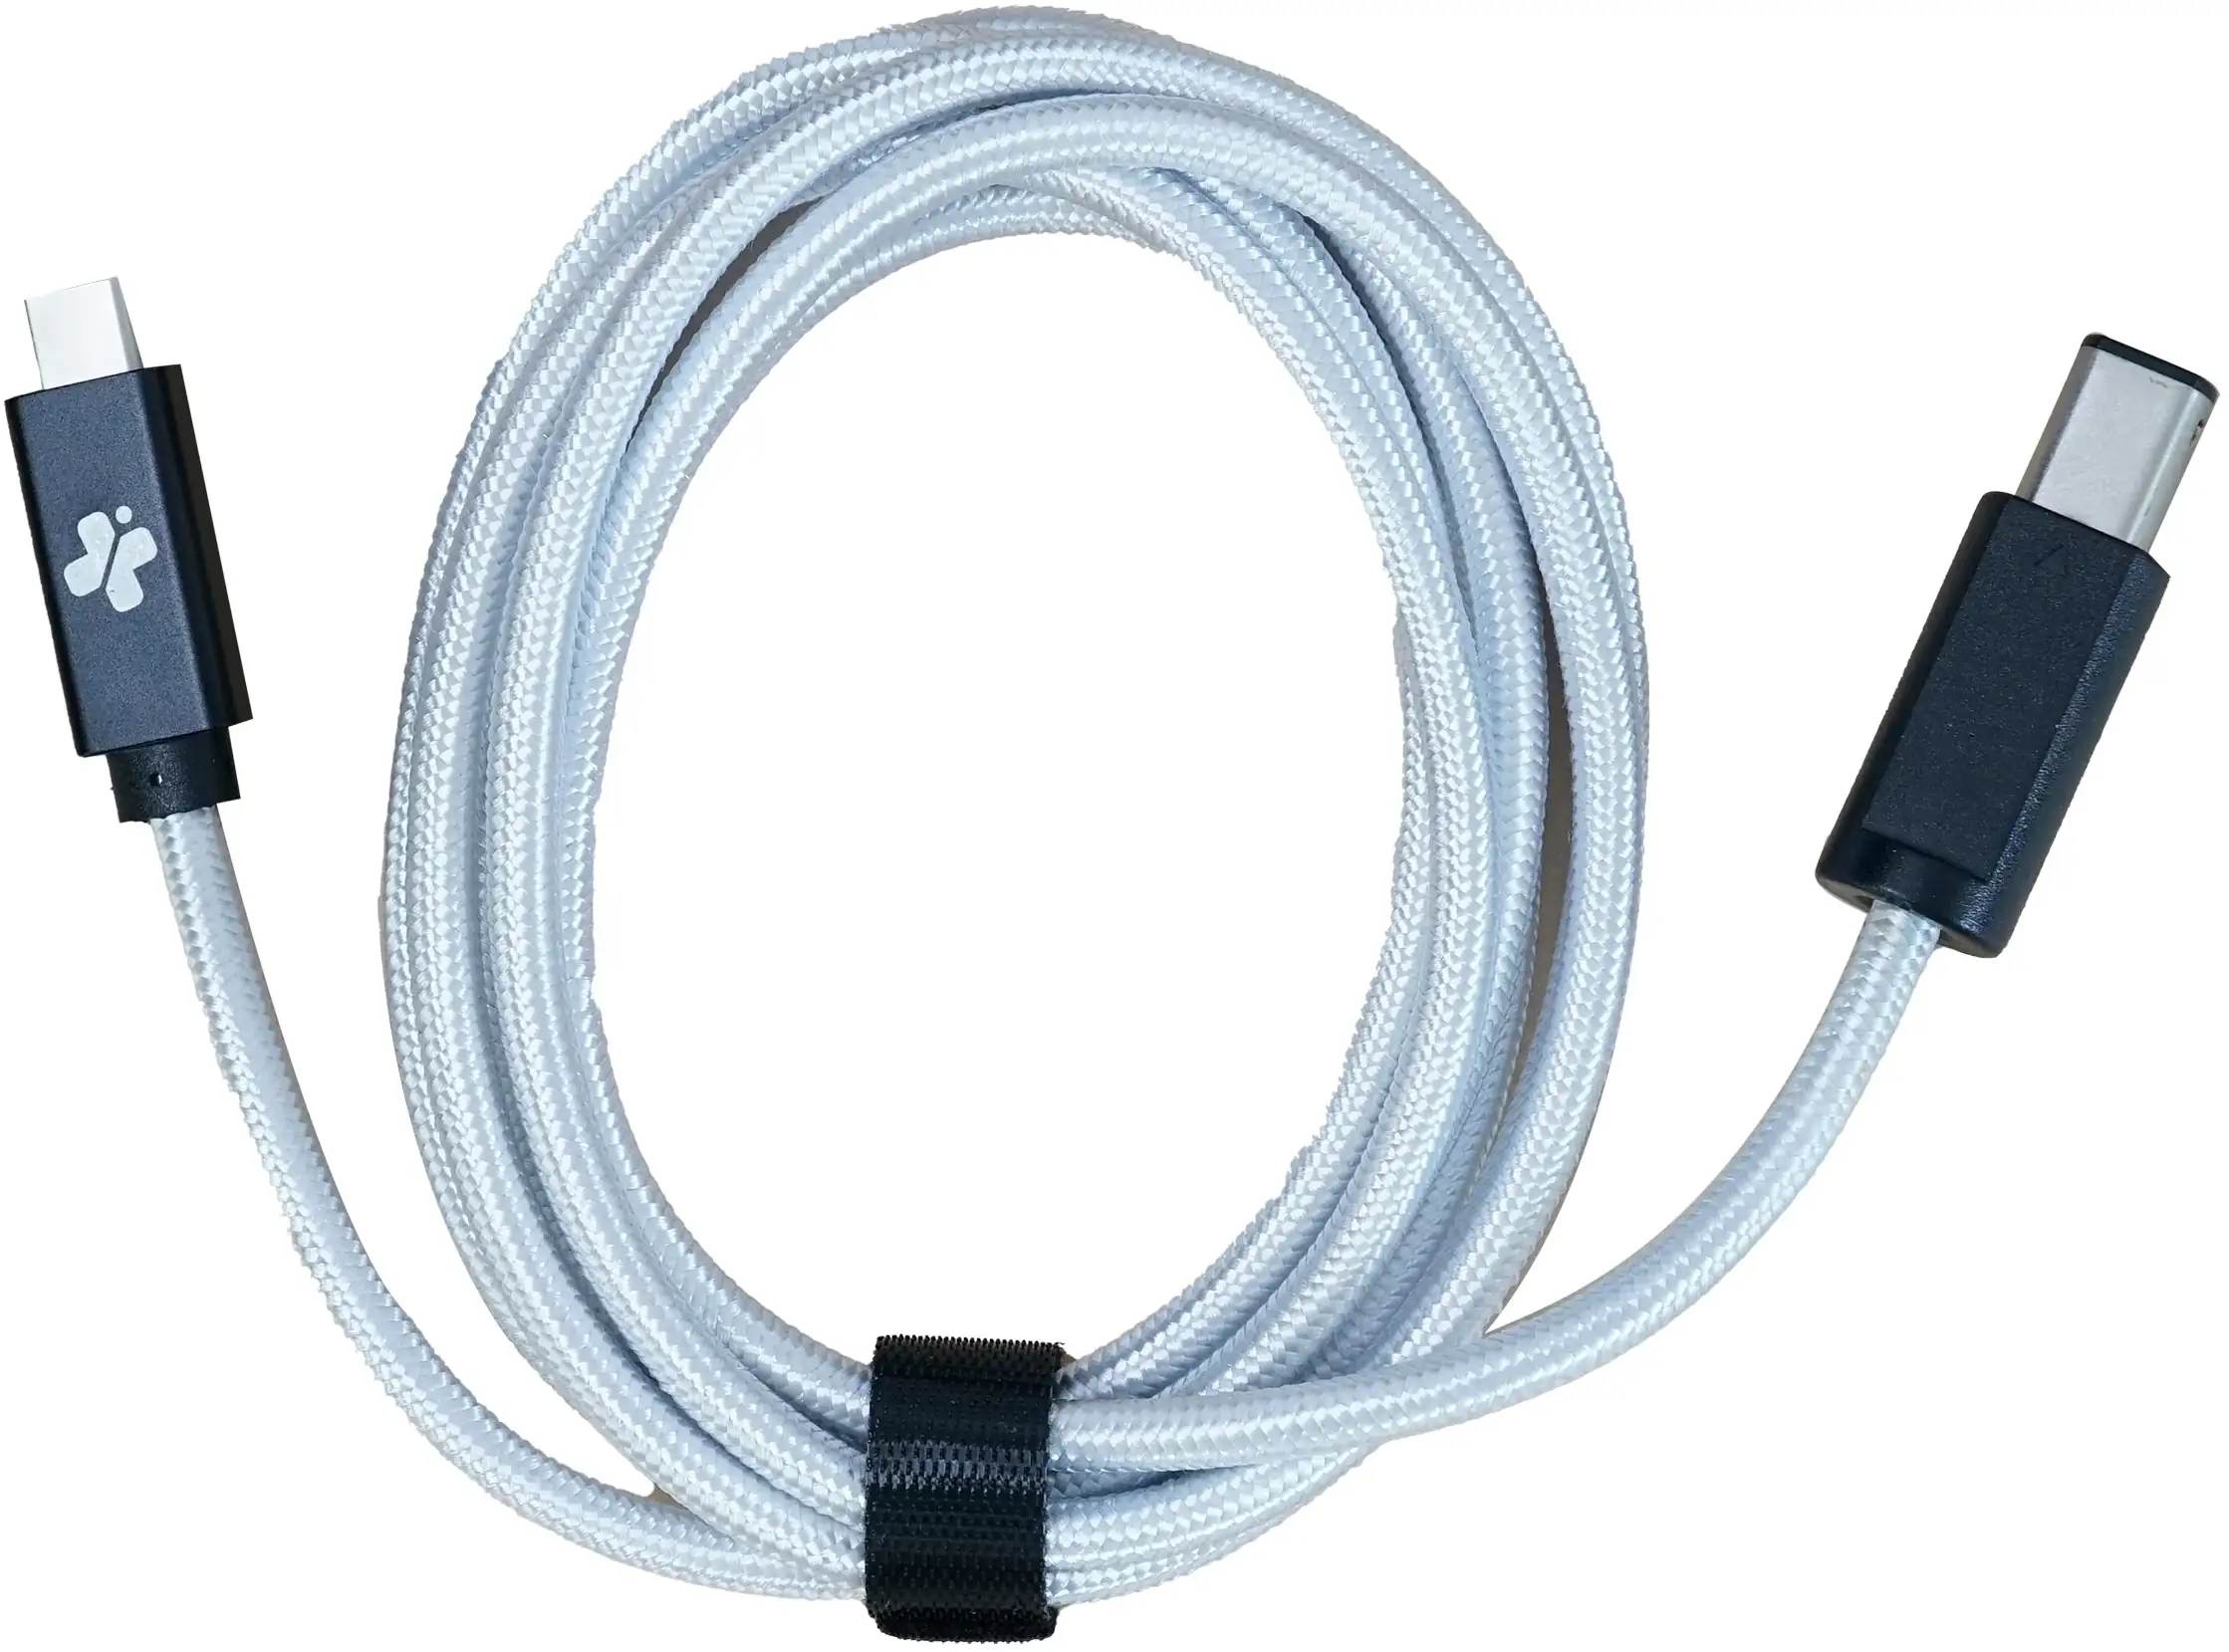
This is a blog entry that will describe how to create your own USB-C to Gamecube cables, compatible with Handheld Legend's ProGCC kit, GCU controller, JunkFoodArcade, Frame1 and B0XX controllers.

Equipment

  • 28 AWG 5 Core Wire w/ Gamecube Port
    • Alternatively, use old Nintendo Gamecube cables.
    • Third party cables and extensions are also usable, but they have dubious quality.

  • 12 Pin USB-C Male Header with Port and Housing

  • Hot glue or electrical tape.

  • metal ferrule (3/16" OD, 1/4" Length),

  • heat shrink tubing

Pinouts

Gamecube End

Use a multimeter to test for continuity between the points on the Gamecube port and the wires attached to it. There should be no more than 5 wires, and the grounds might be connected together (but more often should be separate to associate different voltage rails).

Looking into Gamecube Port end for pints

USB-C

Most USB-C headers have 6 pads exposed on one side, and the power and Ground pads are exposed on the other side.

USB-C Header pinout

The Gamecube port's Data pin goes to B11. The Gamecube port's 3.3v pin goes to A2.

Cable Steps

1.

Slide the USB-C housing on to the cable.

Slide housing onto cable, and strip cable and wires.

2.

Strip back the cable on the USB-C end.

  • Minimum stripped length is 10mm.

enter image description here

3.

Strip each individual wire on the cable.

  • Common ground or other redundant wires can be twisted together.

Strip wires in cable.

4.

Tin the stripped wire ends and the necessary pads on the USB-C port.

Tin wires and pads.

5.

Solder the wires to the port.

  • Be careful not to bridge any of the pads together.

Solder pints to connector.

6.

Slide the front piece of the USB-C housing over the front of the connector, then fill the back of the USB-C port with hot glue to secure connections.

  • Alternatively, use electrical tape.

Slide the housing over the front of the connector.

7.

Slide the other part of the housing along the cable up to the back of the USB-C port, to meet with the front part.

Slide the other housing part along the cable to the back of the connector.

8.

Secure the housing to the cable with a metal ferrule.

Metal ferrule mounts the housing to the cable.

9.

Add heat shrink over the connector.

  • Instead of a heat gun, use a hair dryer or a lighter to shrink the tubing.

Add heat shrink over connector.

Reference

A Useable Guide to the Alt Customs T60 Keyboard

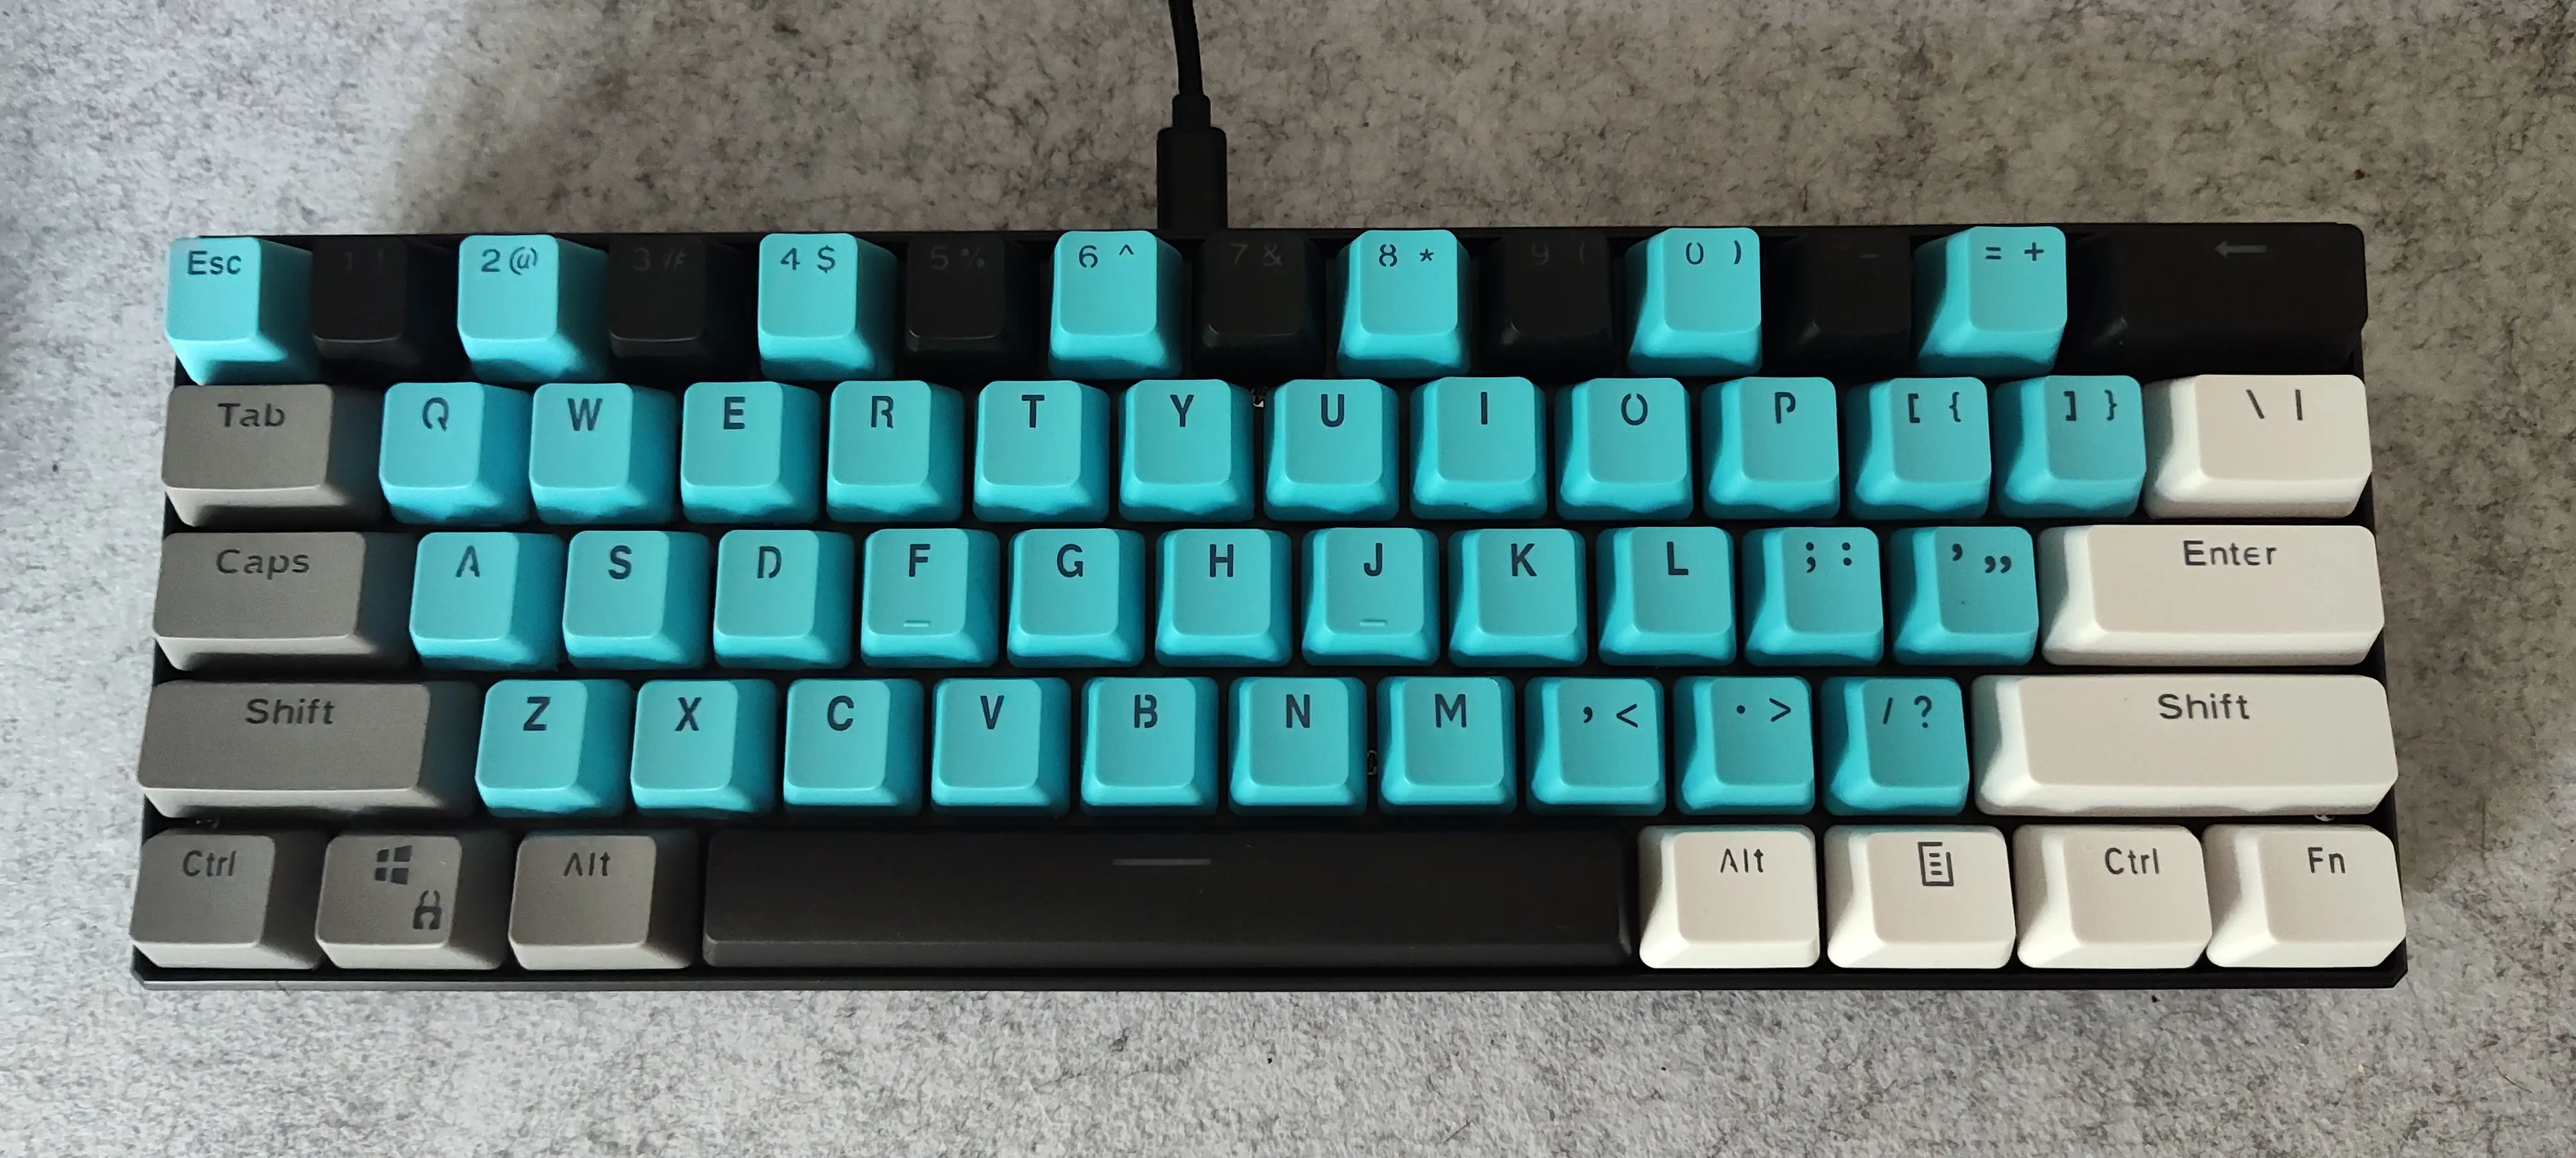
The official user-guide on altcustom's webiste is atrocious; it's a borked output of some generated translation. This guide will attempt to expand on altcustom's lack of documentation, but a proper webpage demonstrating the keyboard's functionality is overdue. Maybe for a future project...

AltCustoms T60

HELP! RESET MY KEYBOARD!

Simple. While plugged in, hold Fn (bottom-right key) and press Esc. The keyboard lights will flash, and all settings will return to factory default.

Missing Keys

Of course, because the keyboard is significantly smaller, not every key will fit. Most keys are visible, while some keys known in certain regions of a traditional keyboard are toggled active in place of visible keys, based on specific combinations of the Fn key (at the bottom-right) and a number from the top row or auxiliary key on the bottom.

~ | `

To my current knowledge, the backtick/tilde key (usually above Tab but below Esc) is missing and not mapped to any alternate layout. This makes this keyboard not very viable for programming.

Fortunately, we have Alt Codes:

Key Alt-Code Linux
~ Alt + 126 Ctrl+Shft+U + 7E
` Alt + 96 Ctrl+Shft+U + 60

Functions

  • Toggle
    • Swap number row for FN row
    • Swap right-side keys for missing auxilary functions
    • Swap bottom-right keys for Arrow Keys
    • Swap WASD for Arrow Keys
  • Lights
    • Different Lighting Modes
    • Change colors
    • Directional Flow of illumination
    • Speed of illumination
    • Only WASD illuminated
    • No Keys illuminated

How to Switch Functions

FN + ? Description
FN + 1 Toggle F1 - F12 Keys
FN + 2 Toggle Top-Right Keys
FN + 3 Toggle Bottom-Right Arrow Keys
FN + 4 Toggle WASD Arrow Keys
FN + 5 Light Mode: QWERT
FN + 6 Light Mode: QWER
FN + 7 <--> 10 Turn Light Off
FN + Menu Switch Light Mode
FN + Windows Toggle Lock Windows Key
FN + Ctrl Color Switch
FN + Alt Direction Switch
FN + O Decrease Speed
FN + P Increase Speed
FN + Esc Reset Keyboard

Fn + 1

Number Key
1 F1
2 F2
3 F3
4 F4
5 F5
6 F6
7 F7
8 F8
9 F9
10 F10
11 F11
12 F12

Fn + 2

Off On
[ Print Screen
] ???
K Insert
L Home
; Page Up
' Page Down
, Delete
. End

Fn + 3

Off On
/ ? Up Arrow
Right Alt Left Arrow
Menu Down Arrow
Right Ctrl Right Arrow

Fn + 4

Off On
W Up Arrow
A Left Arrow
S Down Arrow
D Right Arrow

Light Modes

Fn + 5

The following become illuminated:

- - - - -
2 - 4 - 6
Q W E R T
A S D F G
Shift - - C V
Ctrl - - - -

Fn + 6

The following become illuminated:

- - - -
2 - 4 6
Q W E R
A S D F

Colors

  • I owe a list

About Windows Lock

Lock the Windows key to prevent accidentally pressing it, useful for gameplay. The lock icon under the Windows logo will illuminate when the key is locked.