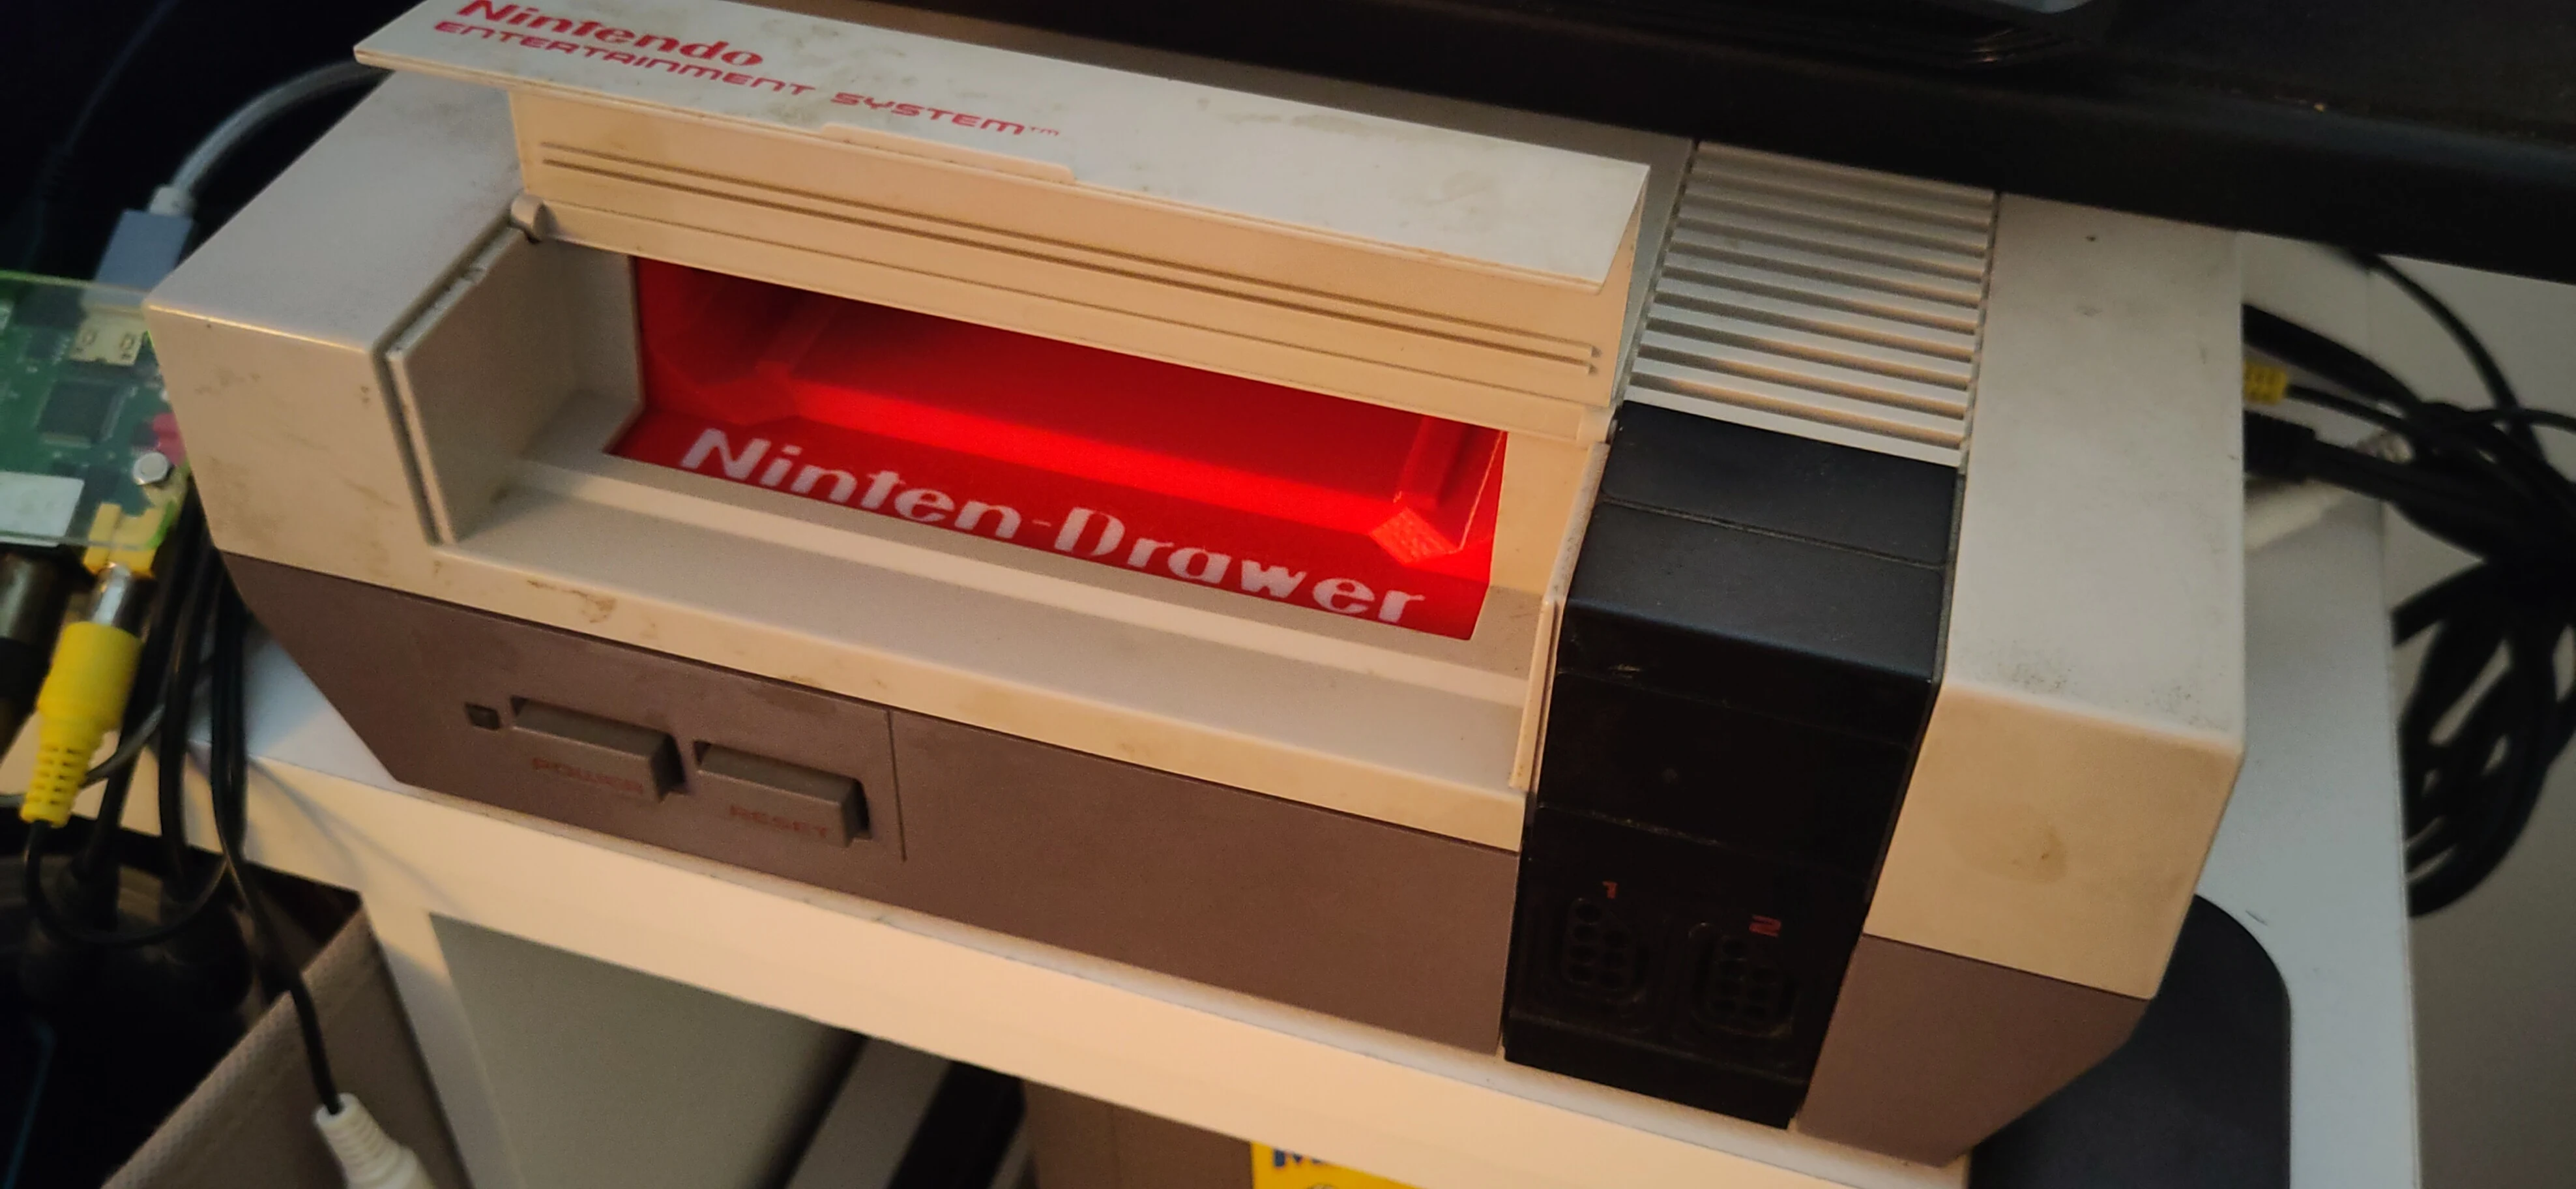
This is my step-to-step guide on how to upgrade a front-loading Nintendo Entertainment System (NES) with a Ninten-Drawer.
What is the Ninten-Drawer
The Ninten-Drawer is an over-engineered solution to the greatest fallacy of the legendary front-loading NES from 1985. It is a replacement slot mechanism for the cartridge to load into the console.
At the time of this blog entry, it can be purchased from RockerGaming website; some variants might be in other thrift or 3D-printing shops.
The original mechanism required that a cartridge was inserted in a loose drawer at an angle to the console's connector and then pressed down to align to fit. This loose connection has created significant ambiguity with malfunctions; when powering on the console and there's nothing but a colored screen or a flashing LED, it's hard to tell if a game is defective, the console is defective, or if it is simply not seated properly. Many, many times, this is simply the problem: a badly seated cartridge, with no affirmation on how secured it is, aside from repeated trial-and-error, removing and reinserting the cartridge.
Instead, the Ninten-Drawer requires that the user inserts the cartridge directly through the slot, much like the top-loading consoles which proceeded this version of the NES. A toggleable magnet system catches the cartridge as it enters the console and holds onto it tightly. The cartridge can then be removed by pulling from corner to corner until the magnets give up the connection.
The Ninten-Drawer vastly improves the cartridge-insertion step by providing a reliable and direct connection between the game and the console, and the magnet system gives the console a satisfying grip on the game cartridge ensuring that it has a snug fit with the console, preventing ambiguity on why games do not load when switching.
Overview
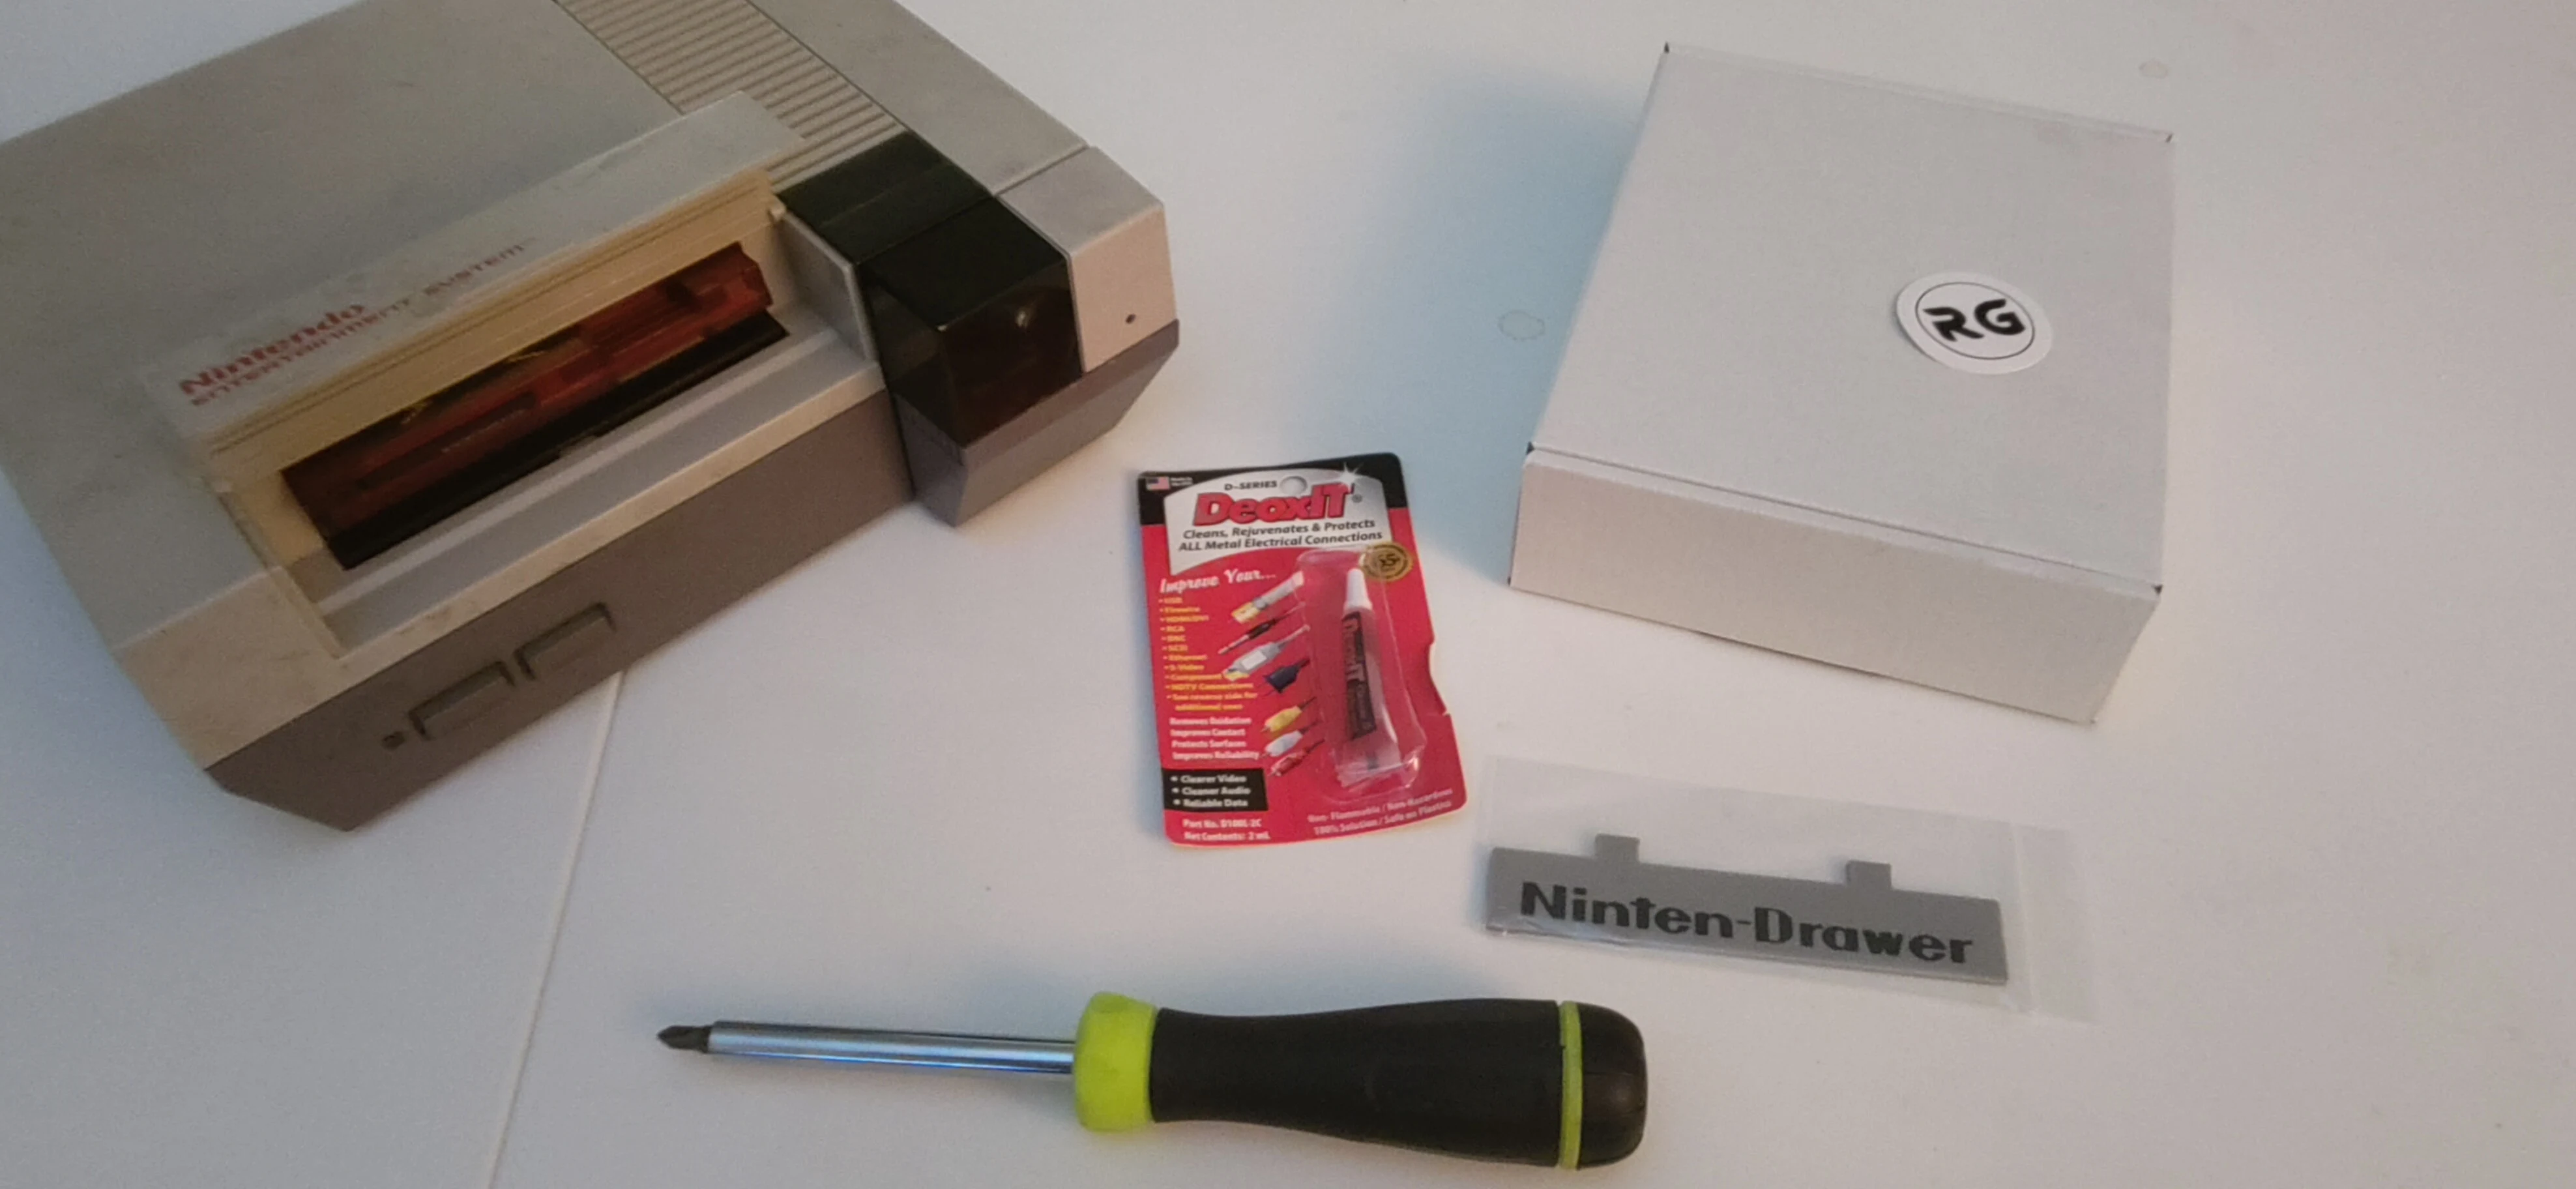
Steps
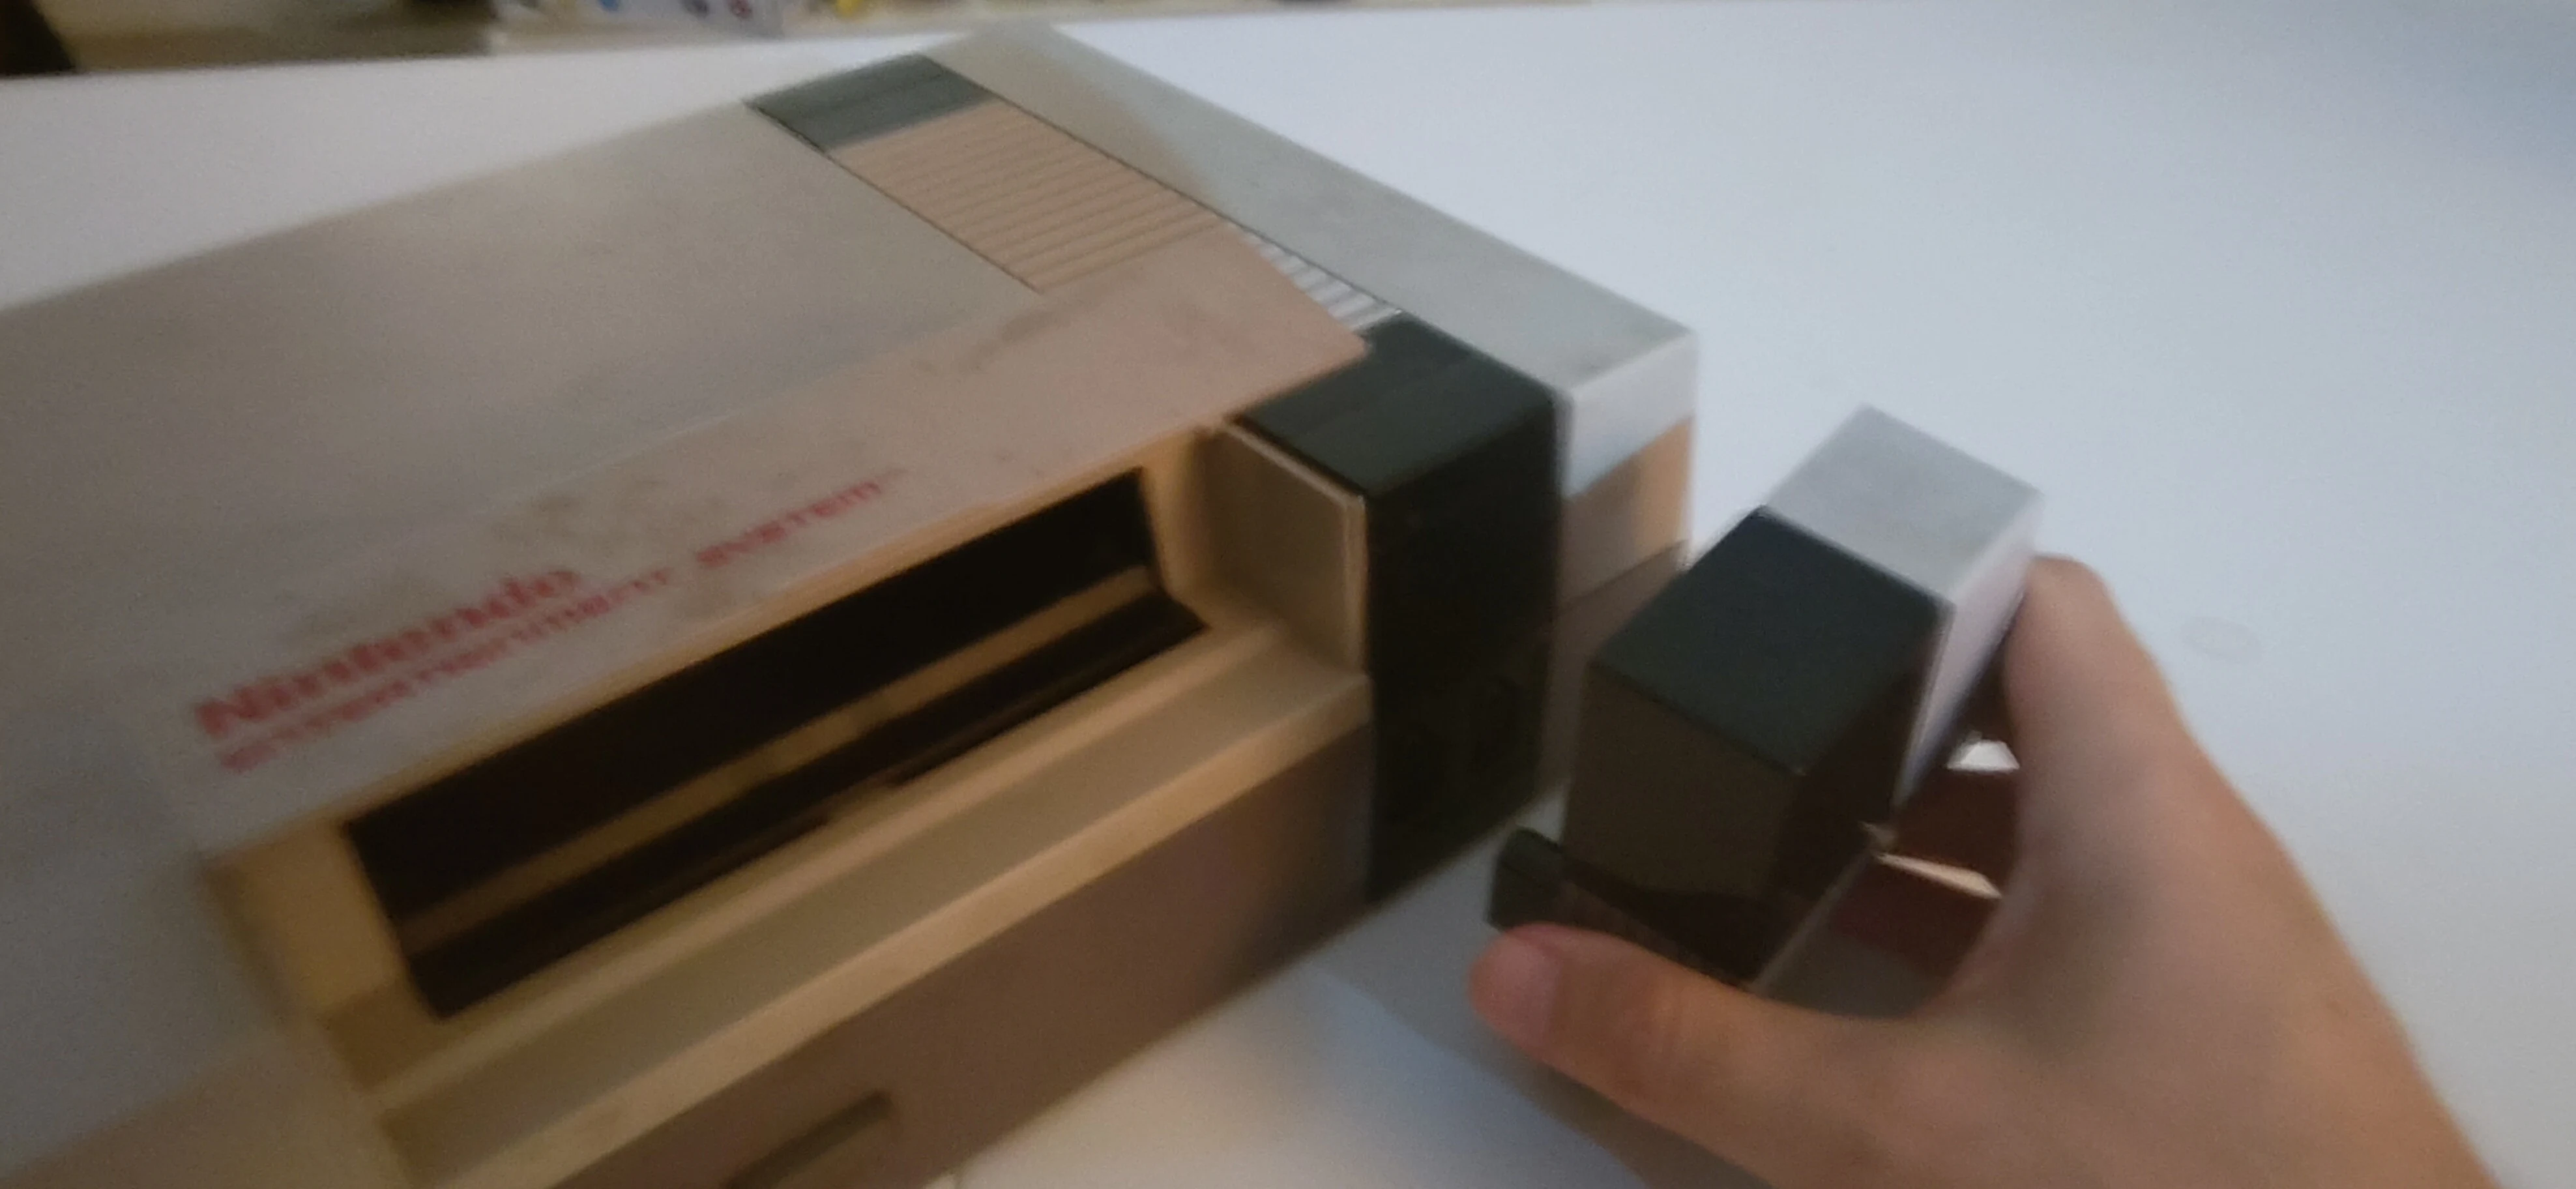
1. Remove the top cover (and any inserted game or attached controllers).
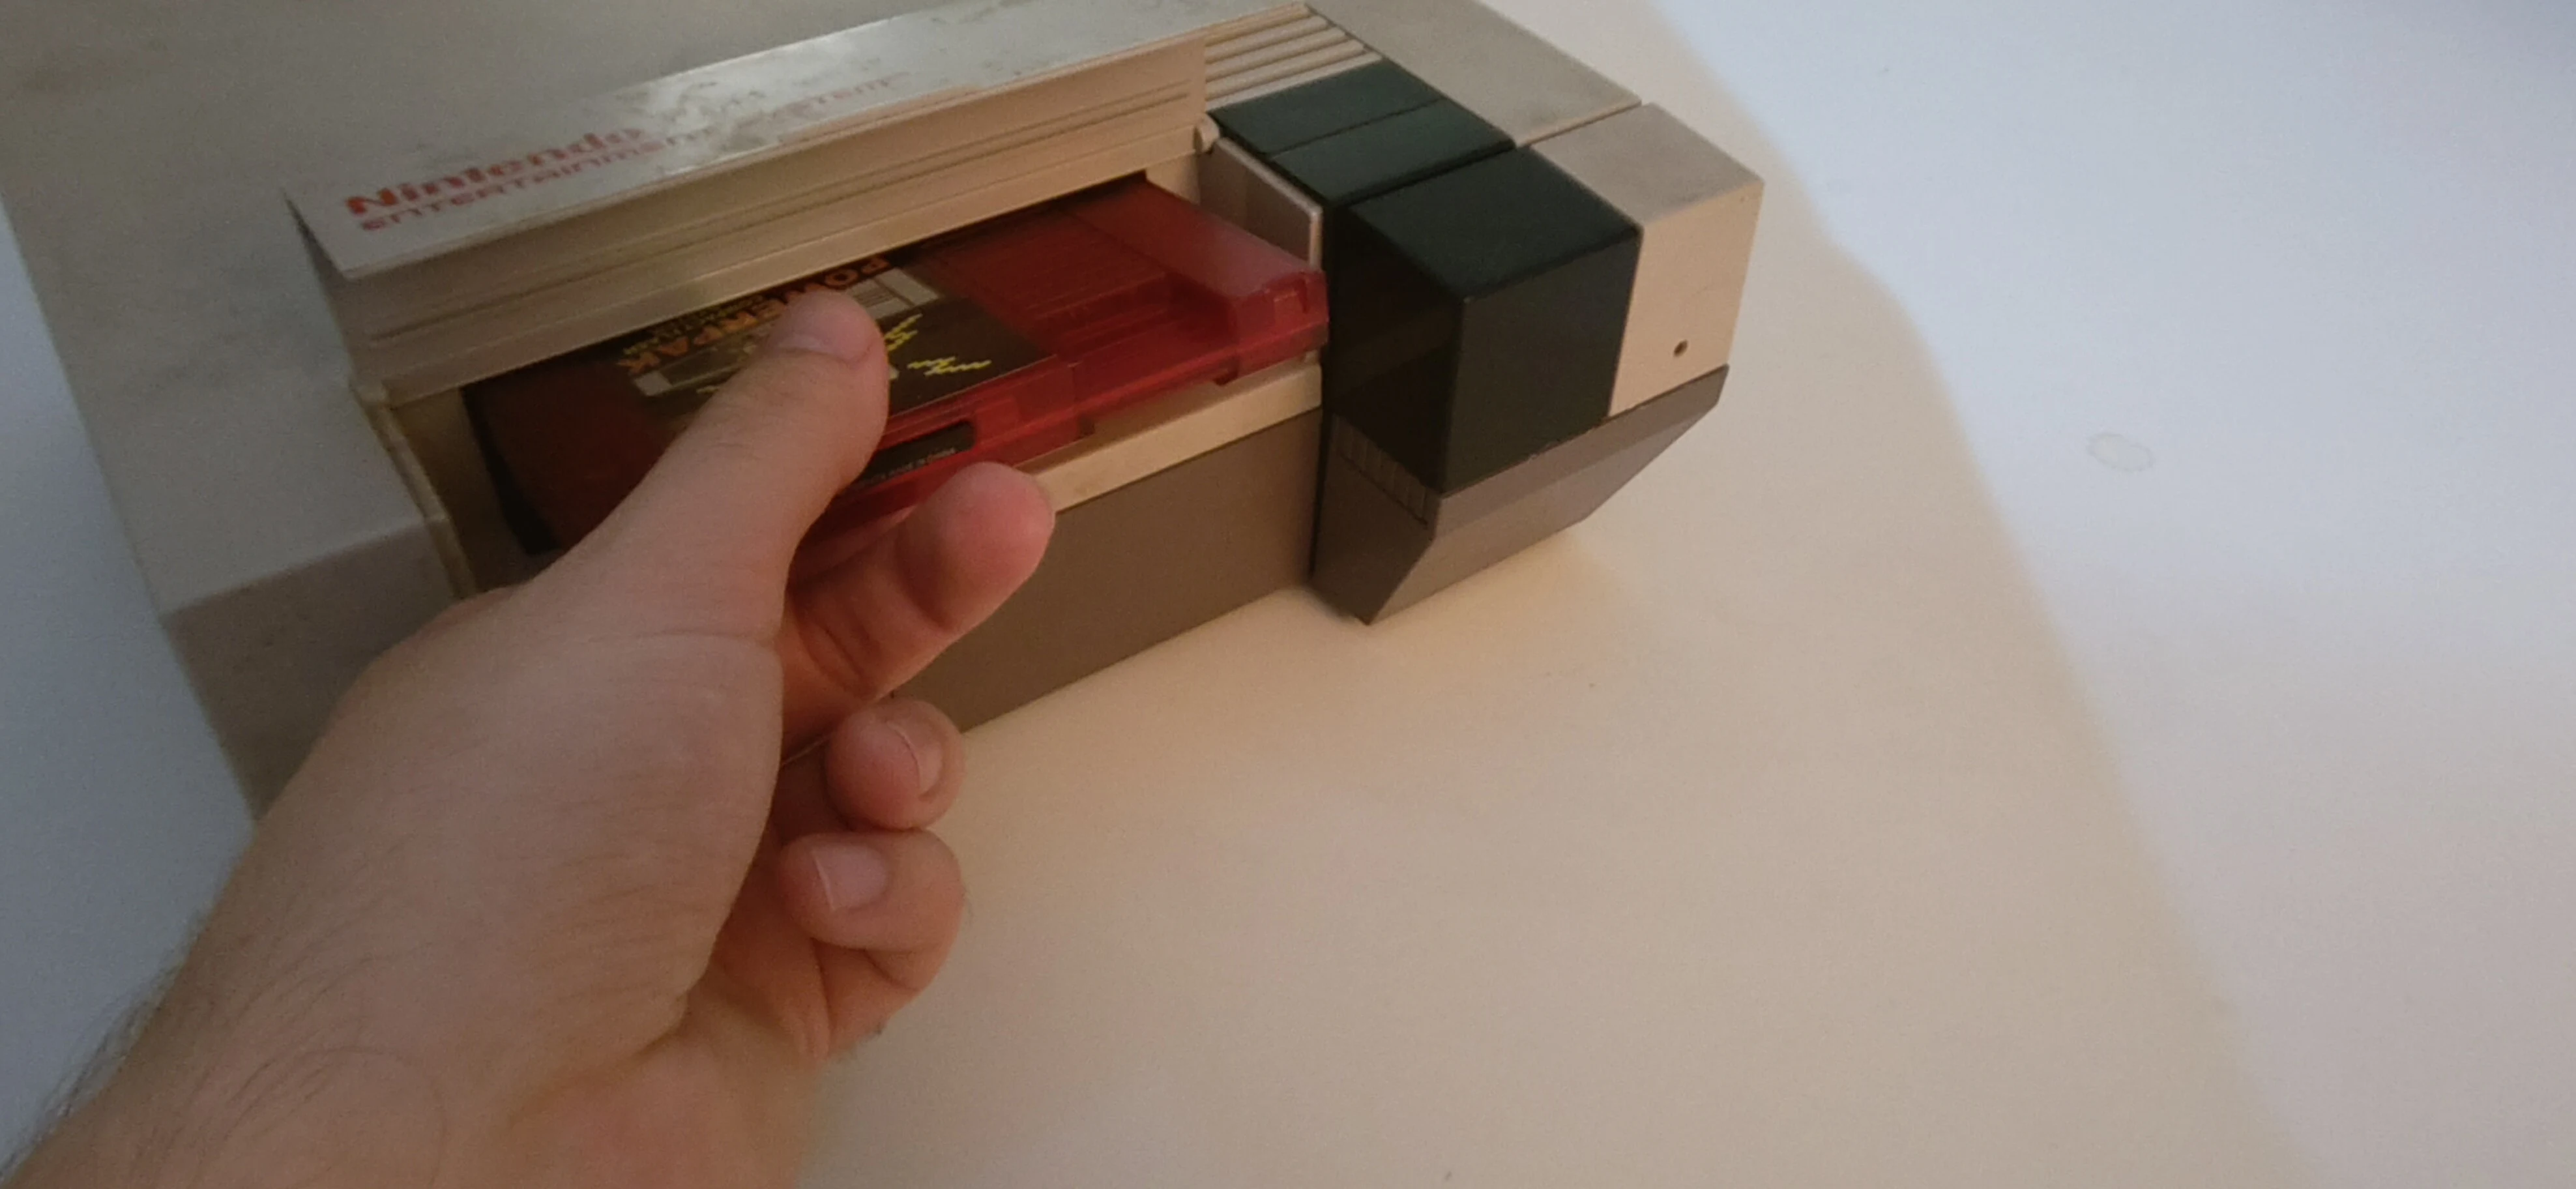
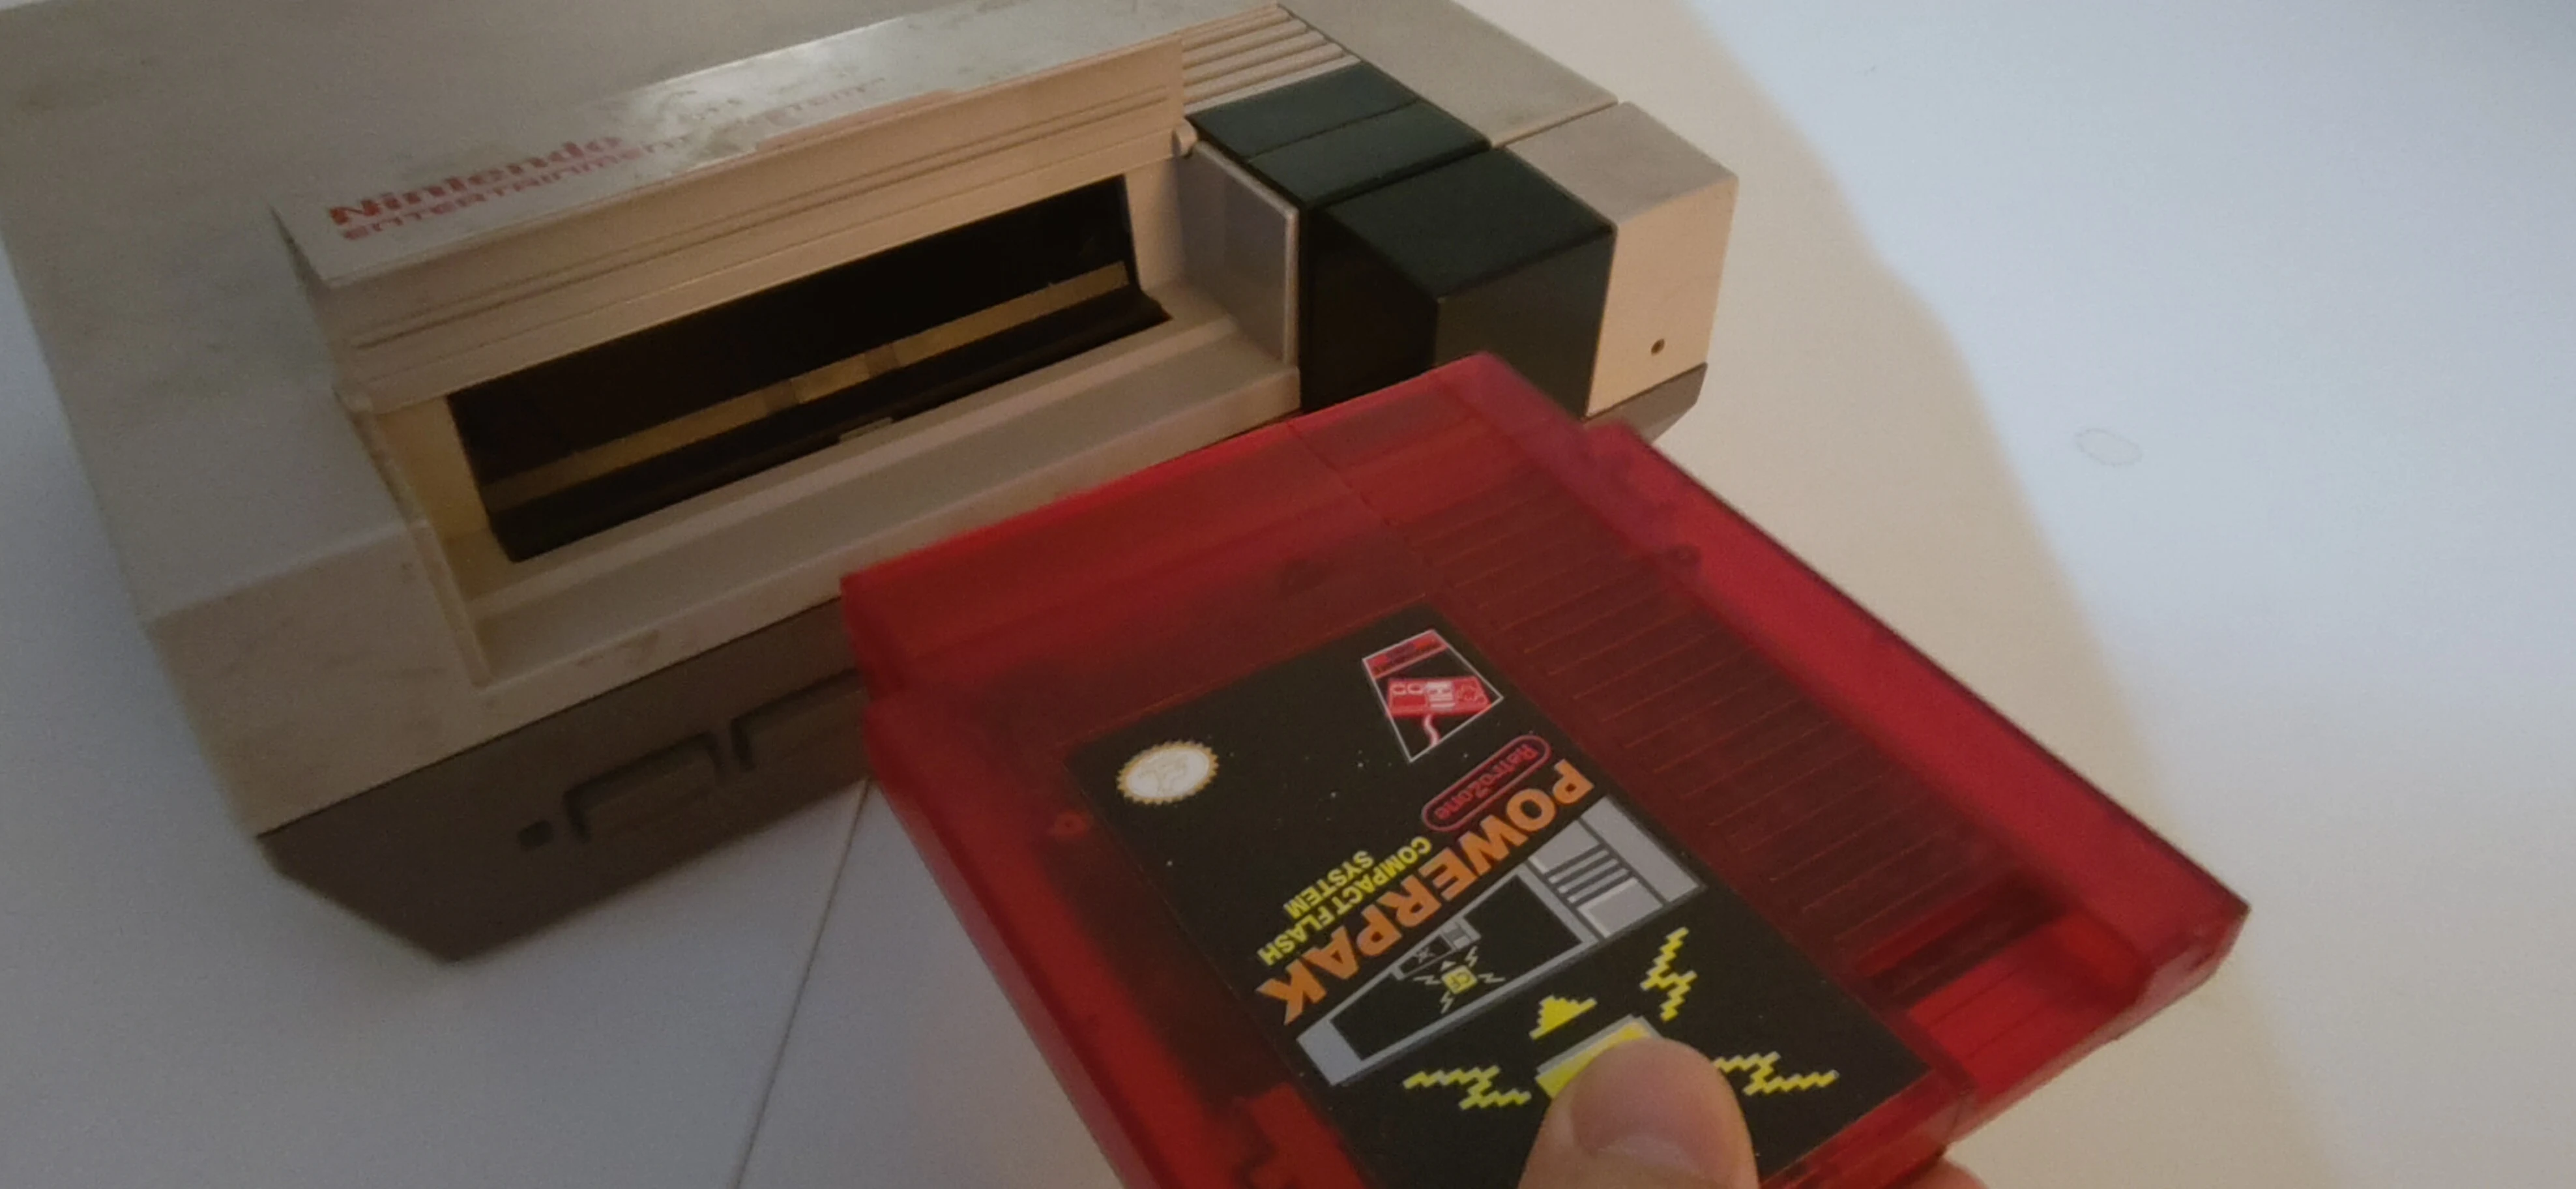
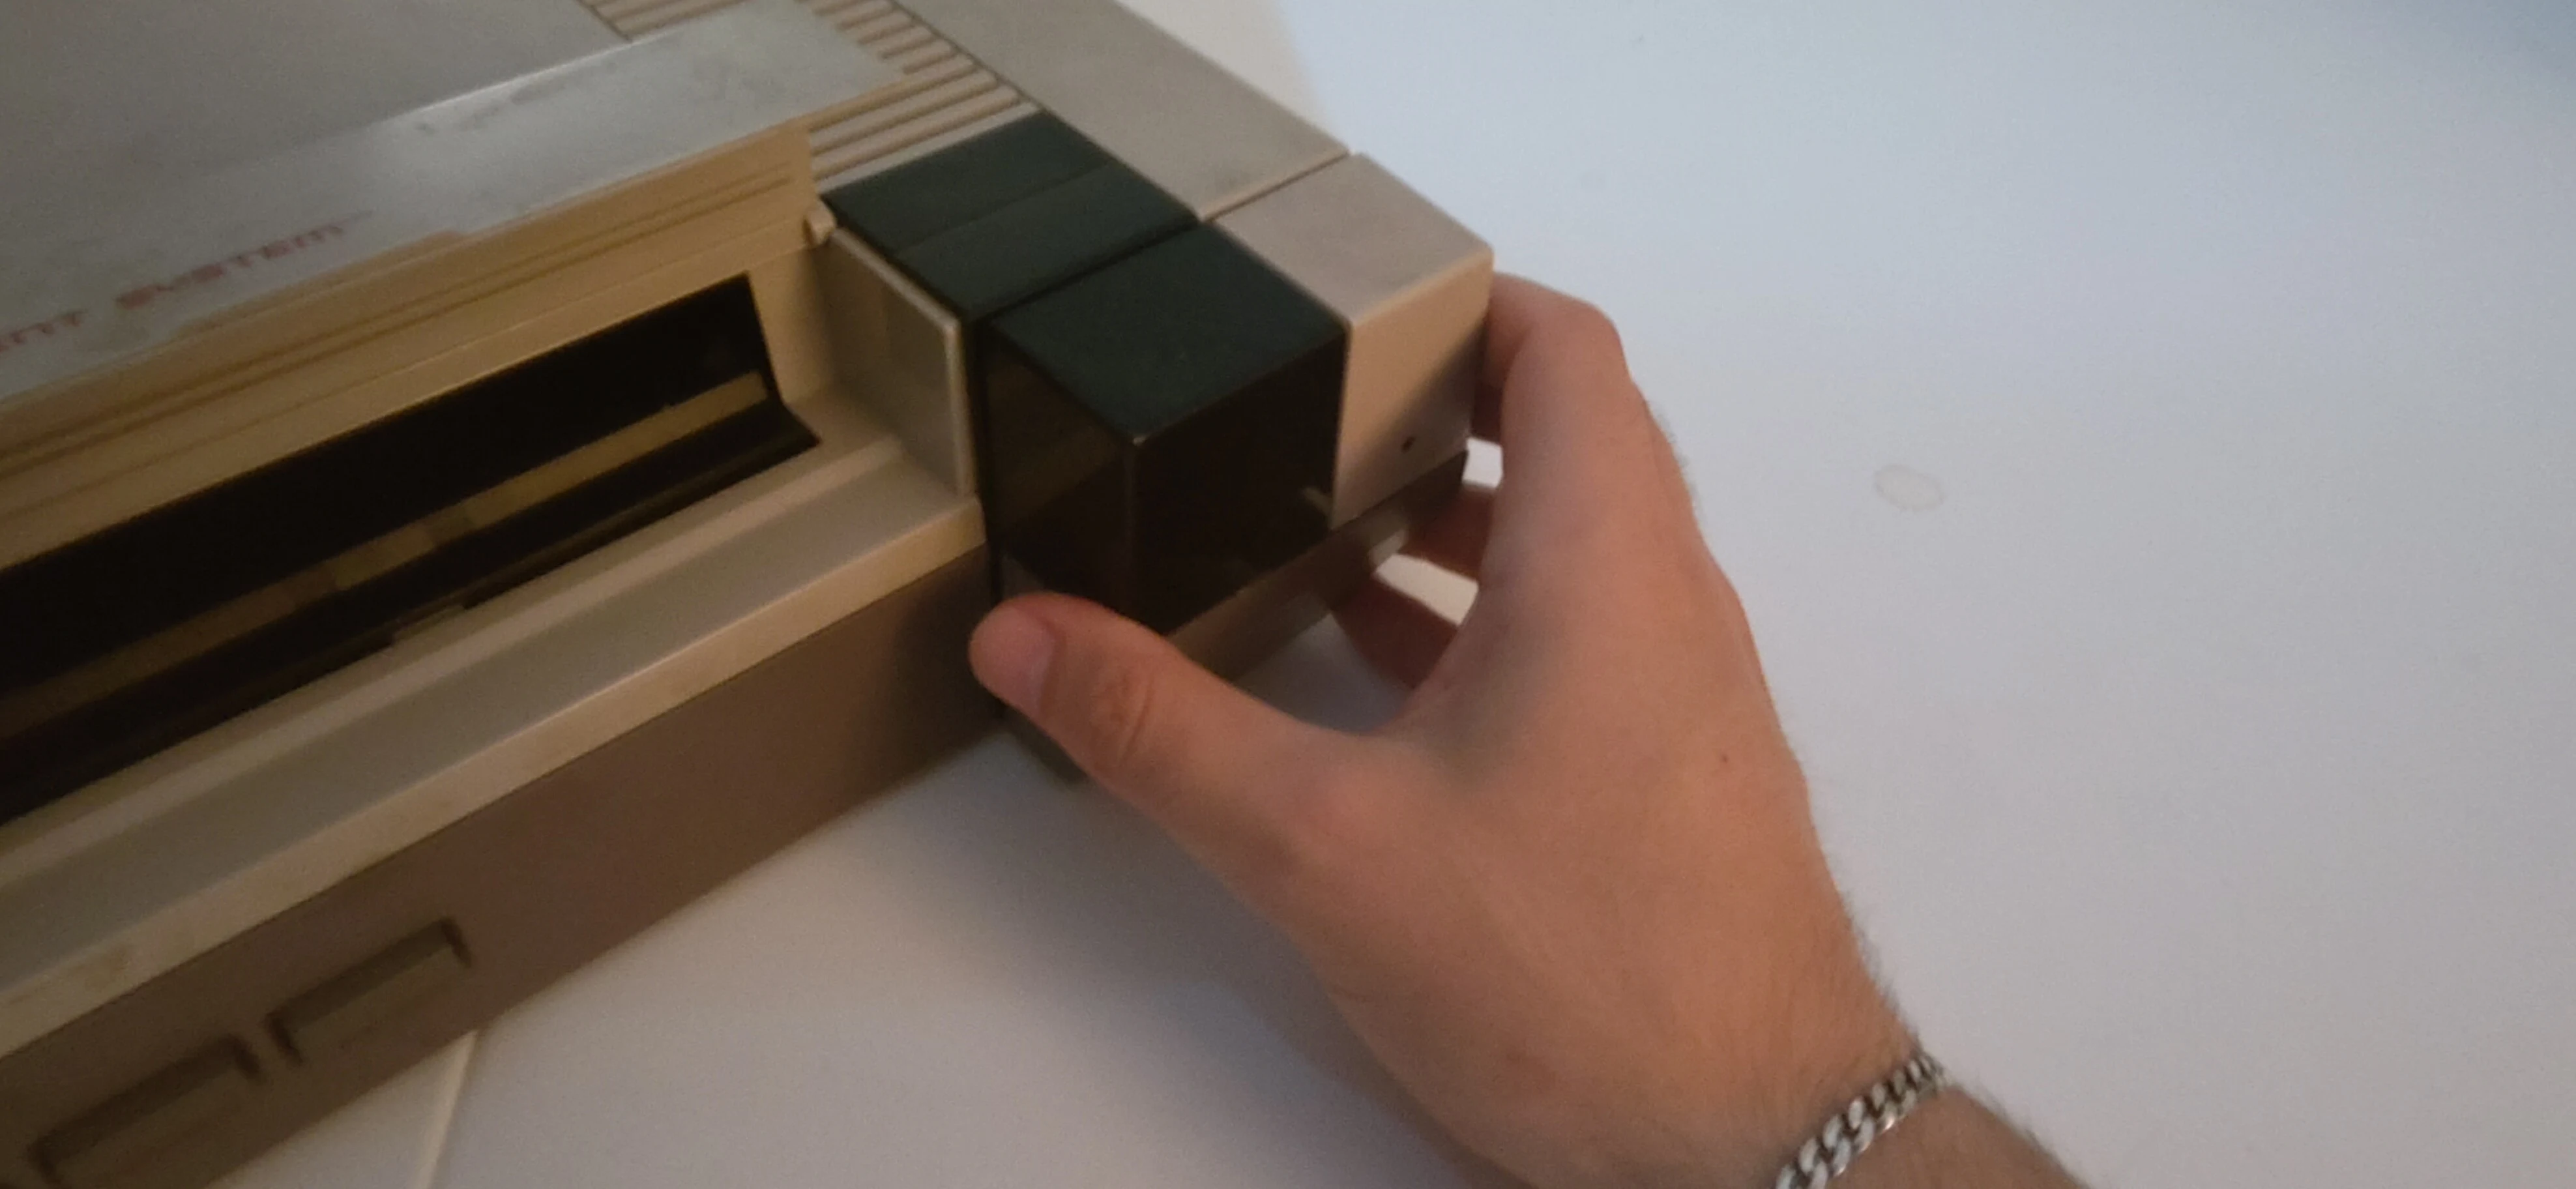
2. Remove the screws under the console.
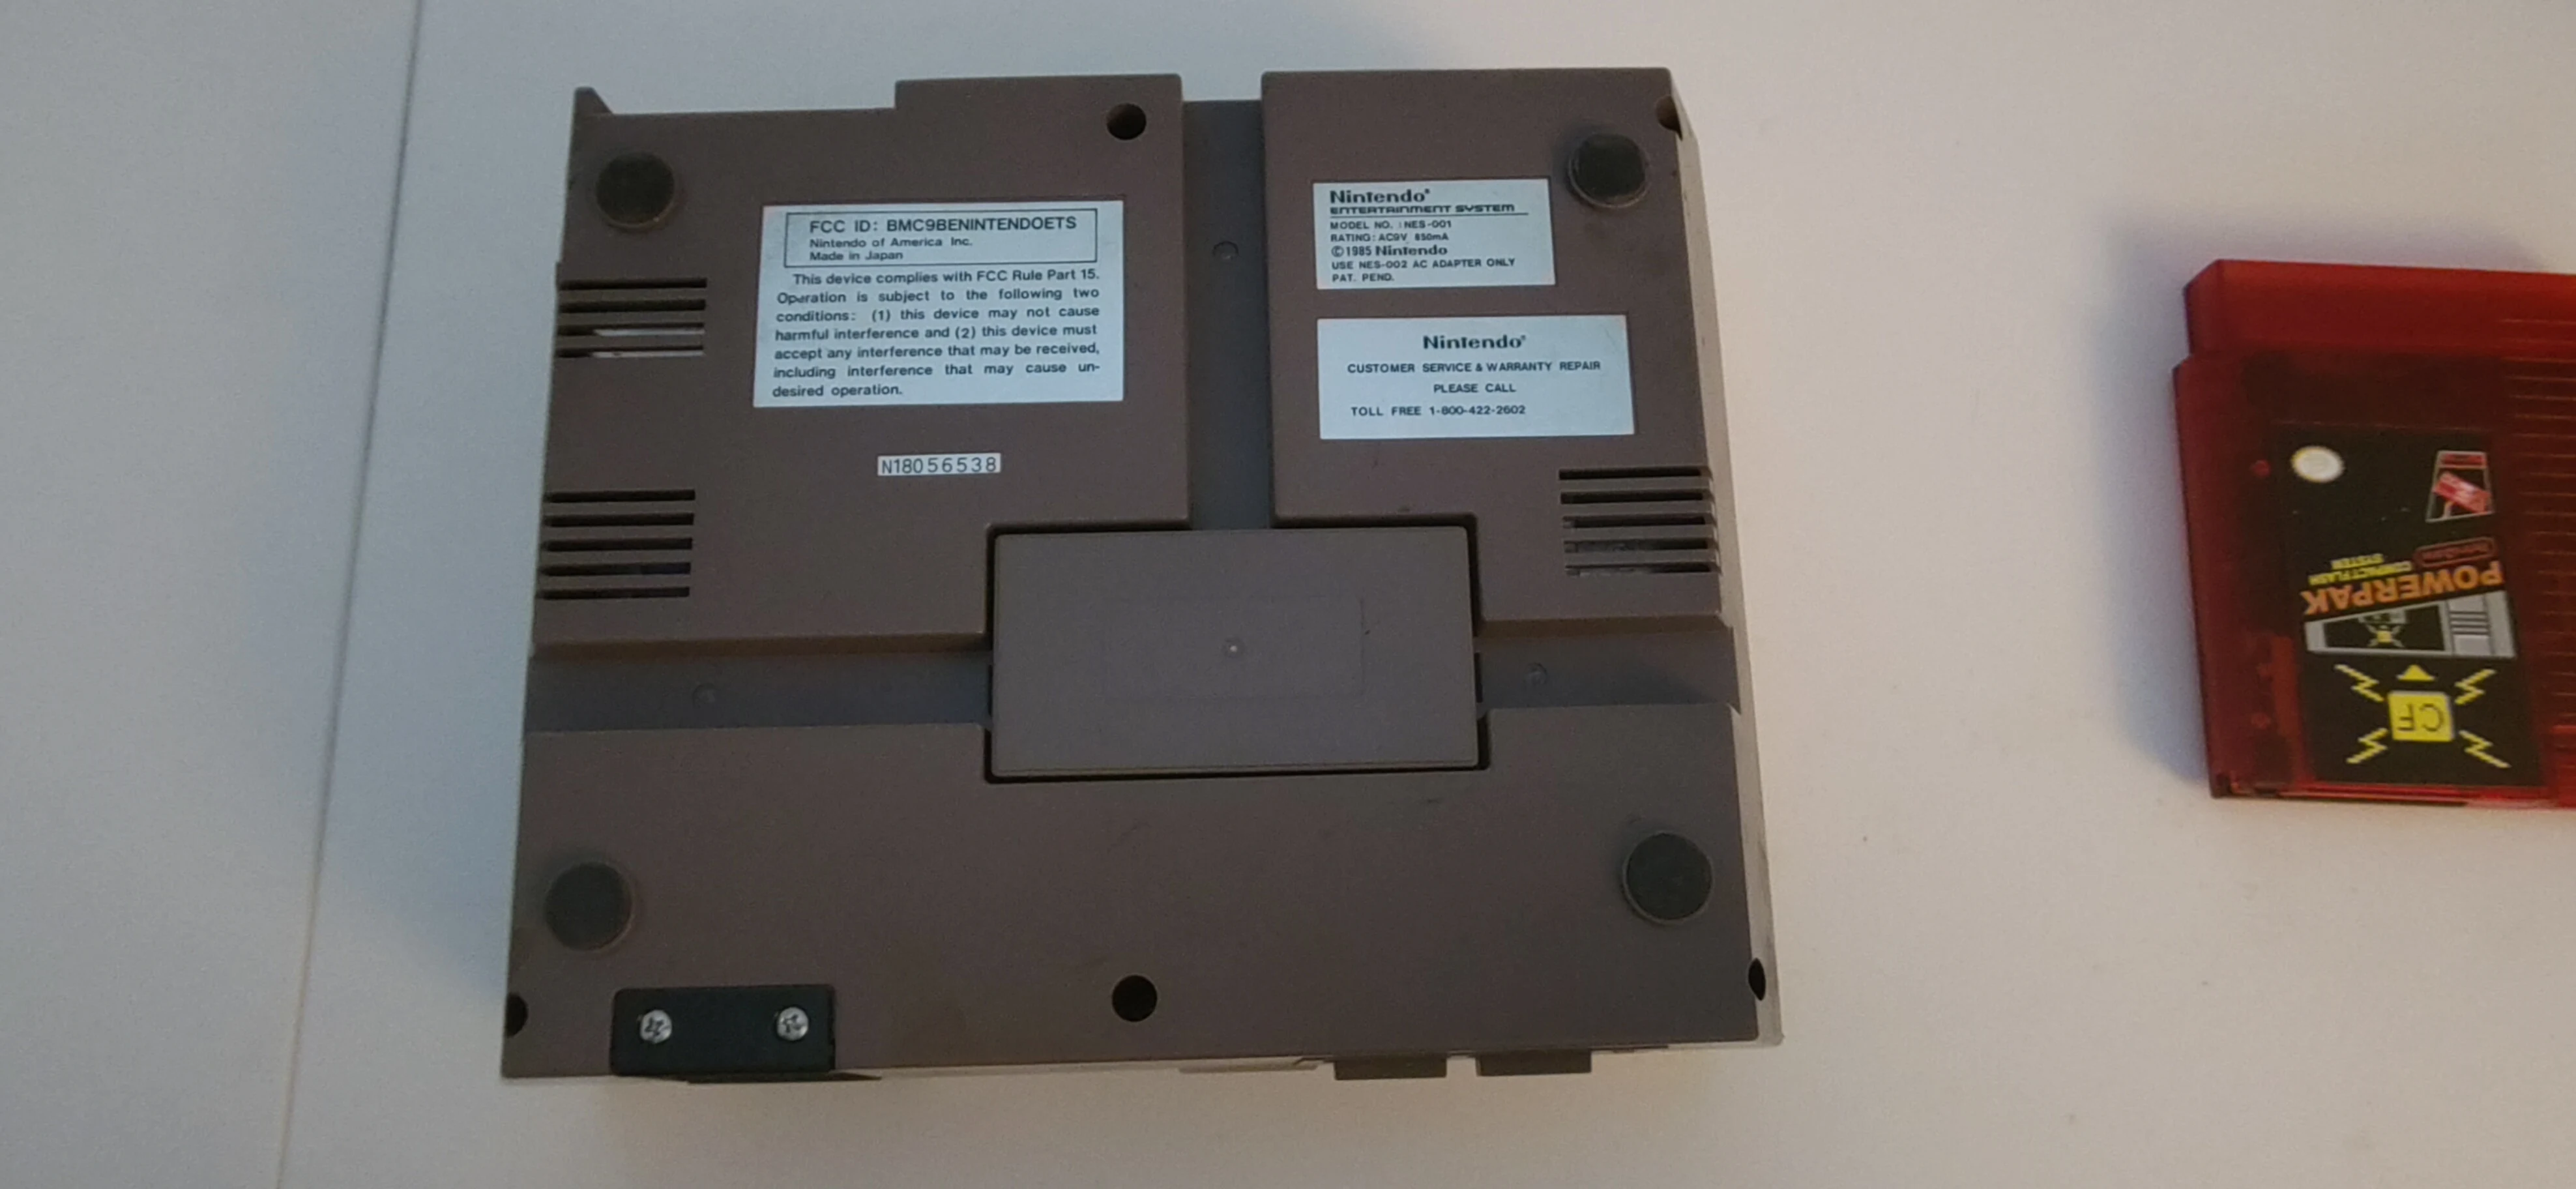
Remove the six (6) Philips head screws around the bottom of the console.
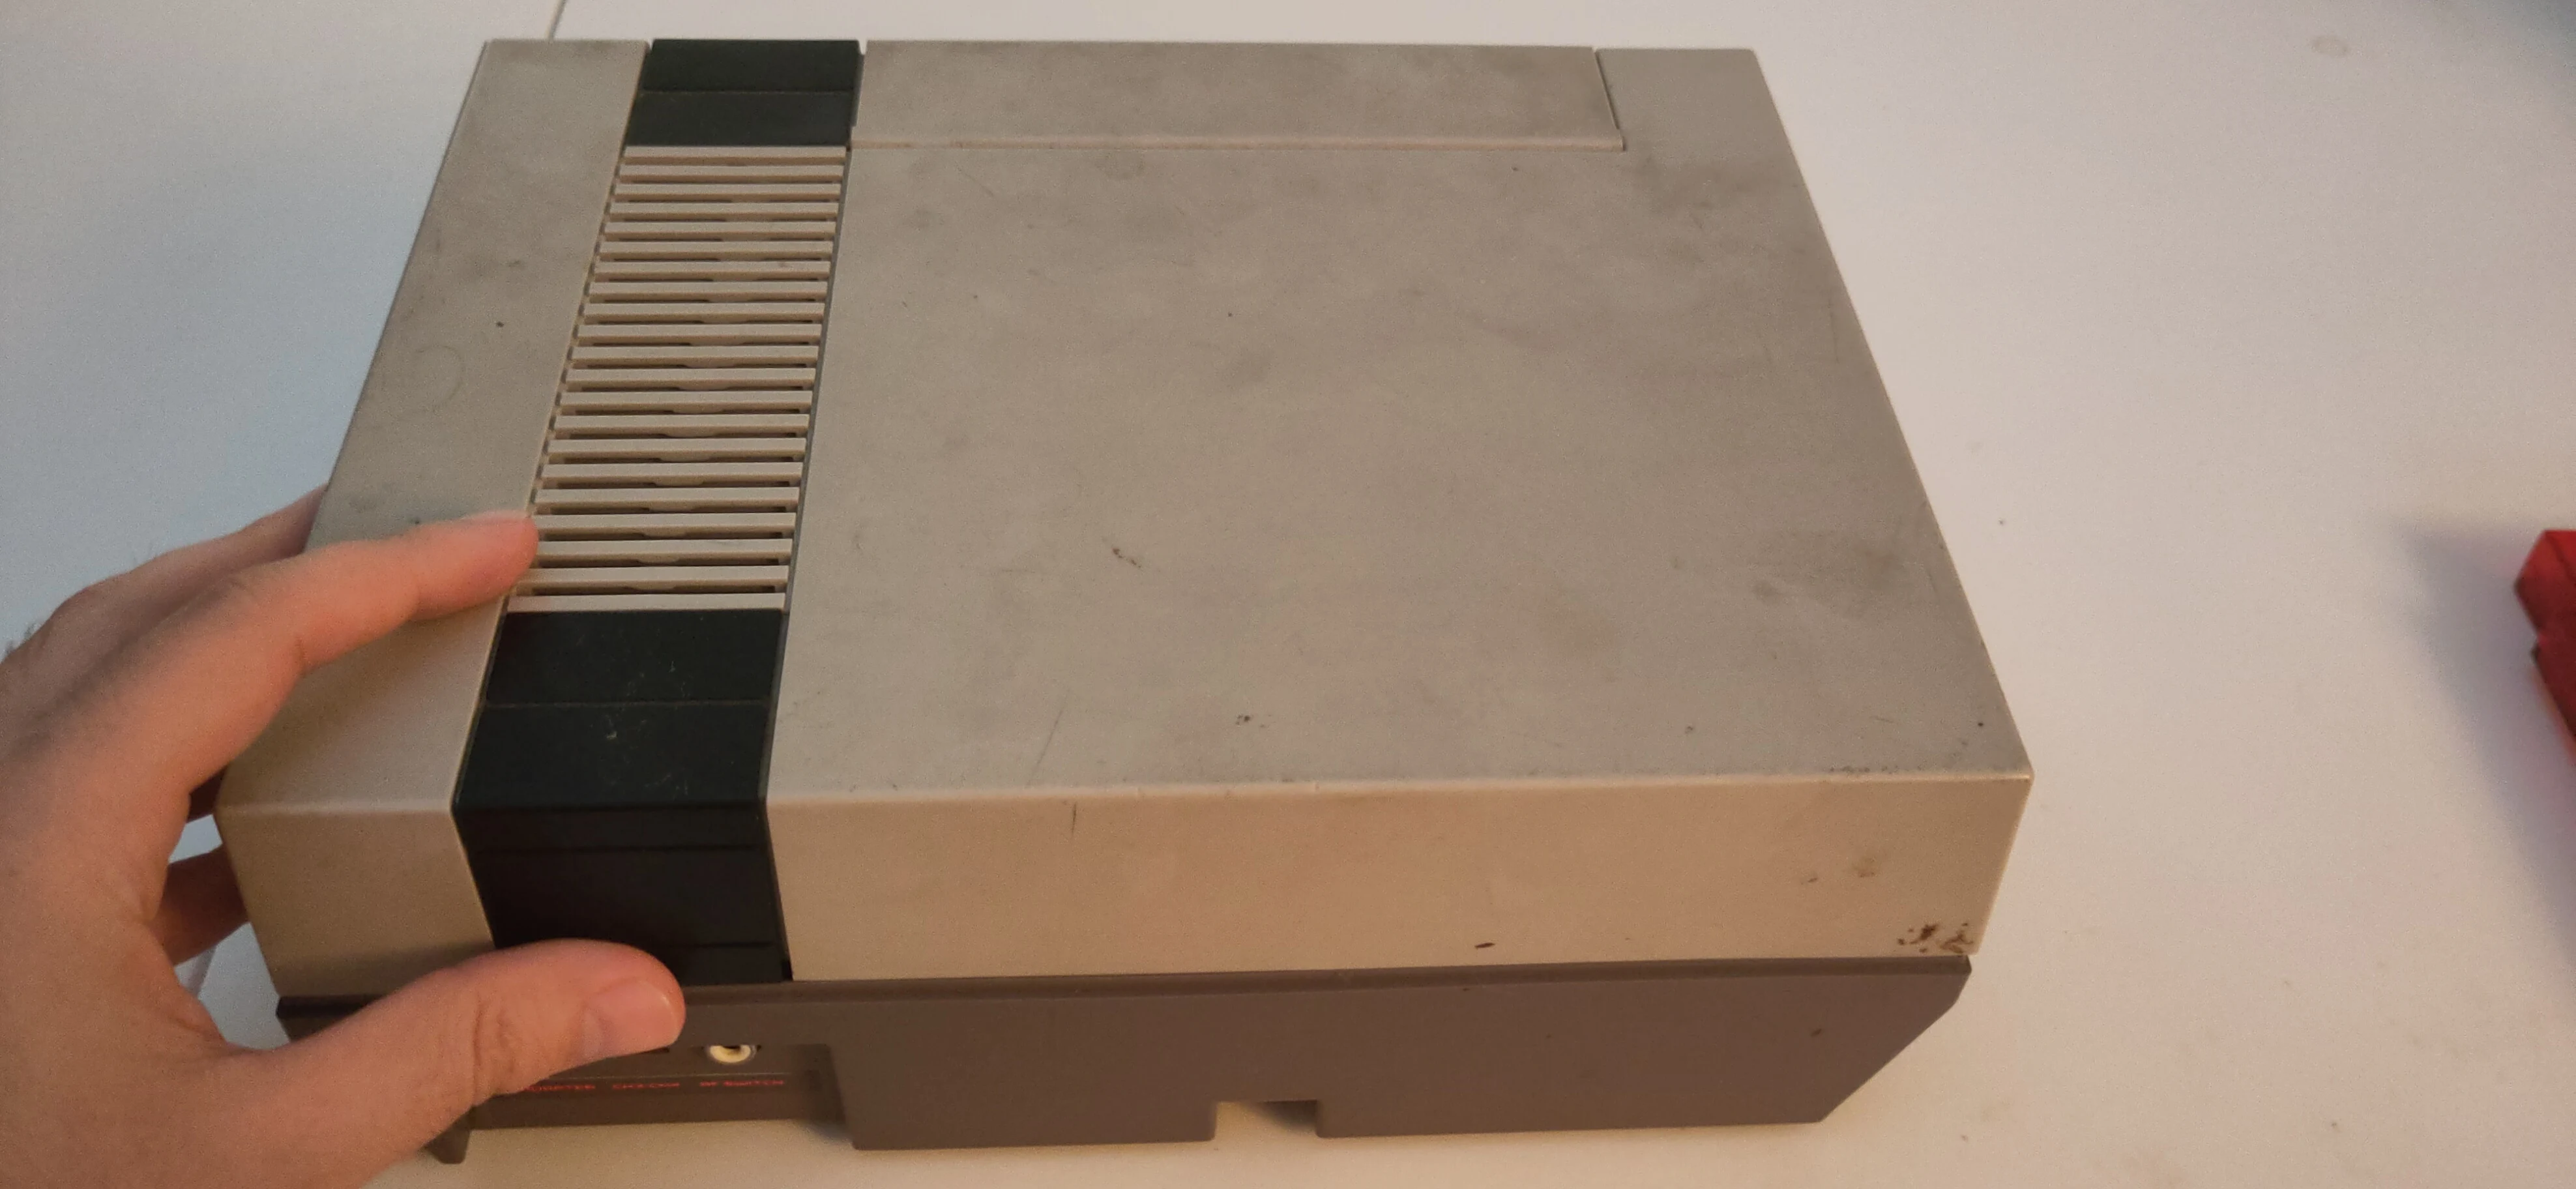
3. Remove the top cover.
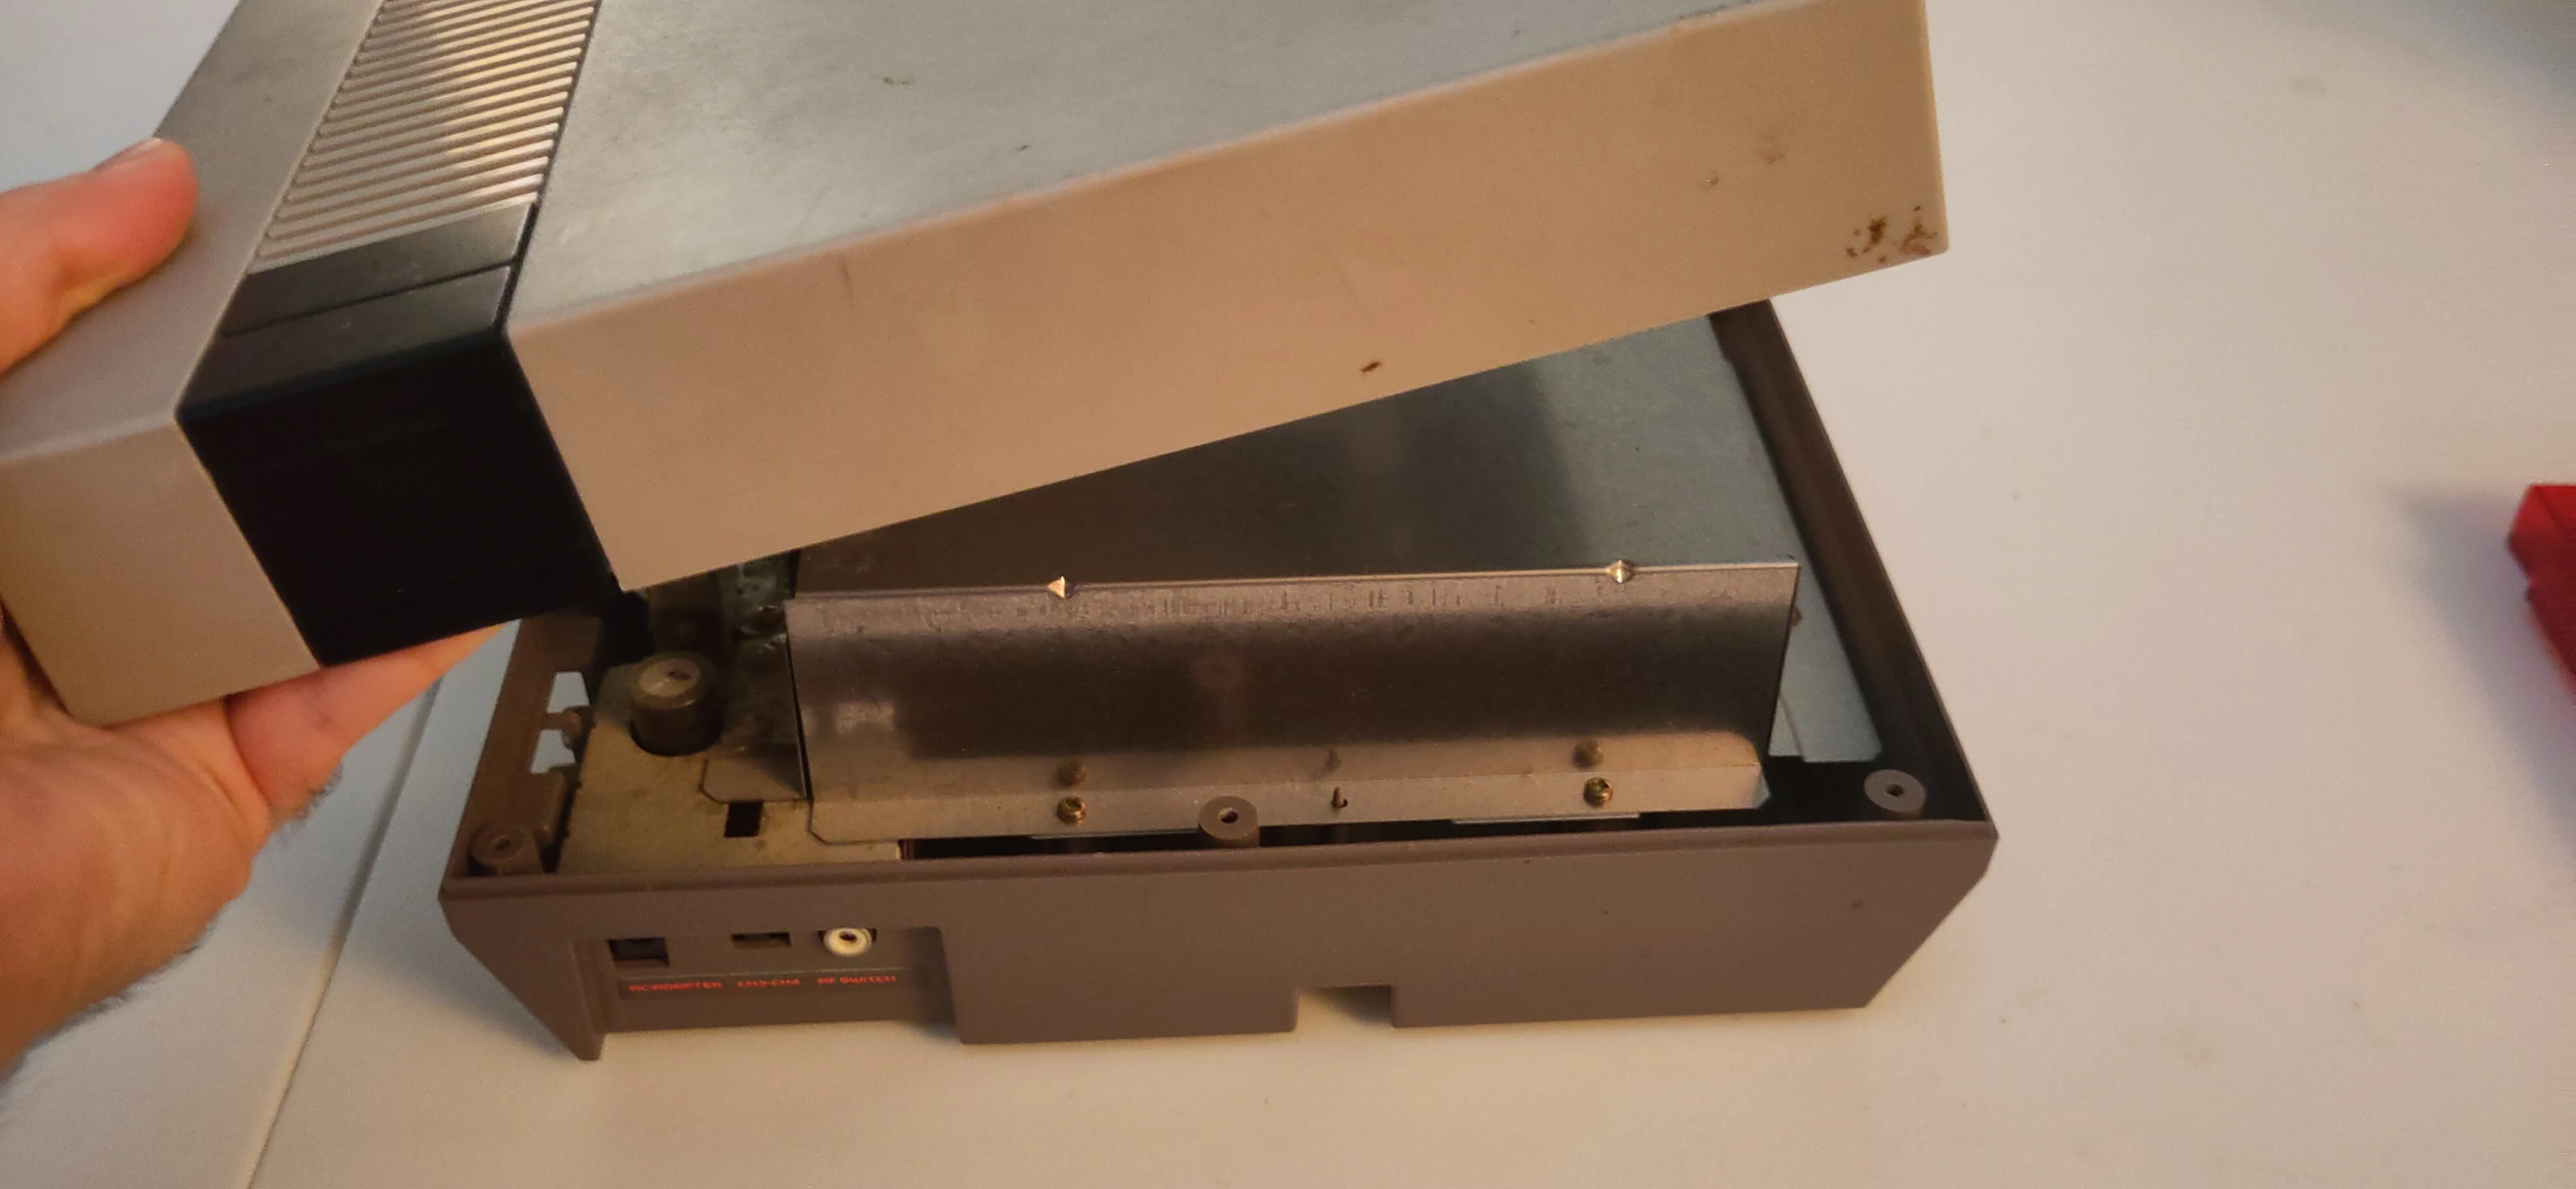
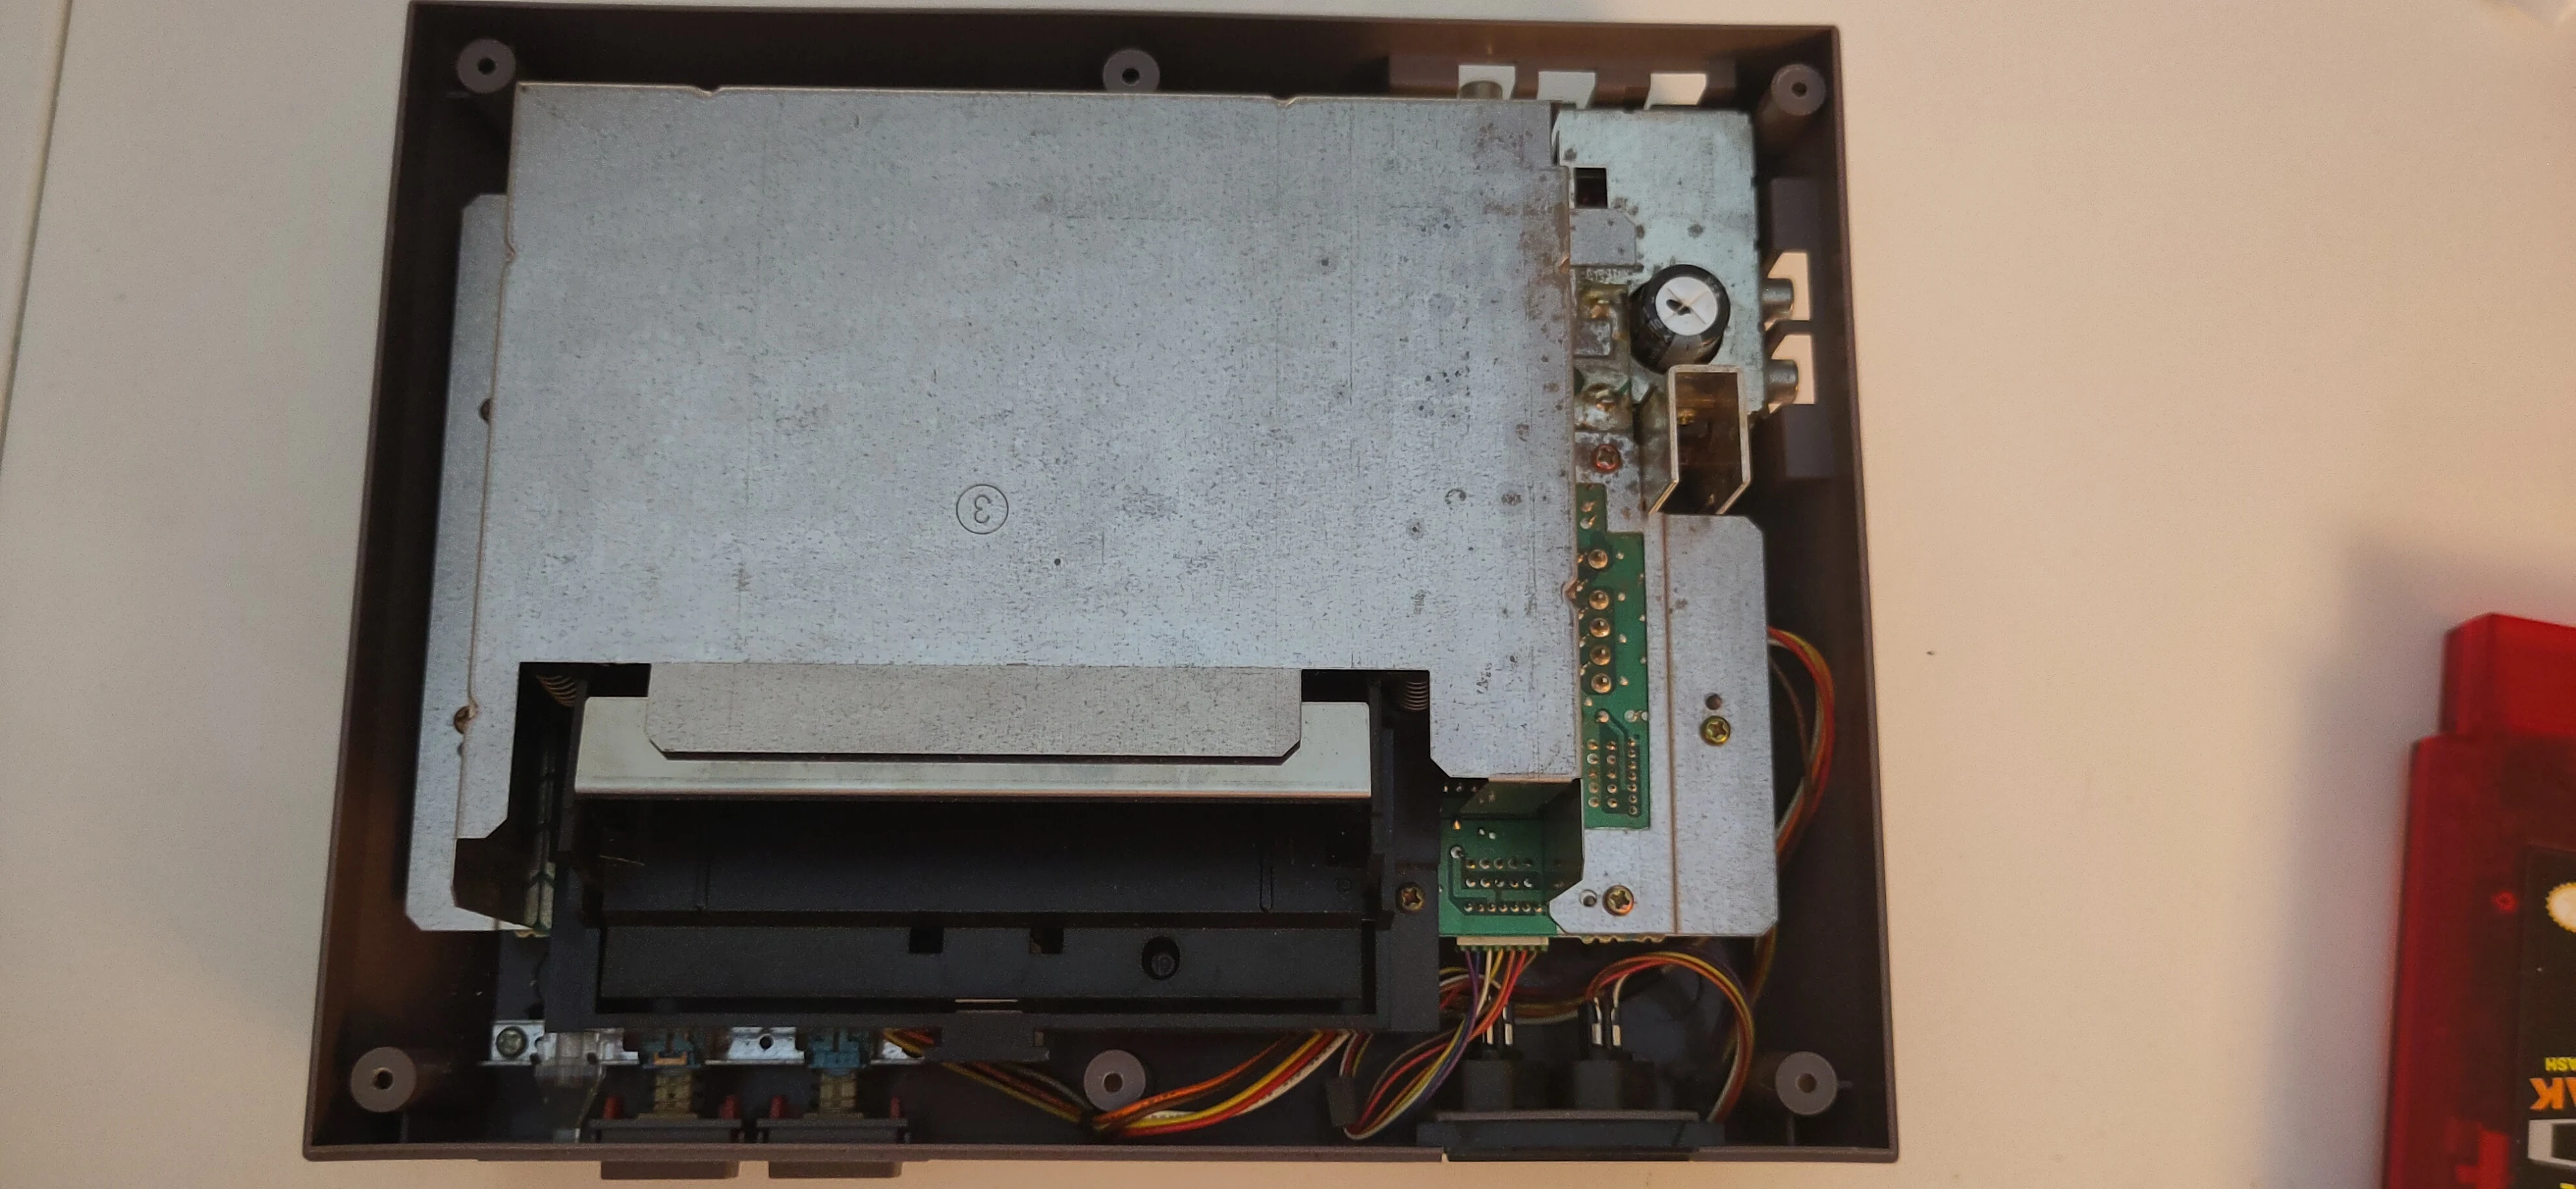
4. Remove the RF shield screws.
The top RF shield has seven (7) Philips screws around the top, surround the cartridge slot.
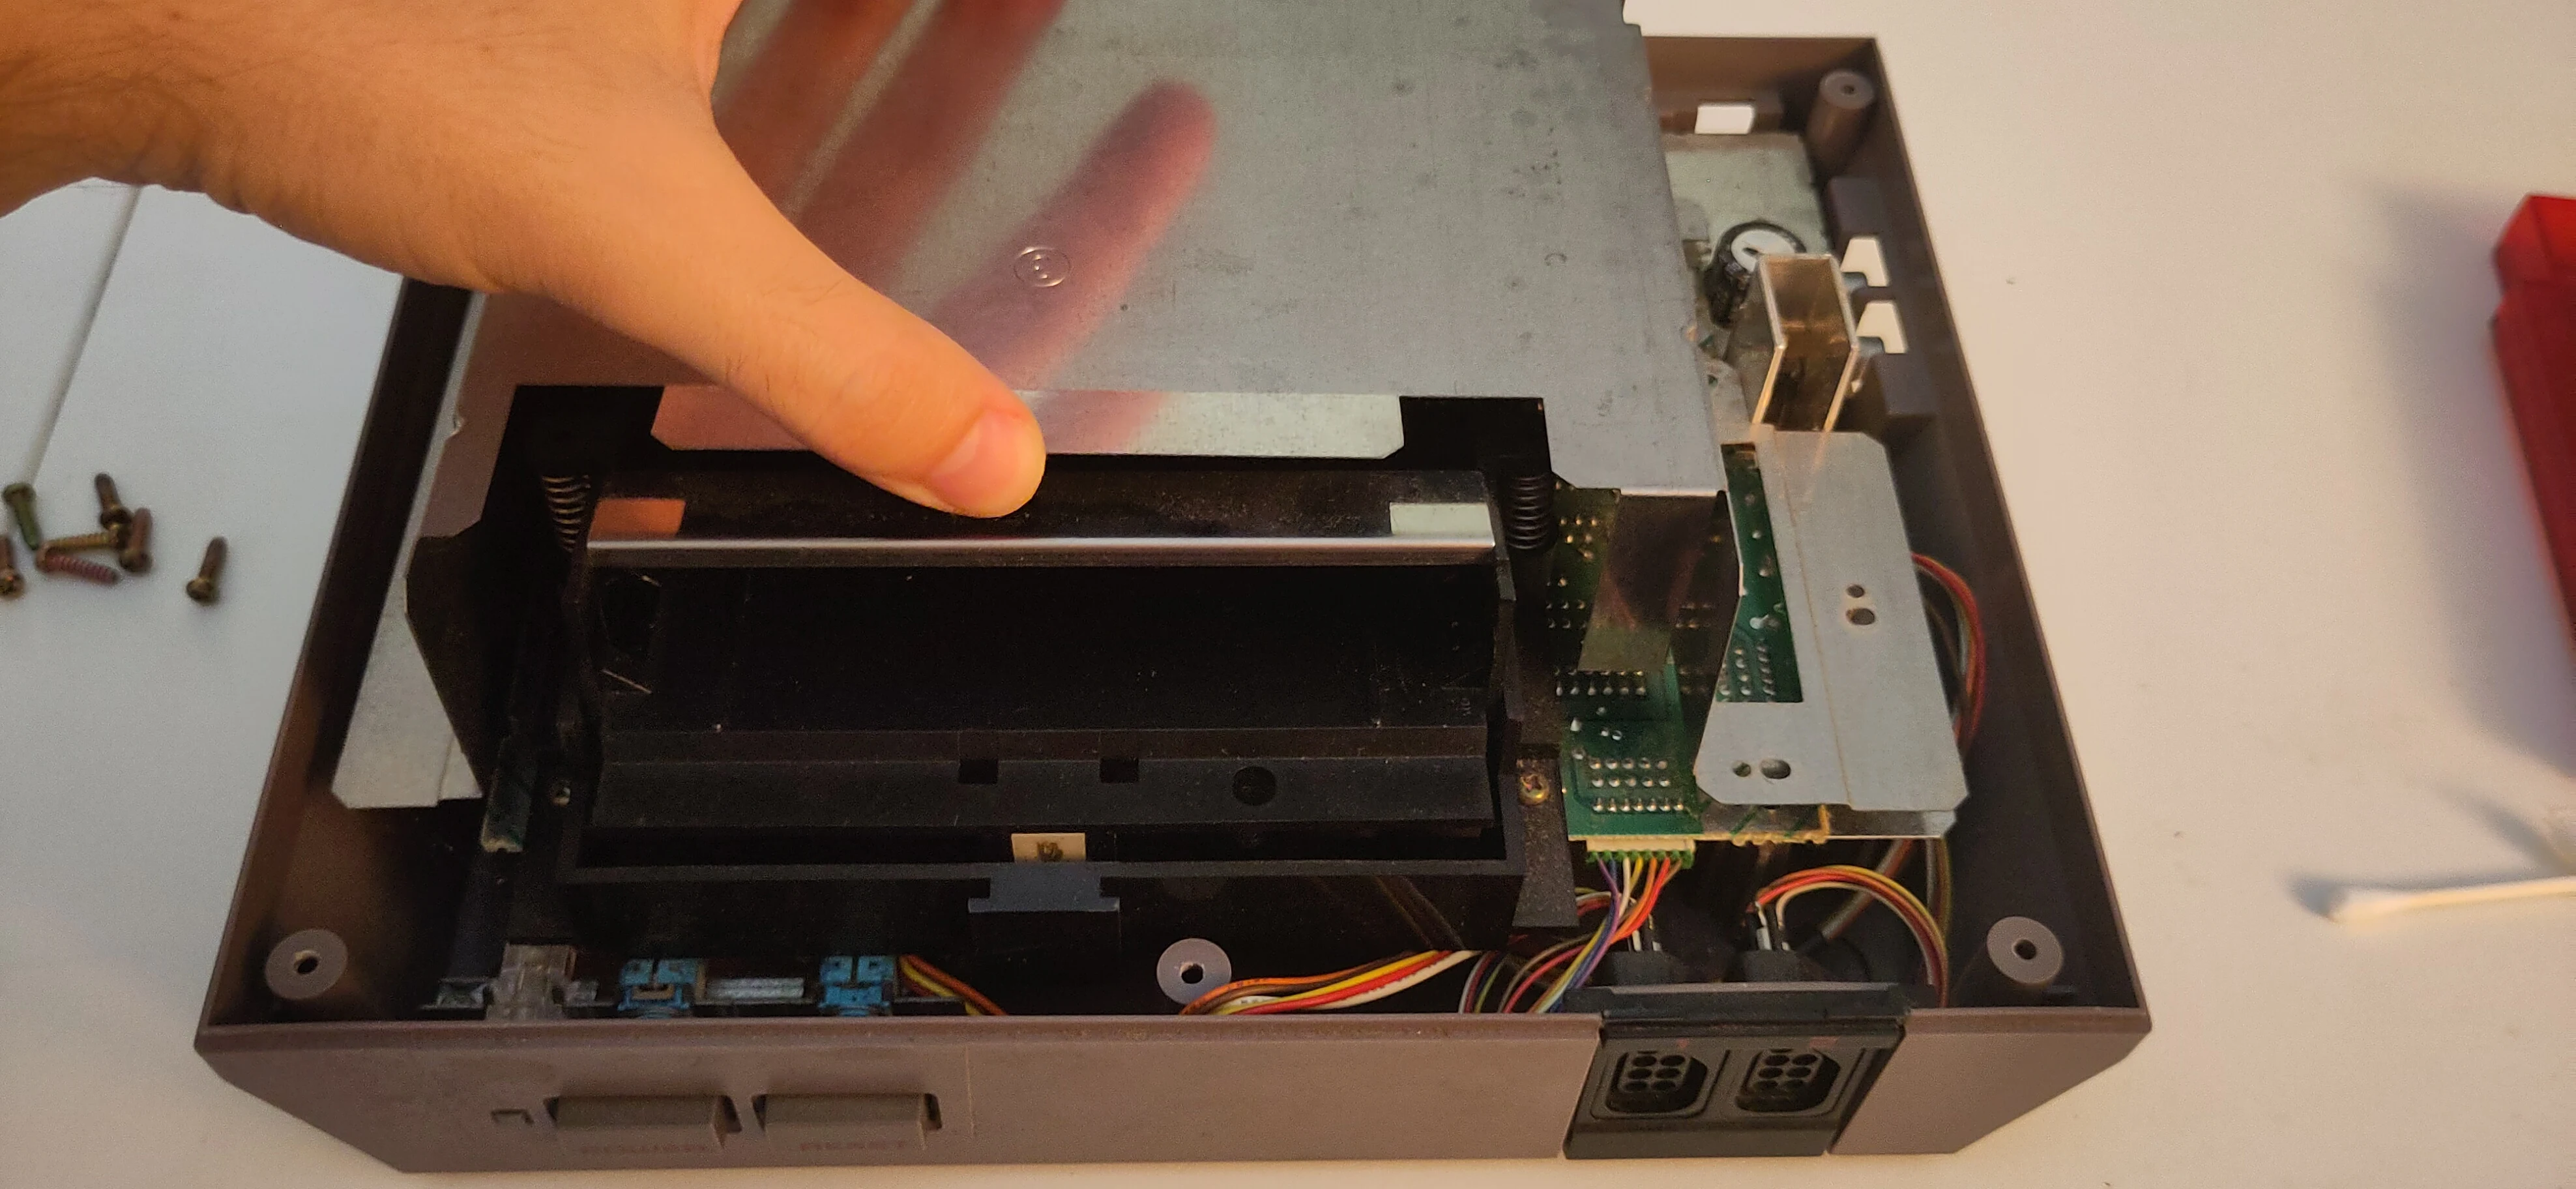
5. Lift up the RF Shield.
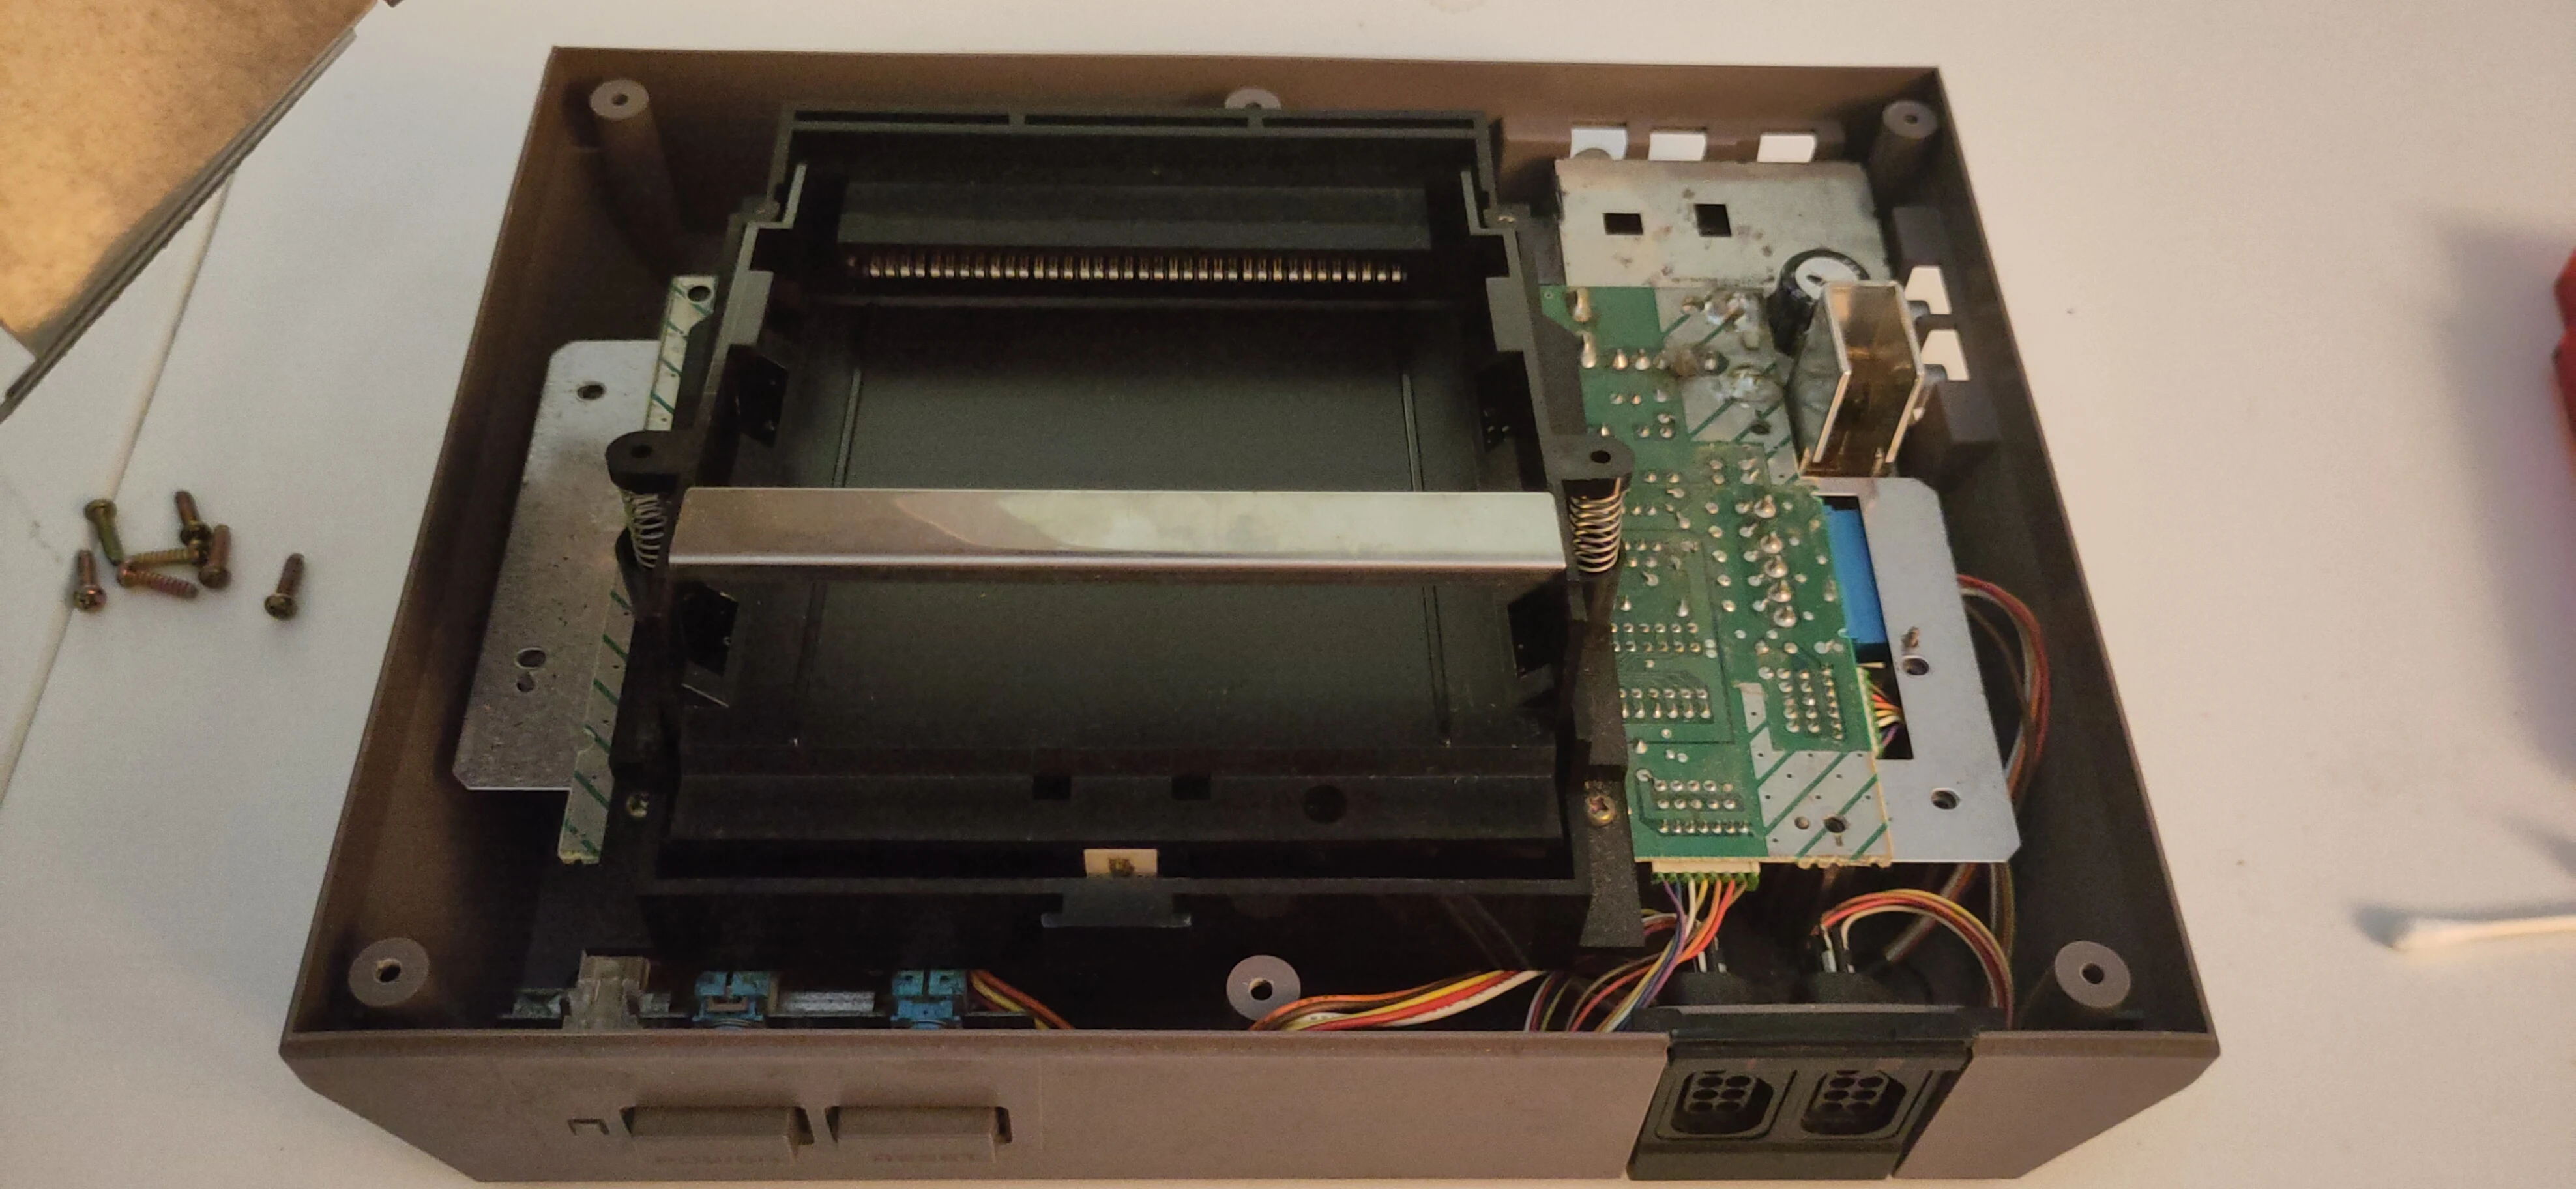
6. Remove screws around the old cartridge drawer.
Remove the six (6) Philips screws, two in each of the top-most corners including one silver screw on each side below the top-most screw, and one more screw per bottom corner.
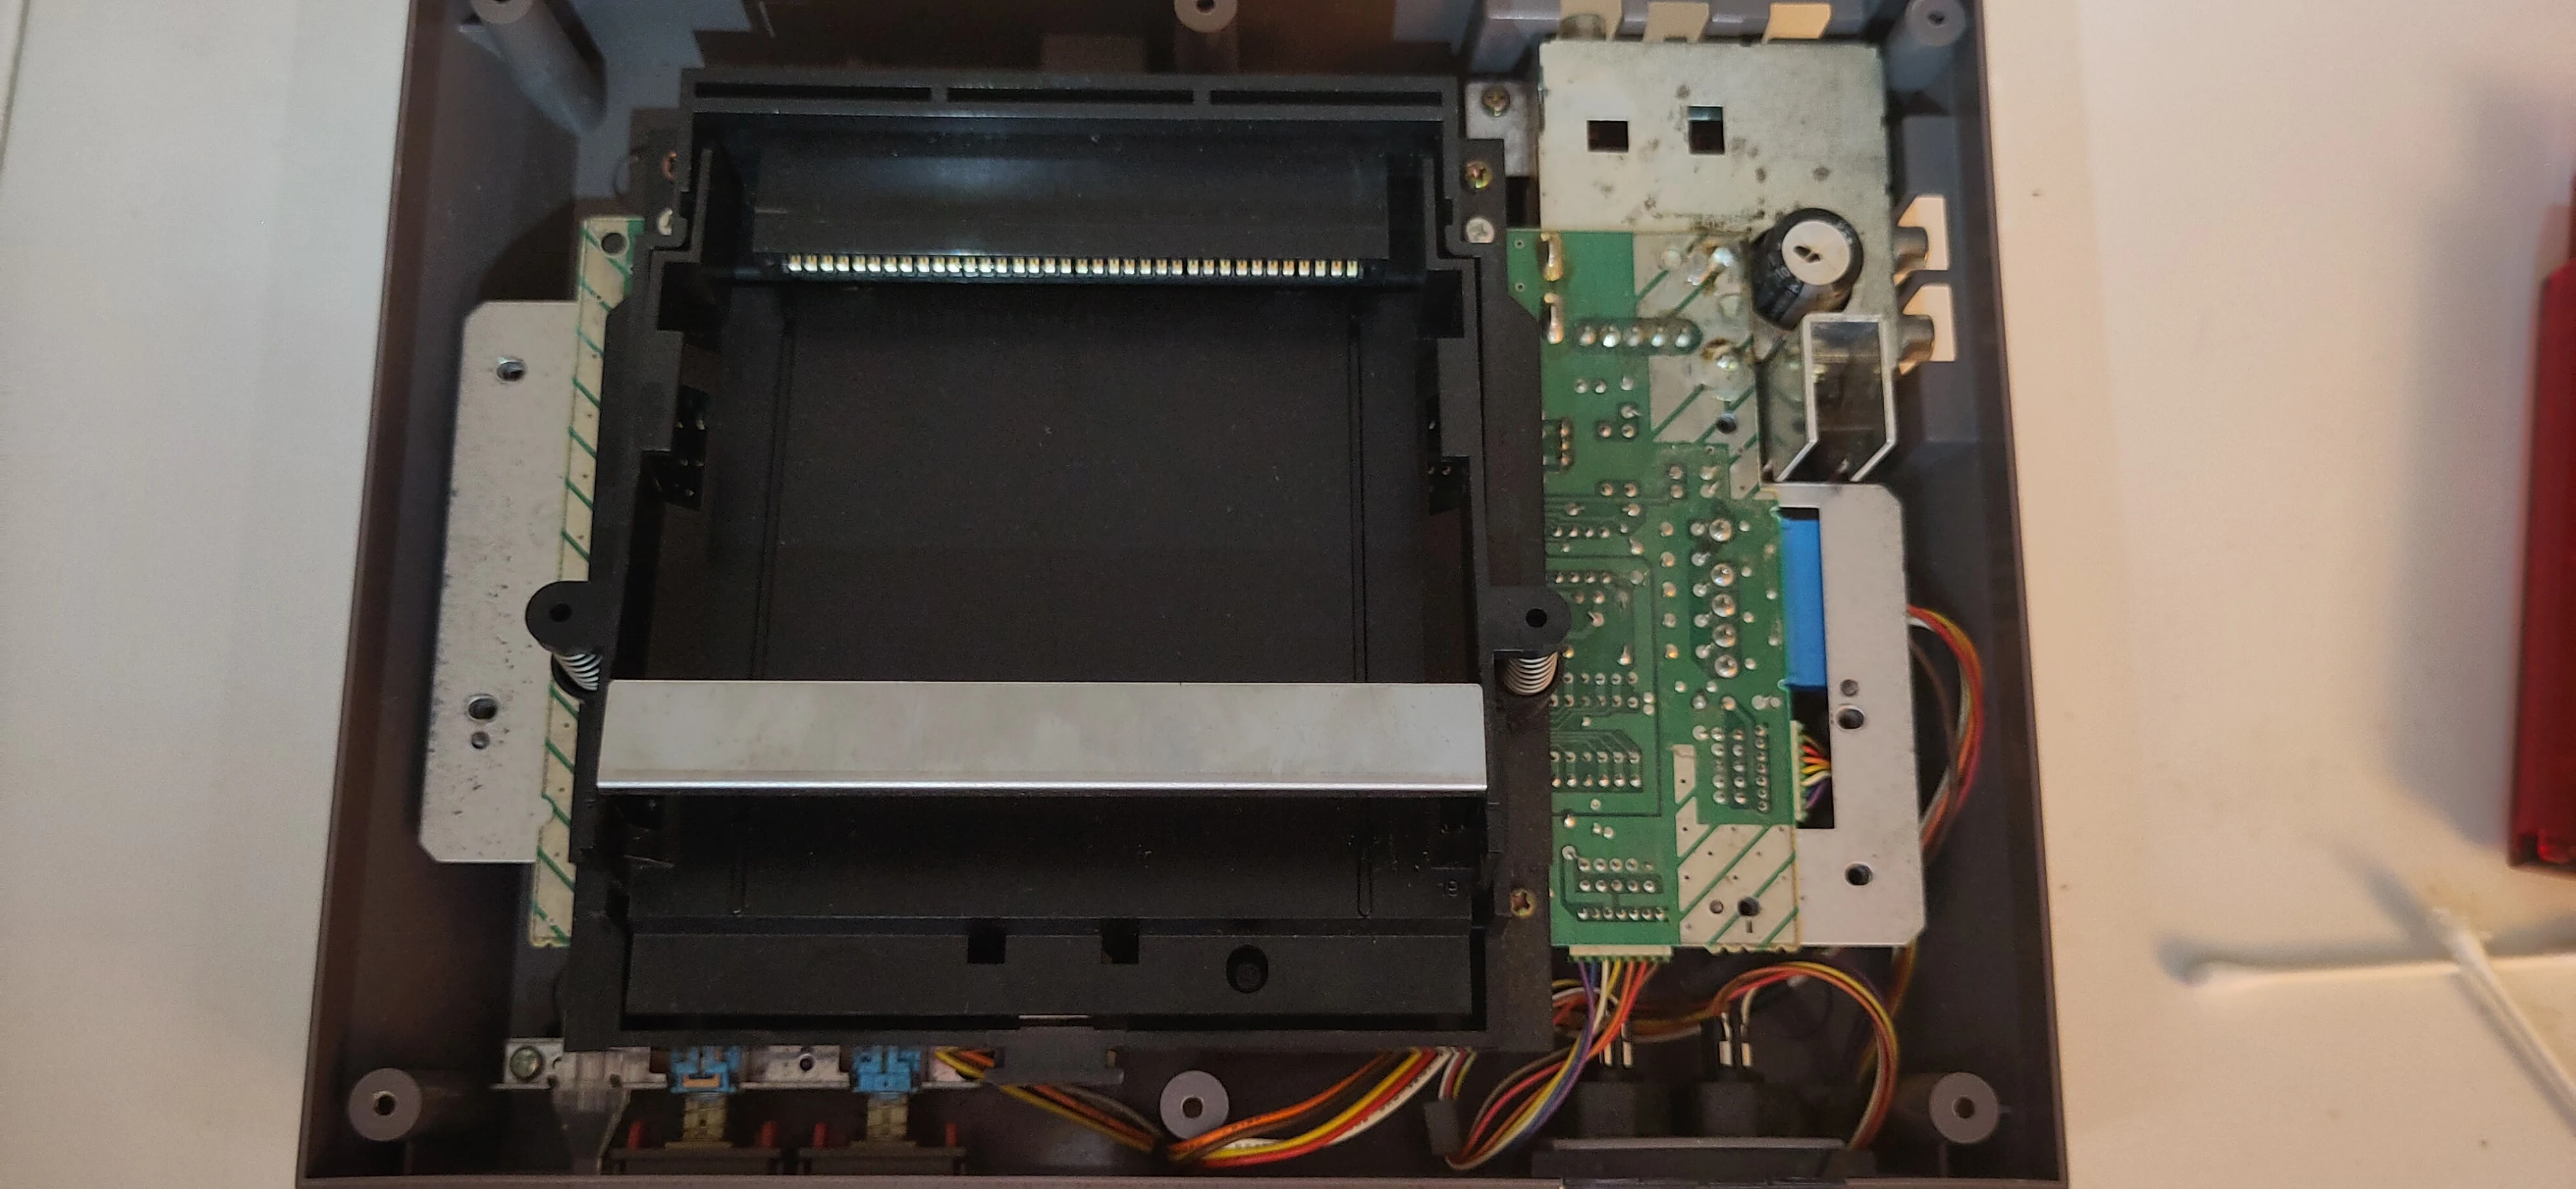
The silver screws are not needed for the Ninten-Drawer; they are not needed for reassembly, but keep these screws with the old drawer and 72-pin connector when removed.
7. Remove the old cartridge drawer.
Firmly grab the cartridge drawer by the metal piece, lifting it up slightly to clear the motherboard and the front of the console, then pull the drawer out of the connector.
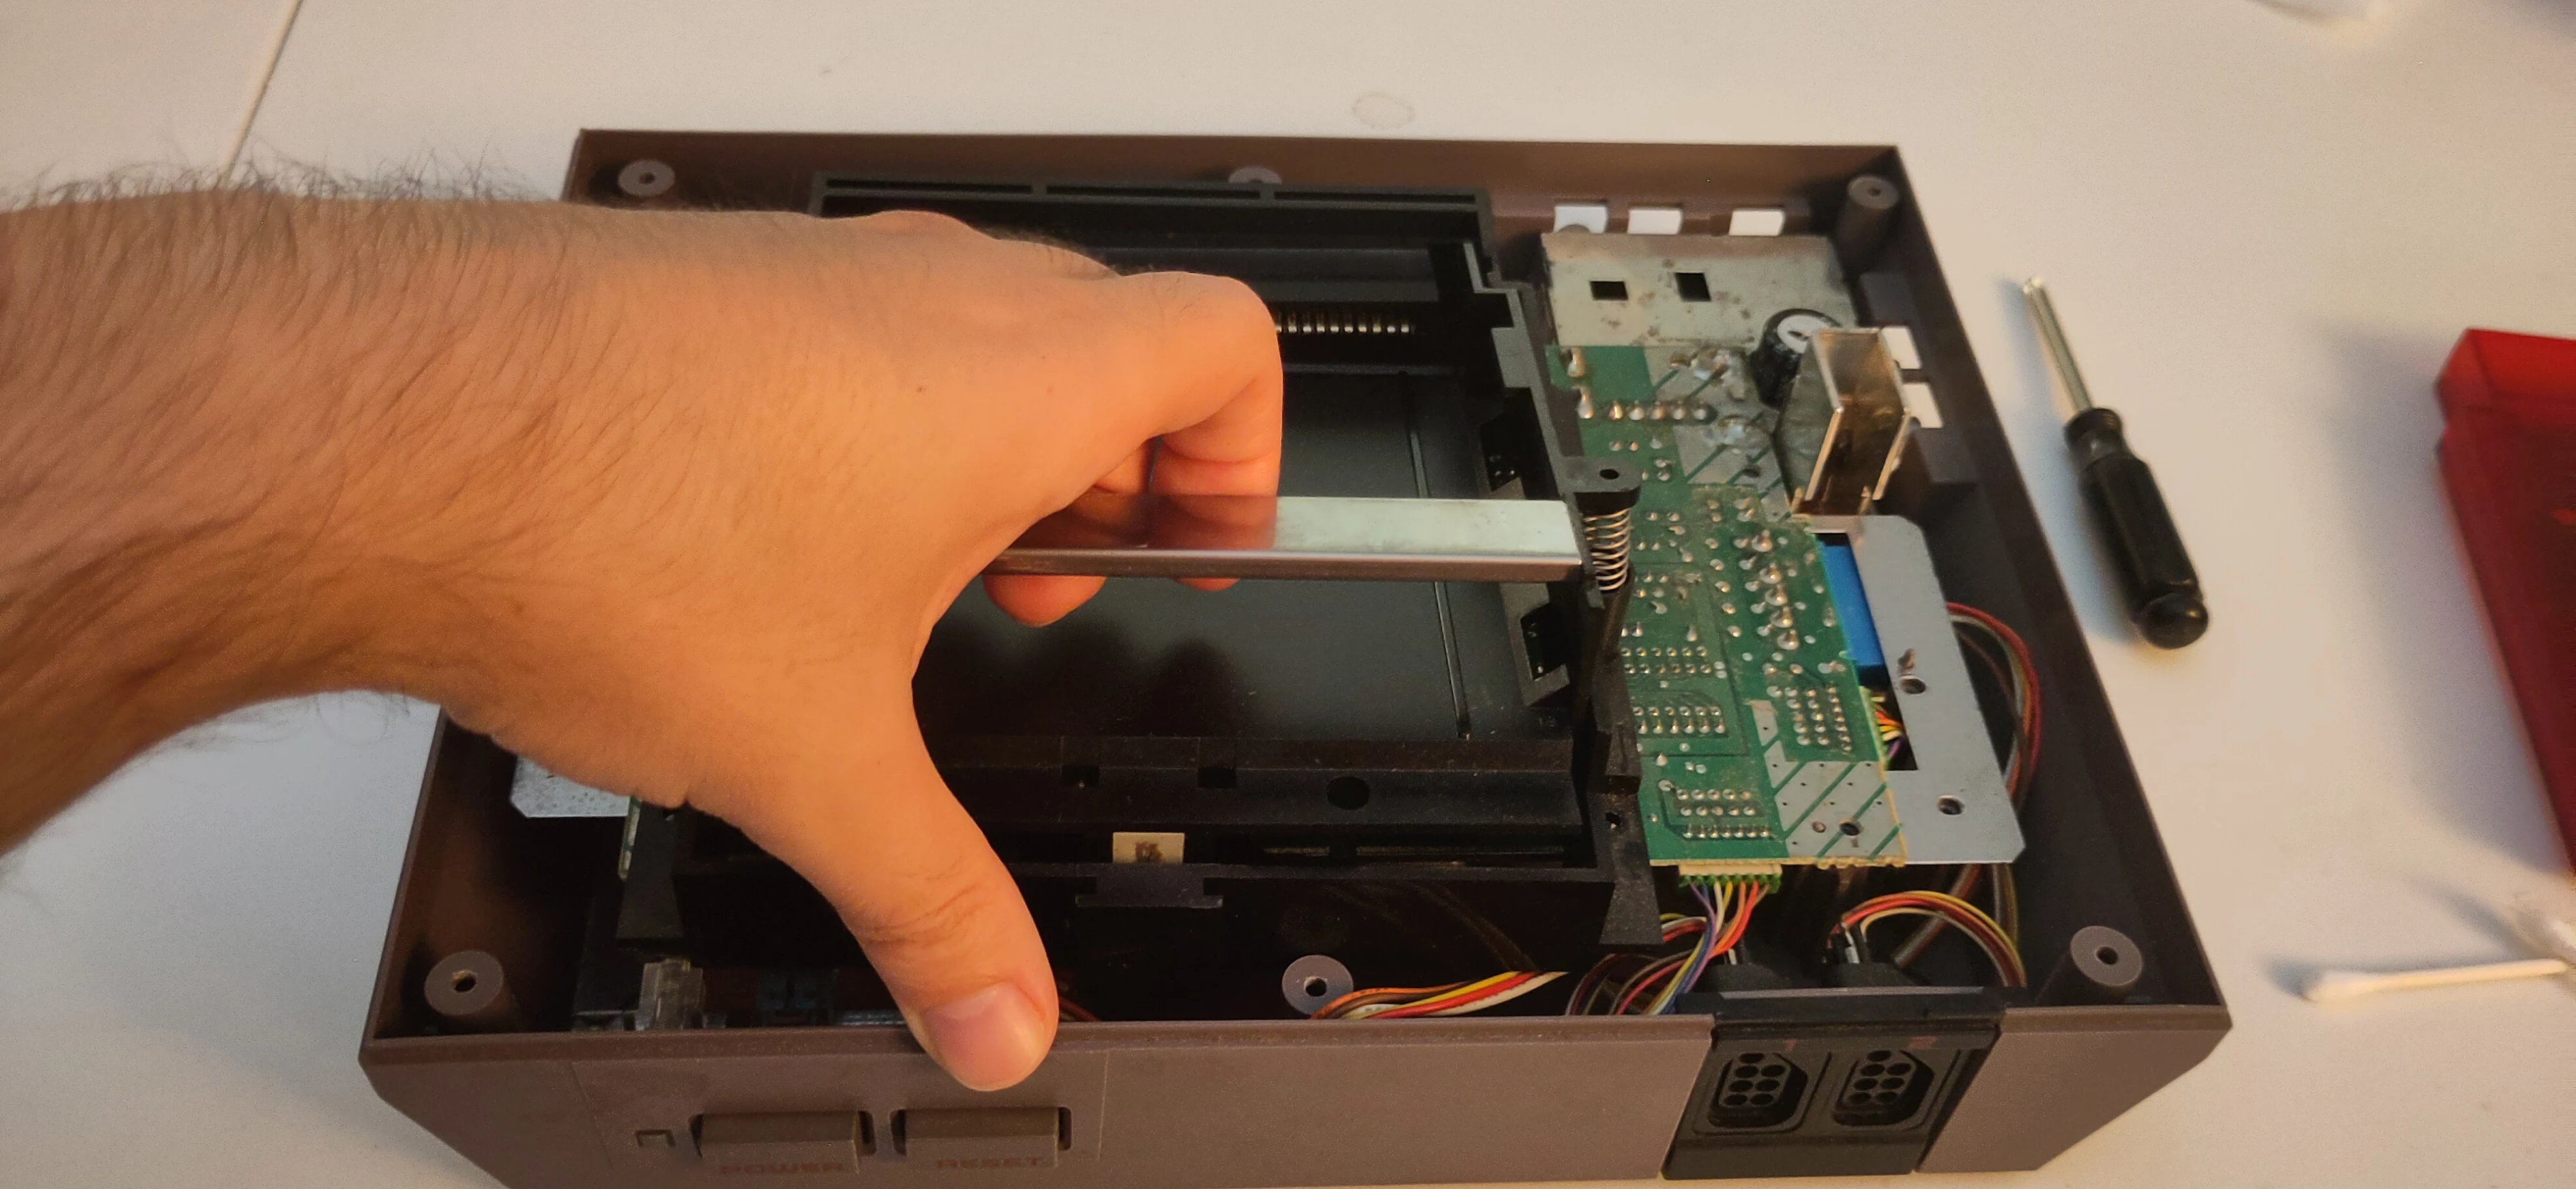
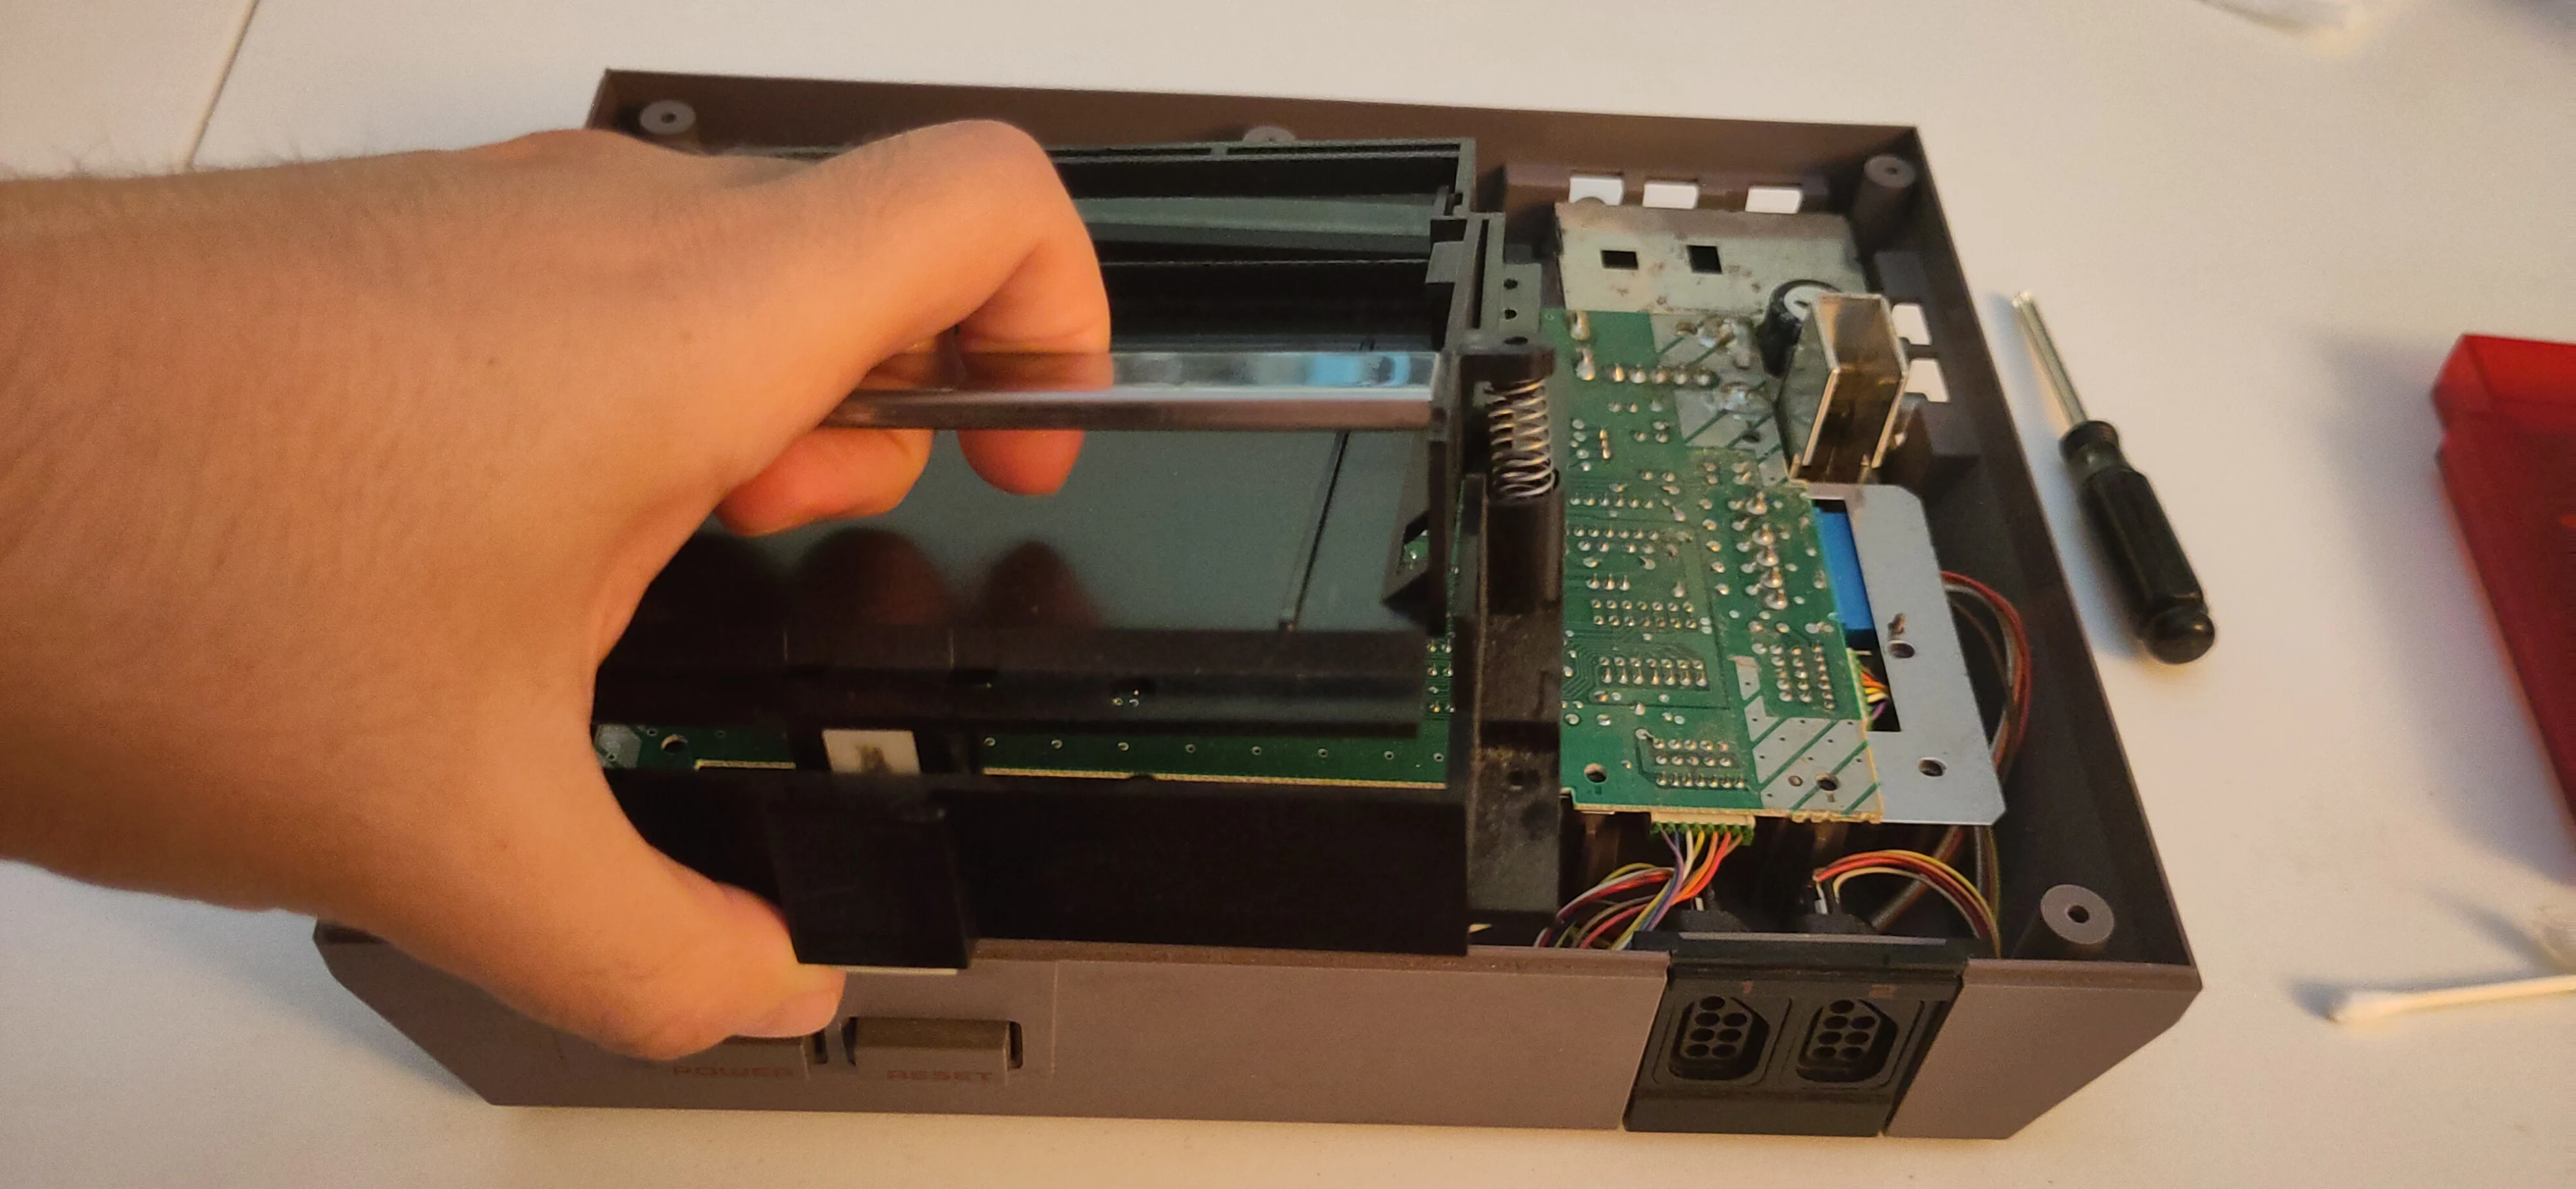
8. Remove the remaining screws near AC/DC converter.
There are two (2) Philips screws around the back corner of the motherboard, near the power supply and video input jacks.
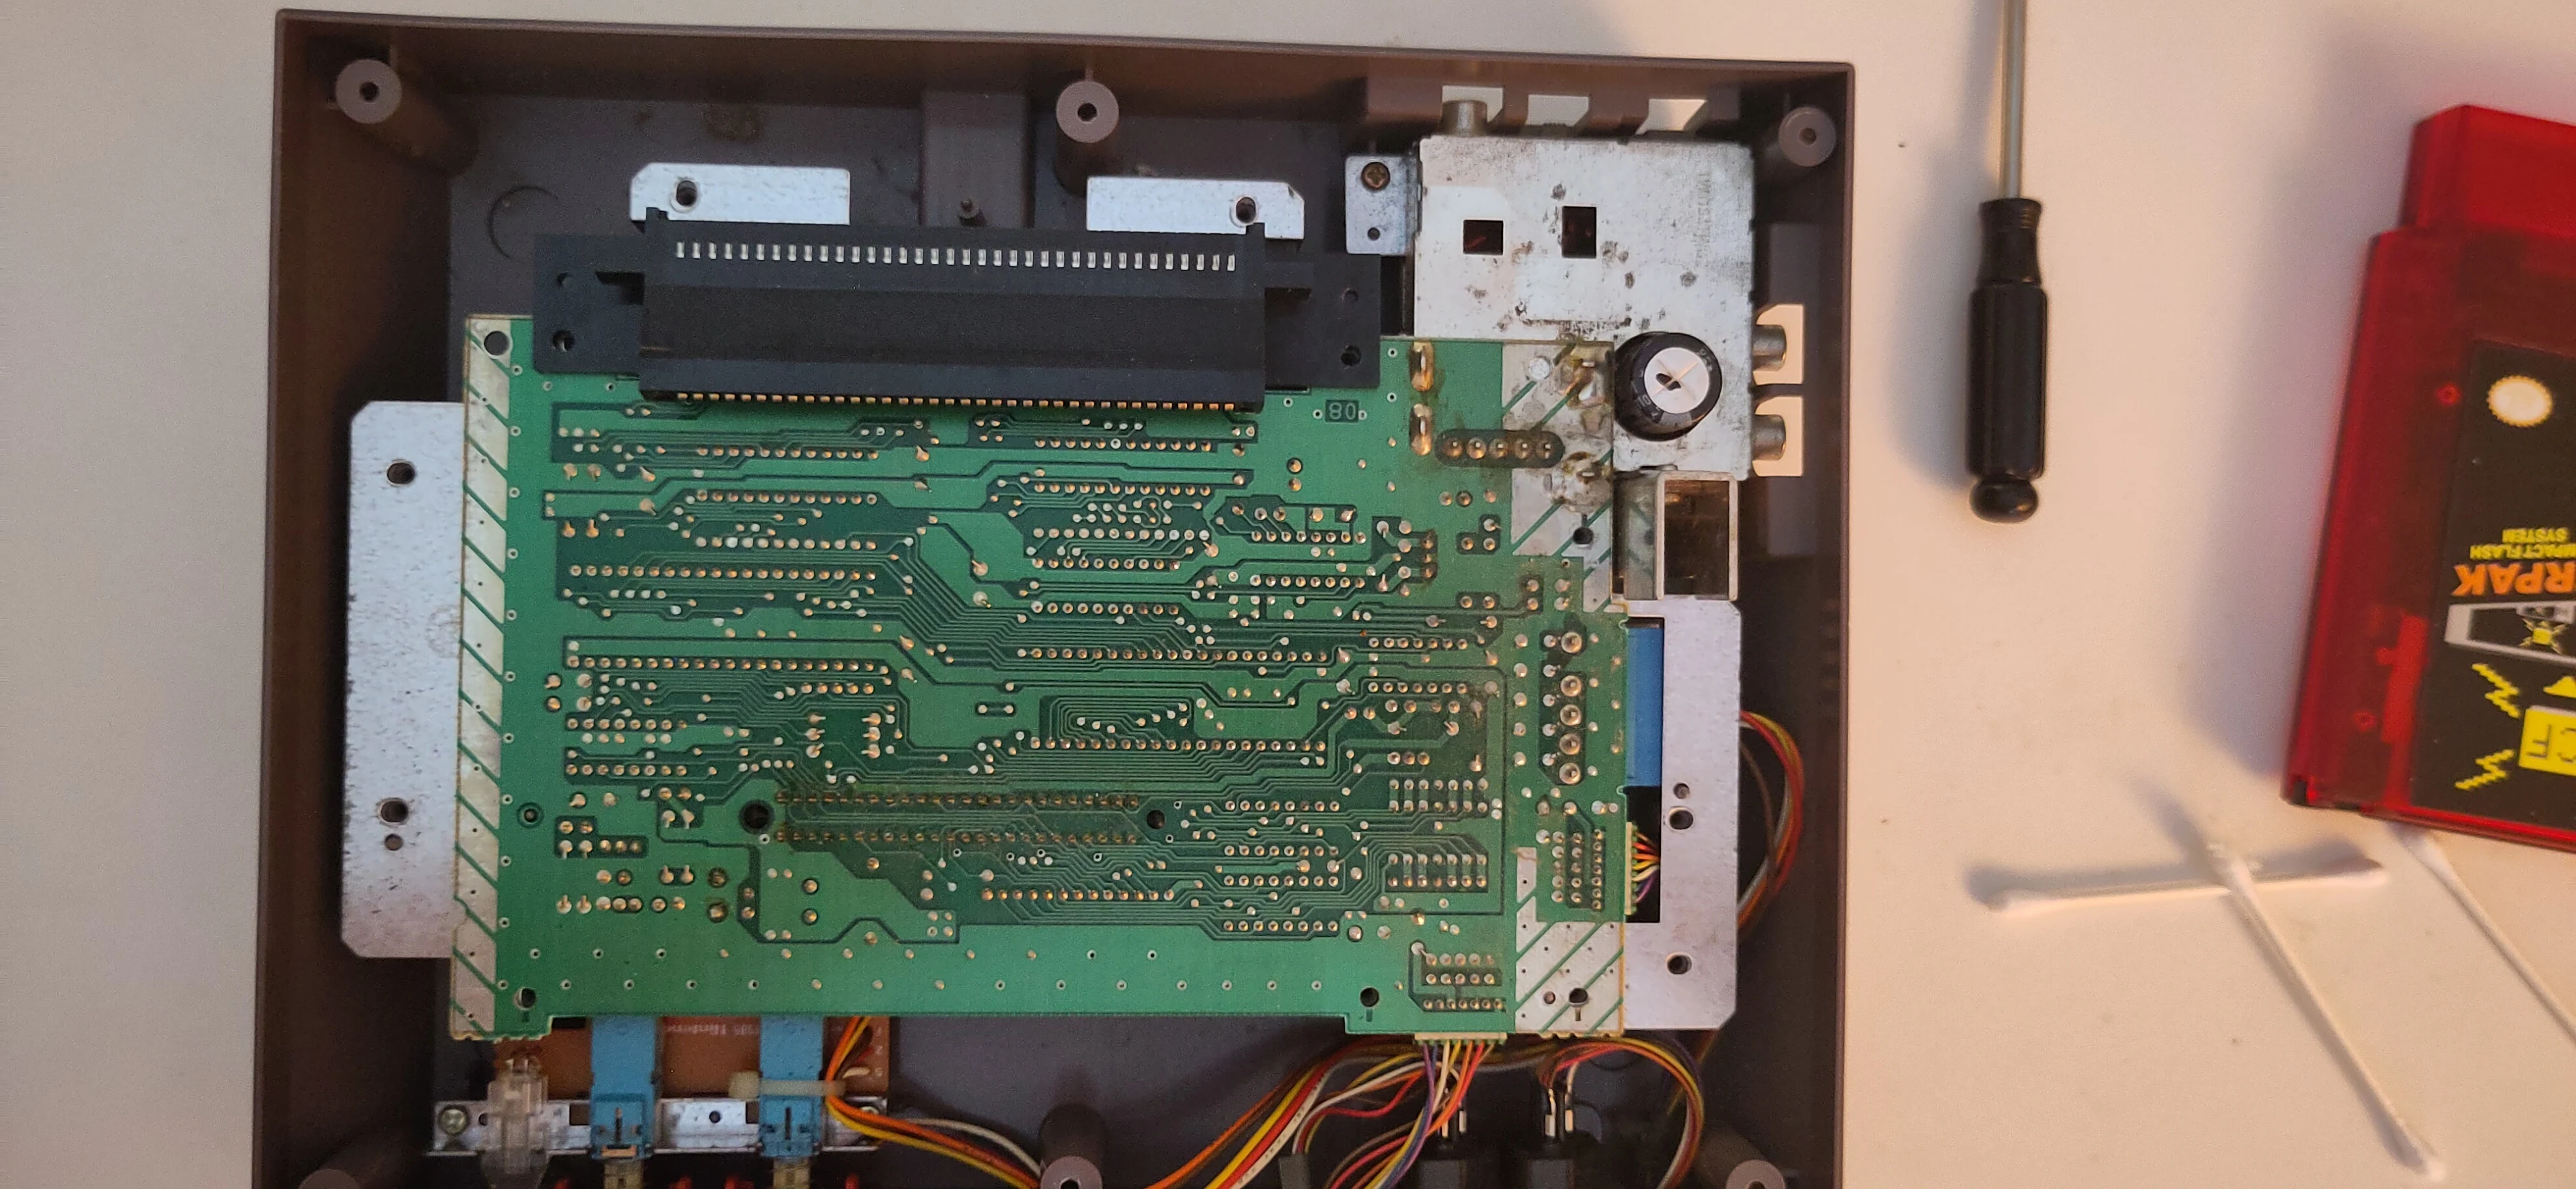
9. Separate the motherboard from the lower shield.
The green-masked motherboard can be lifted out of the console, but might still be attached to another RF shield on the bottom.
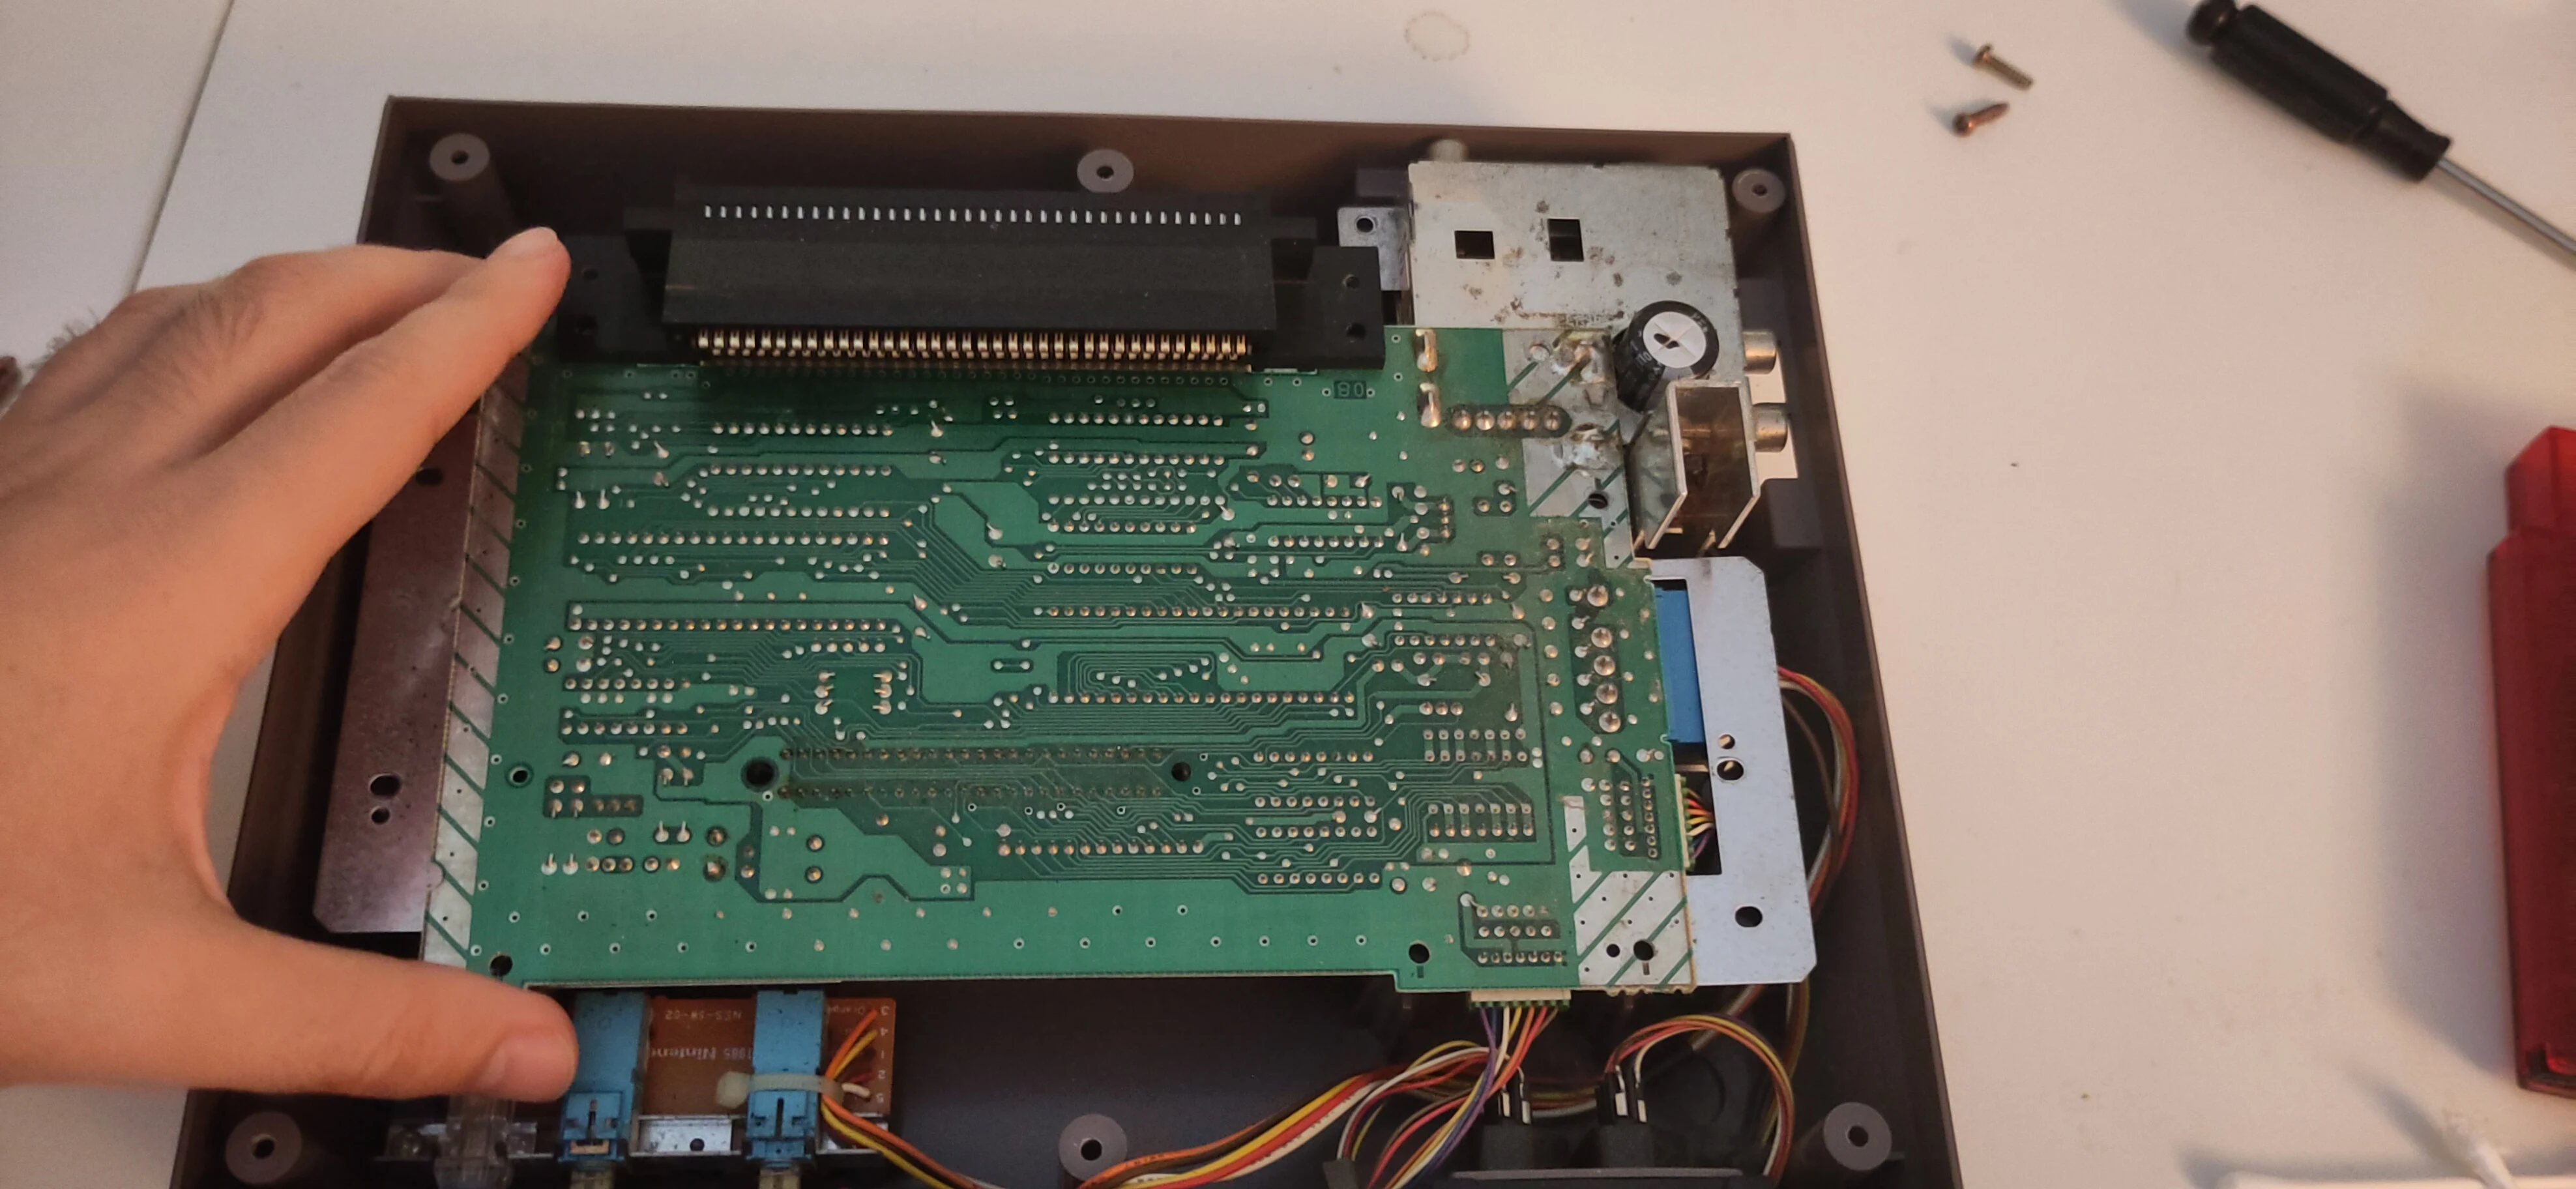
Separate the green board from the bottom metal.
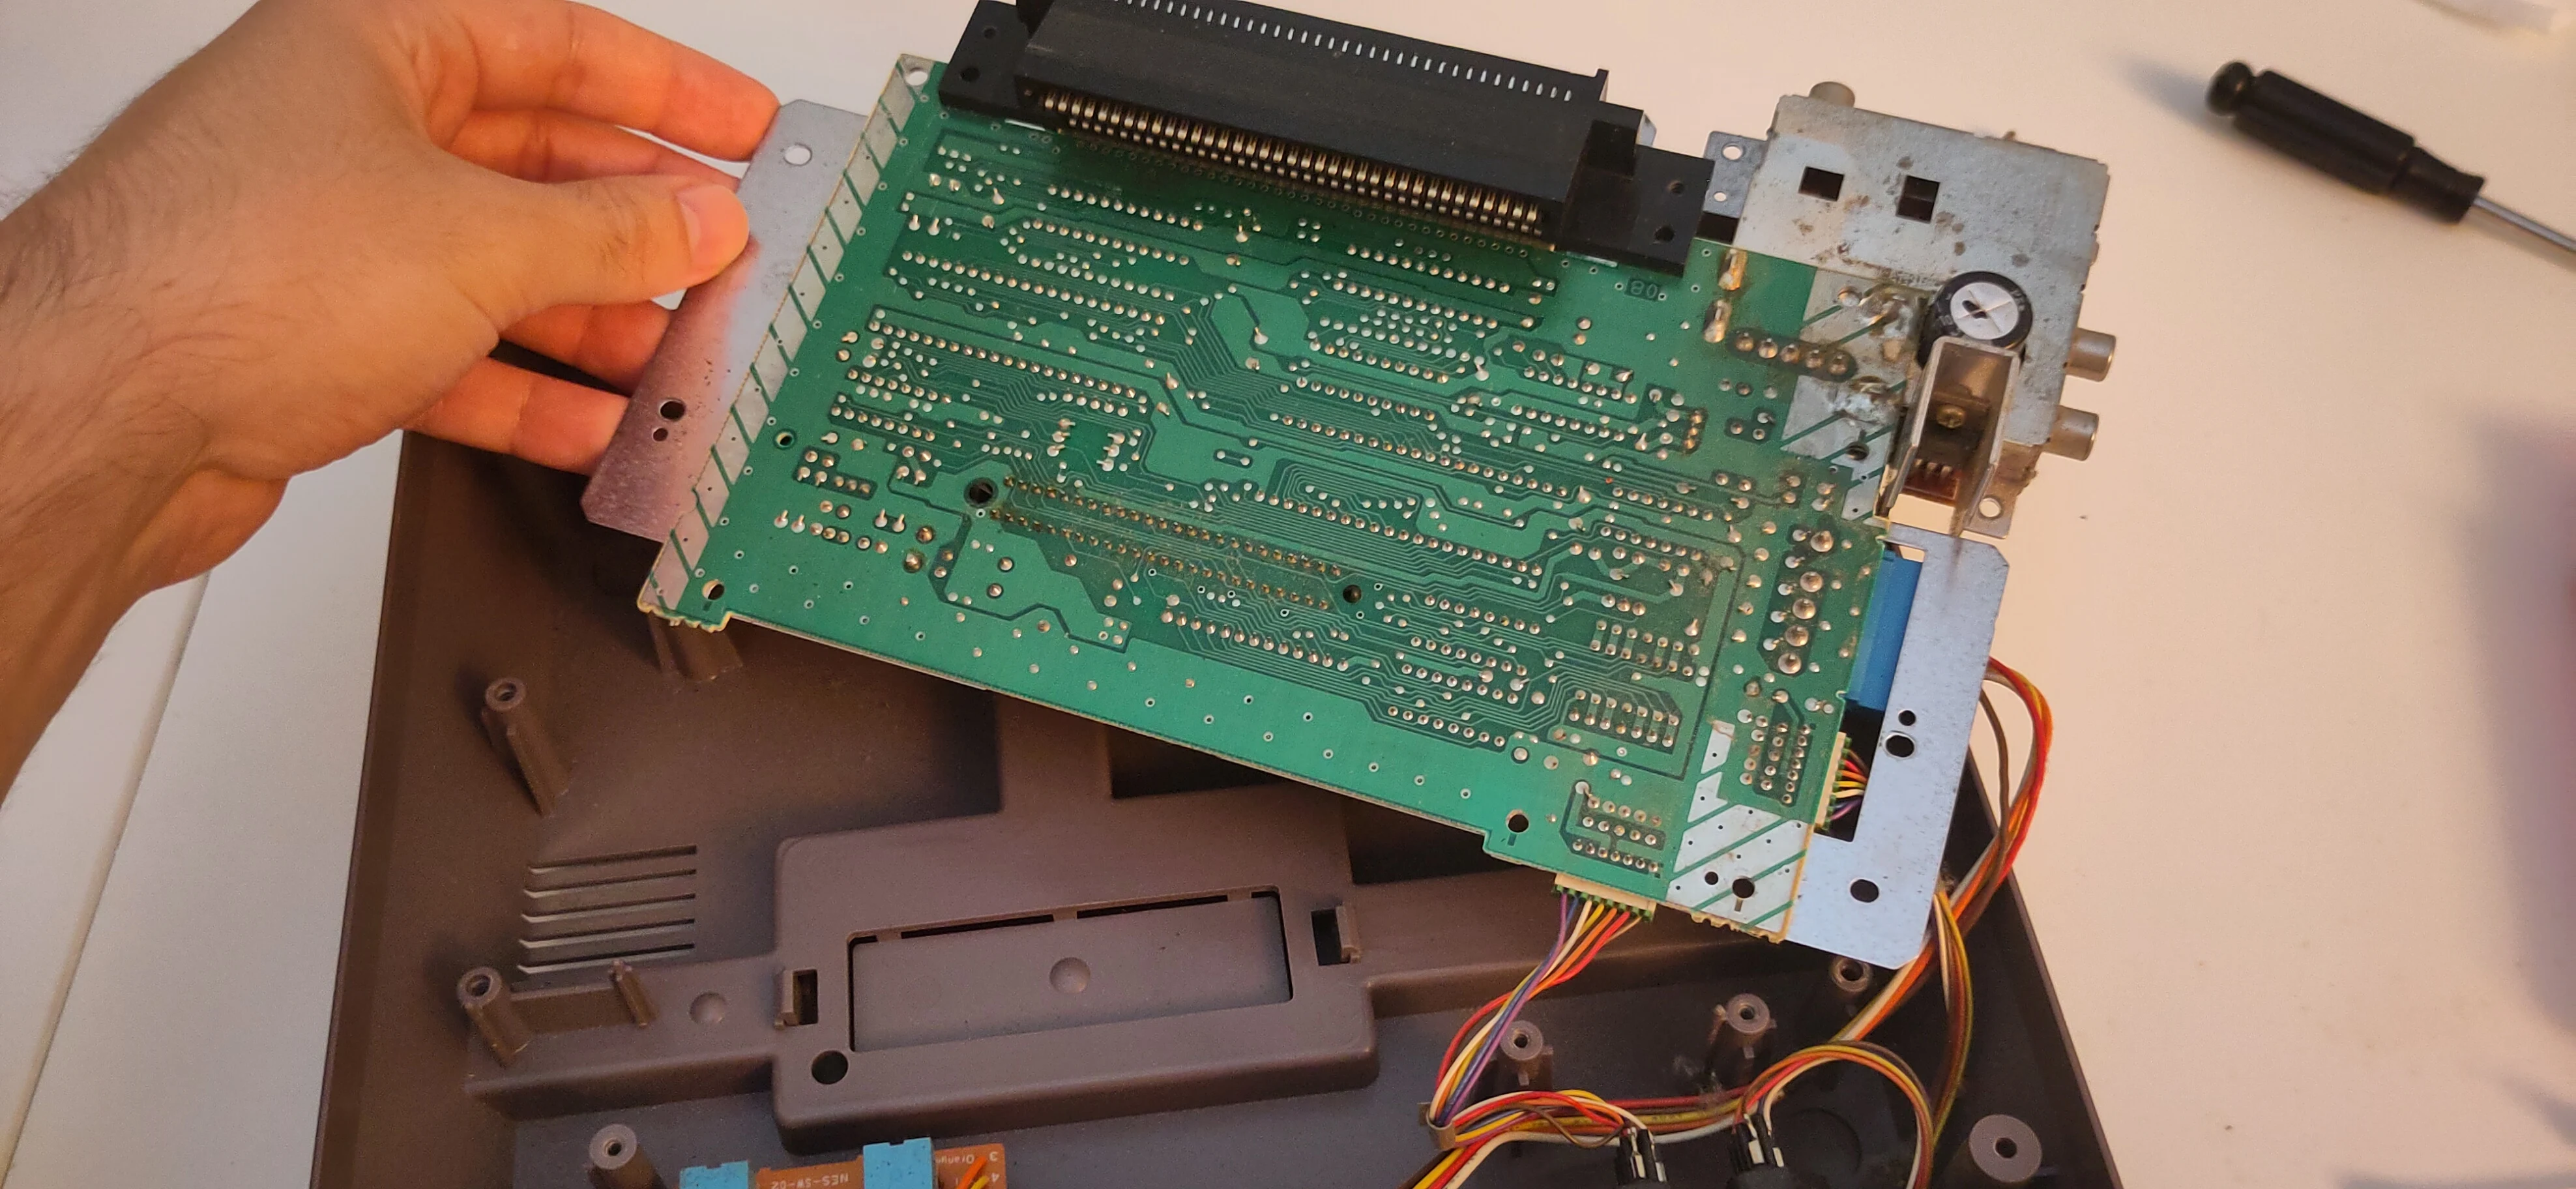
Rotate the motherboard up and around to expose the 72-pin connector on the motherboard.
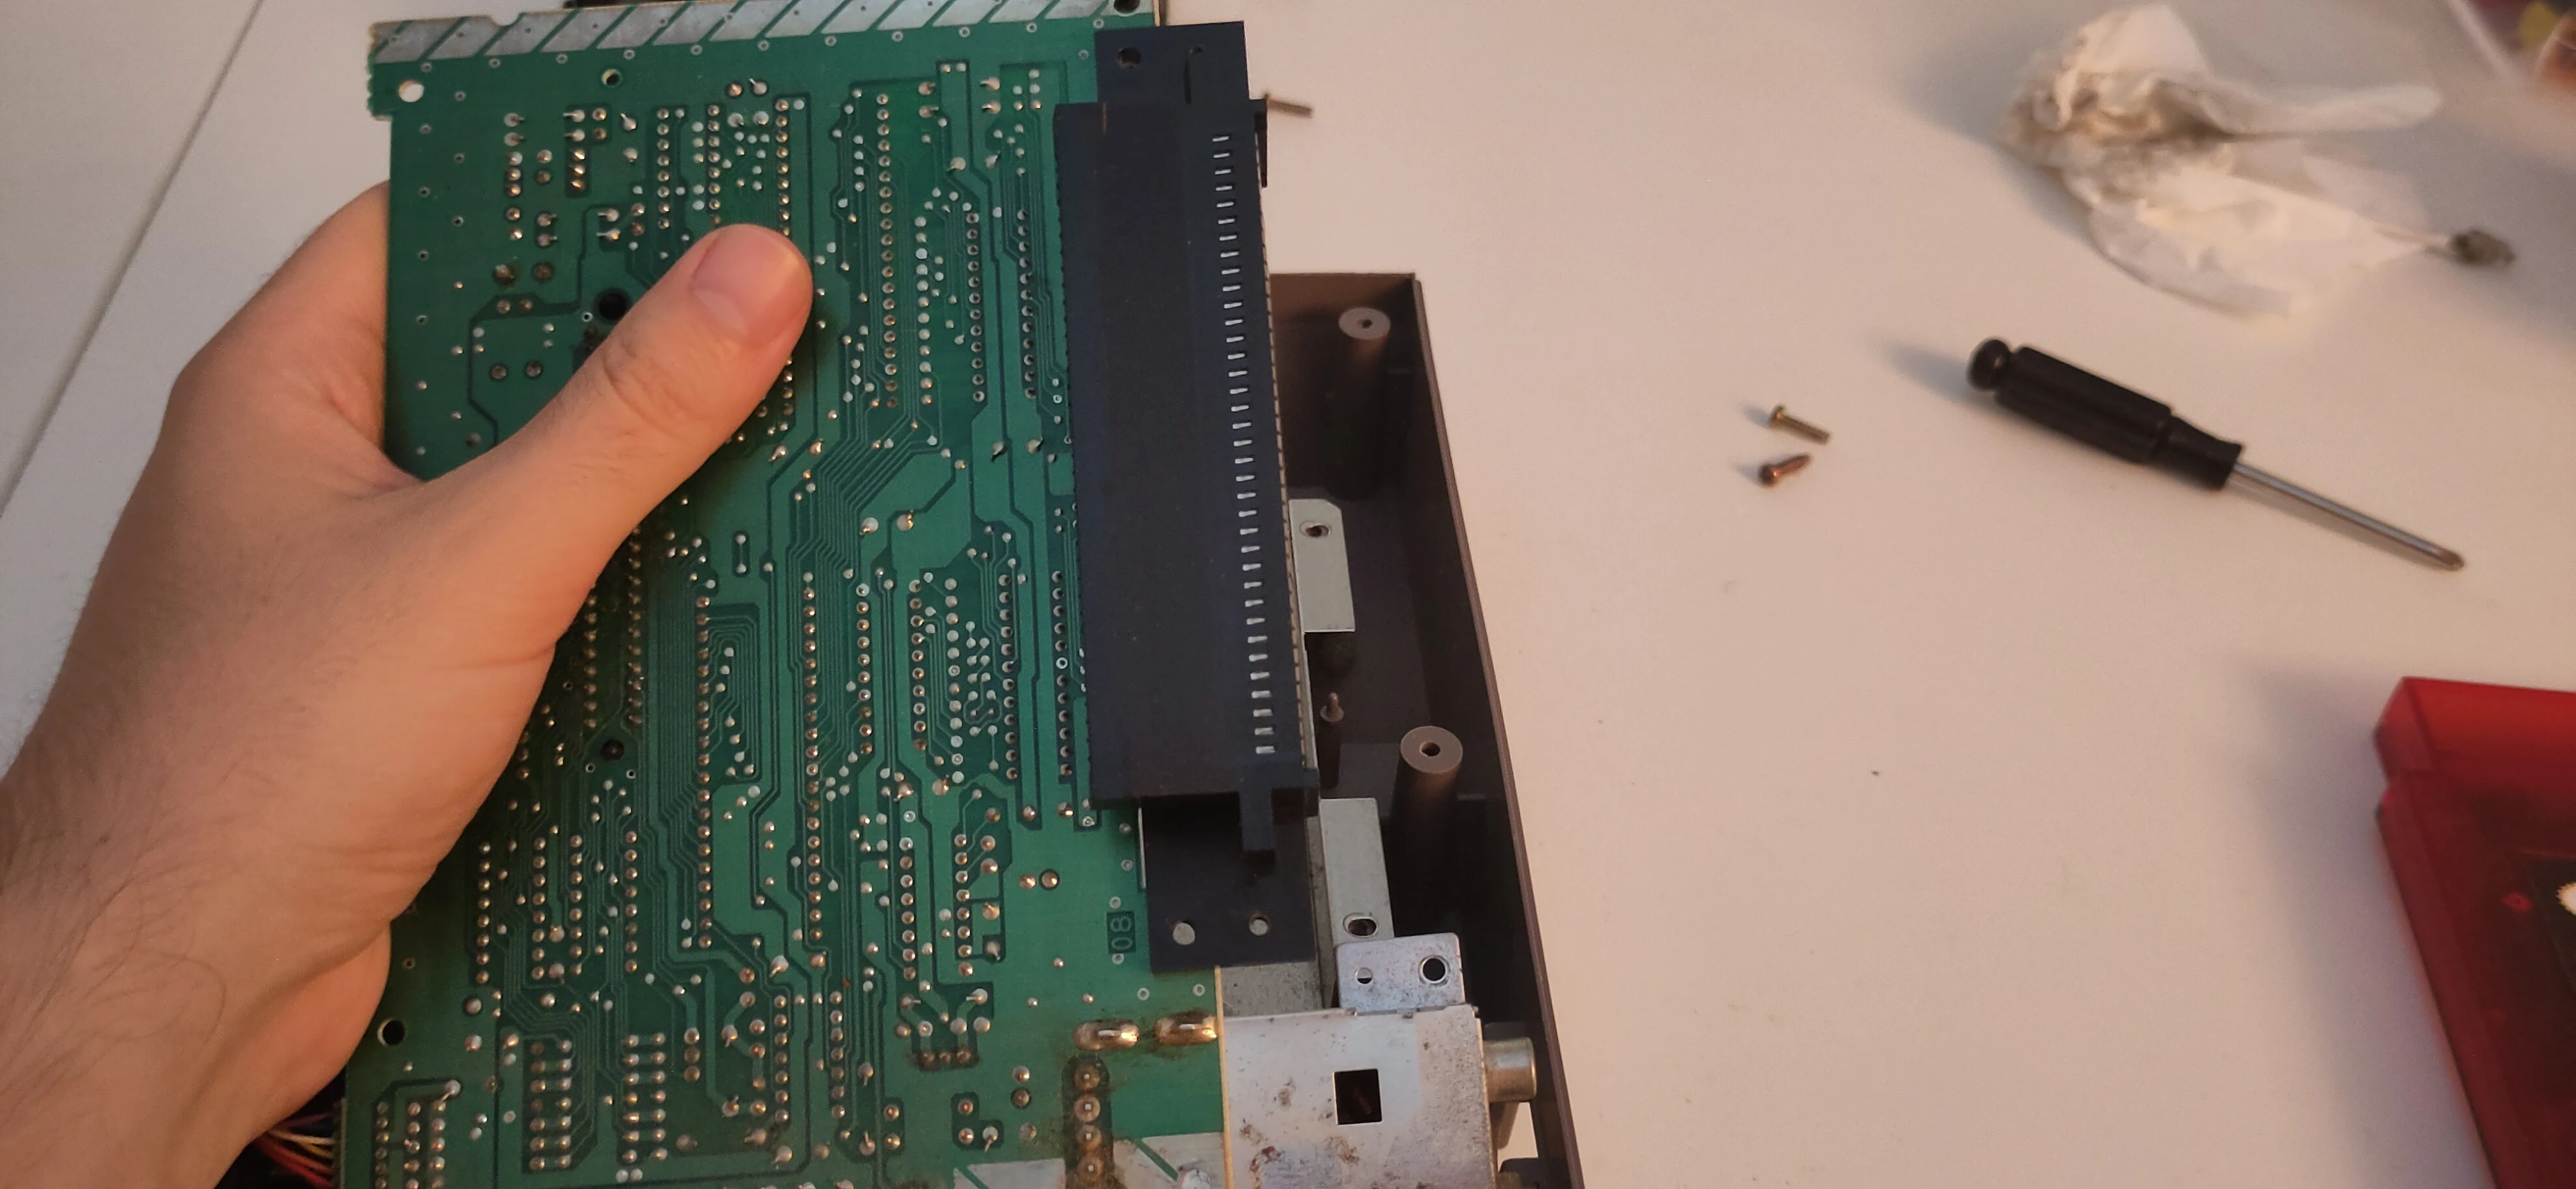
10. Remove the 72-pin connector.
Firmly grab one corner of the 72-pin connector.
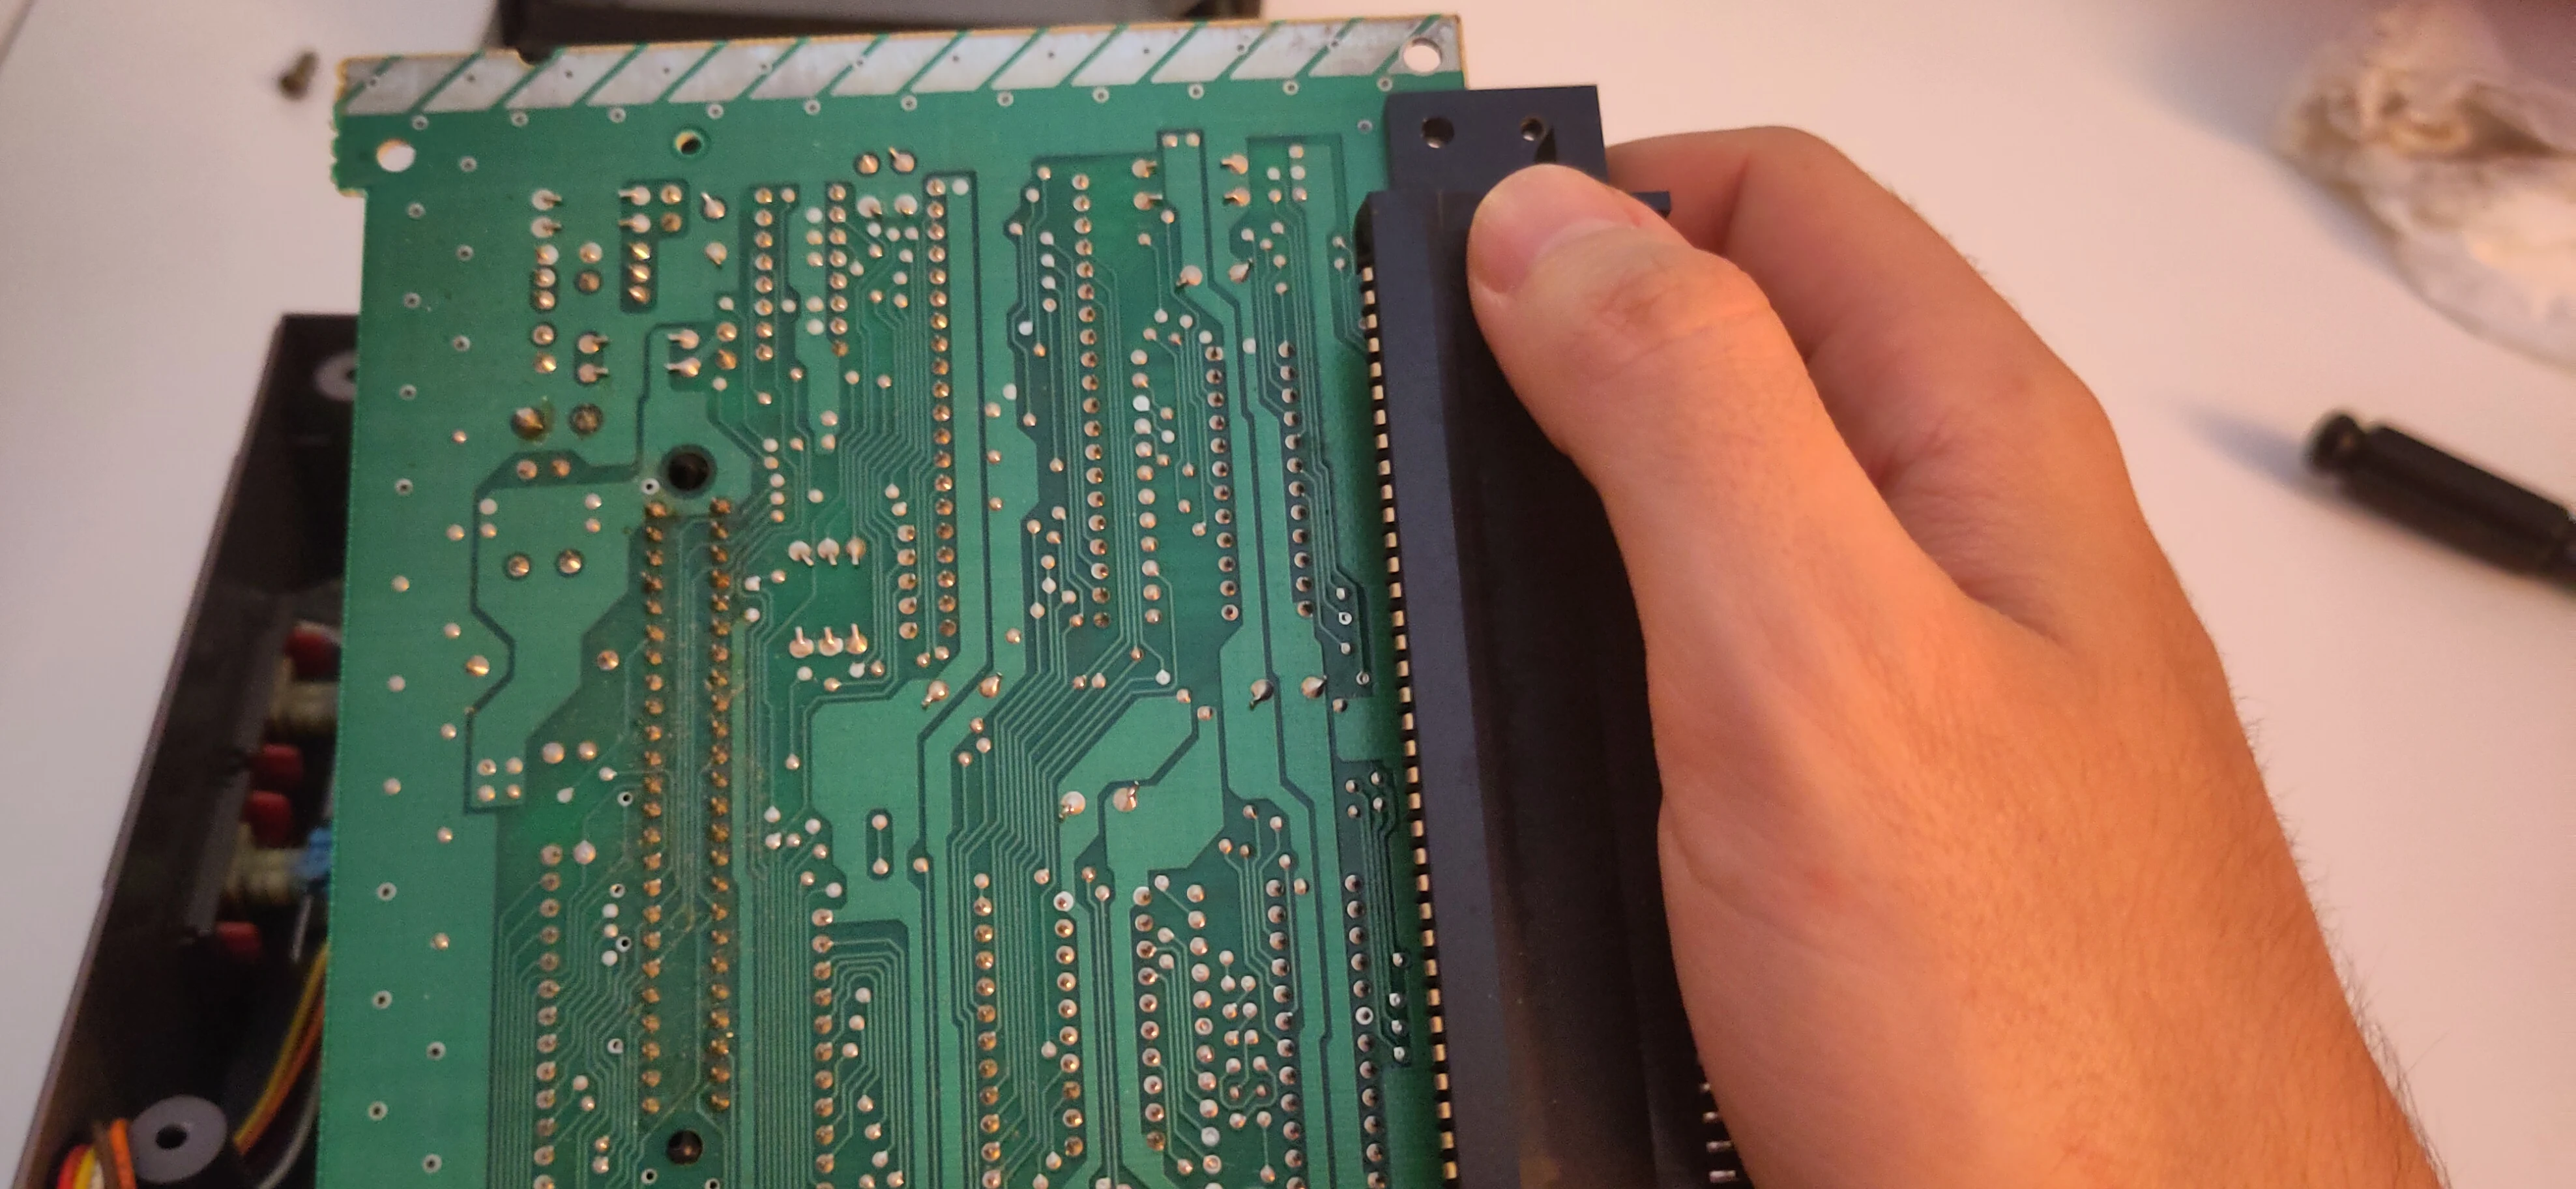
Apply steady pressure from the corner to loosen the connector from the board, then move your hand down to the other corner and pull out with the same steady pressure. Repeat back and forth between the corners until the connector is removed.
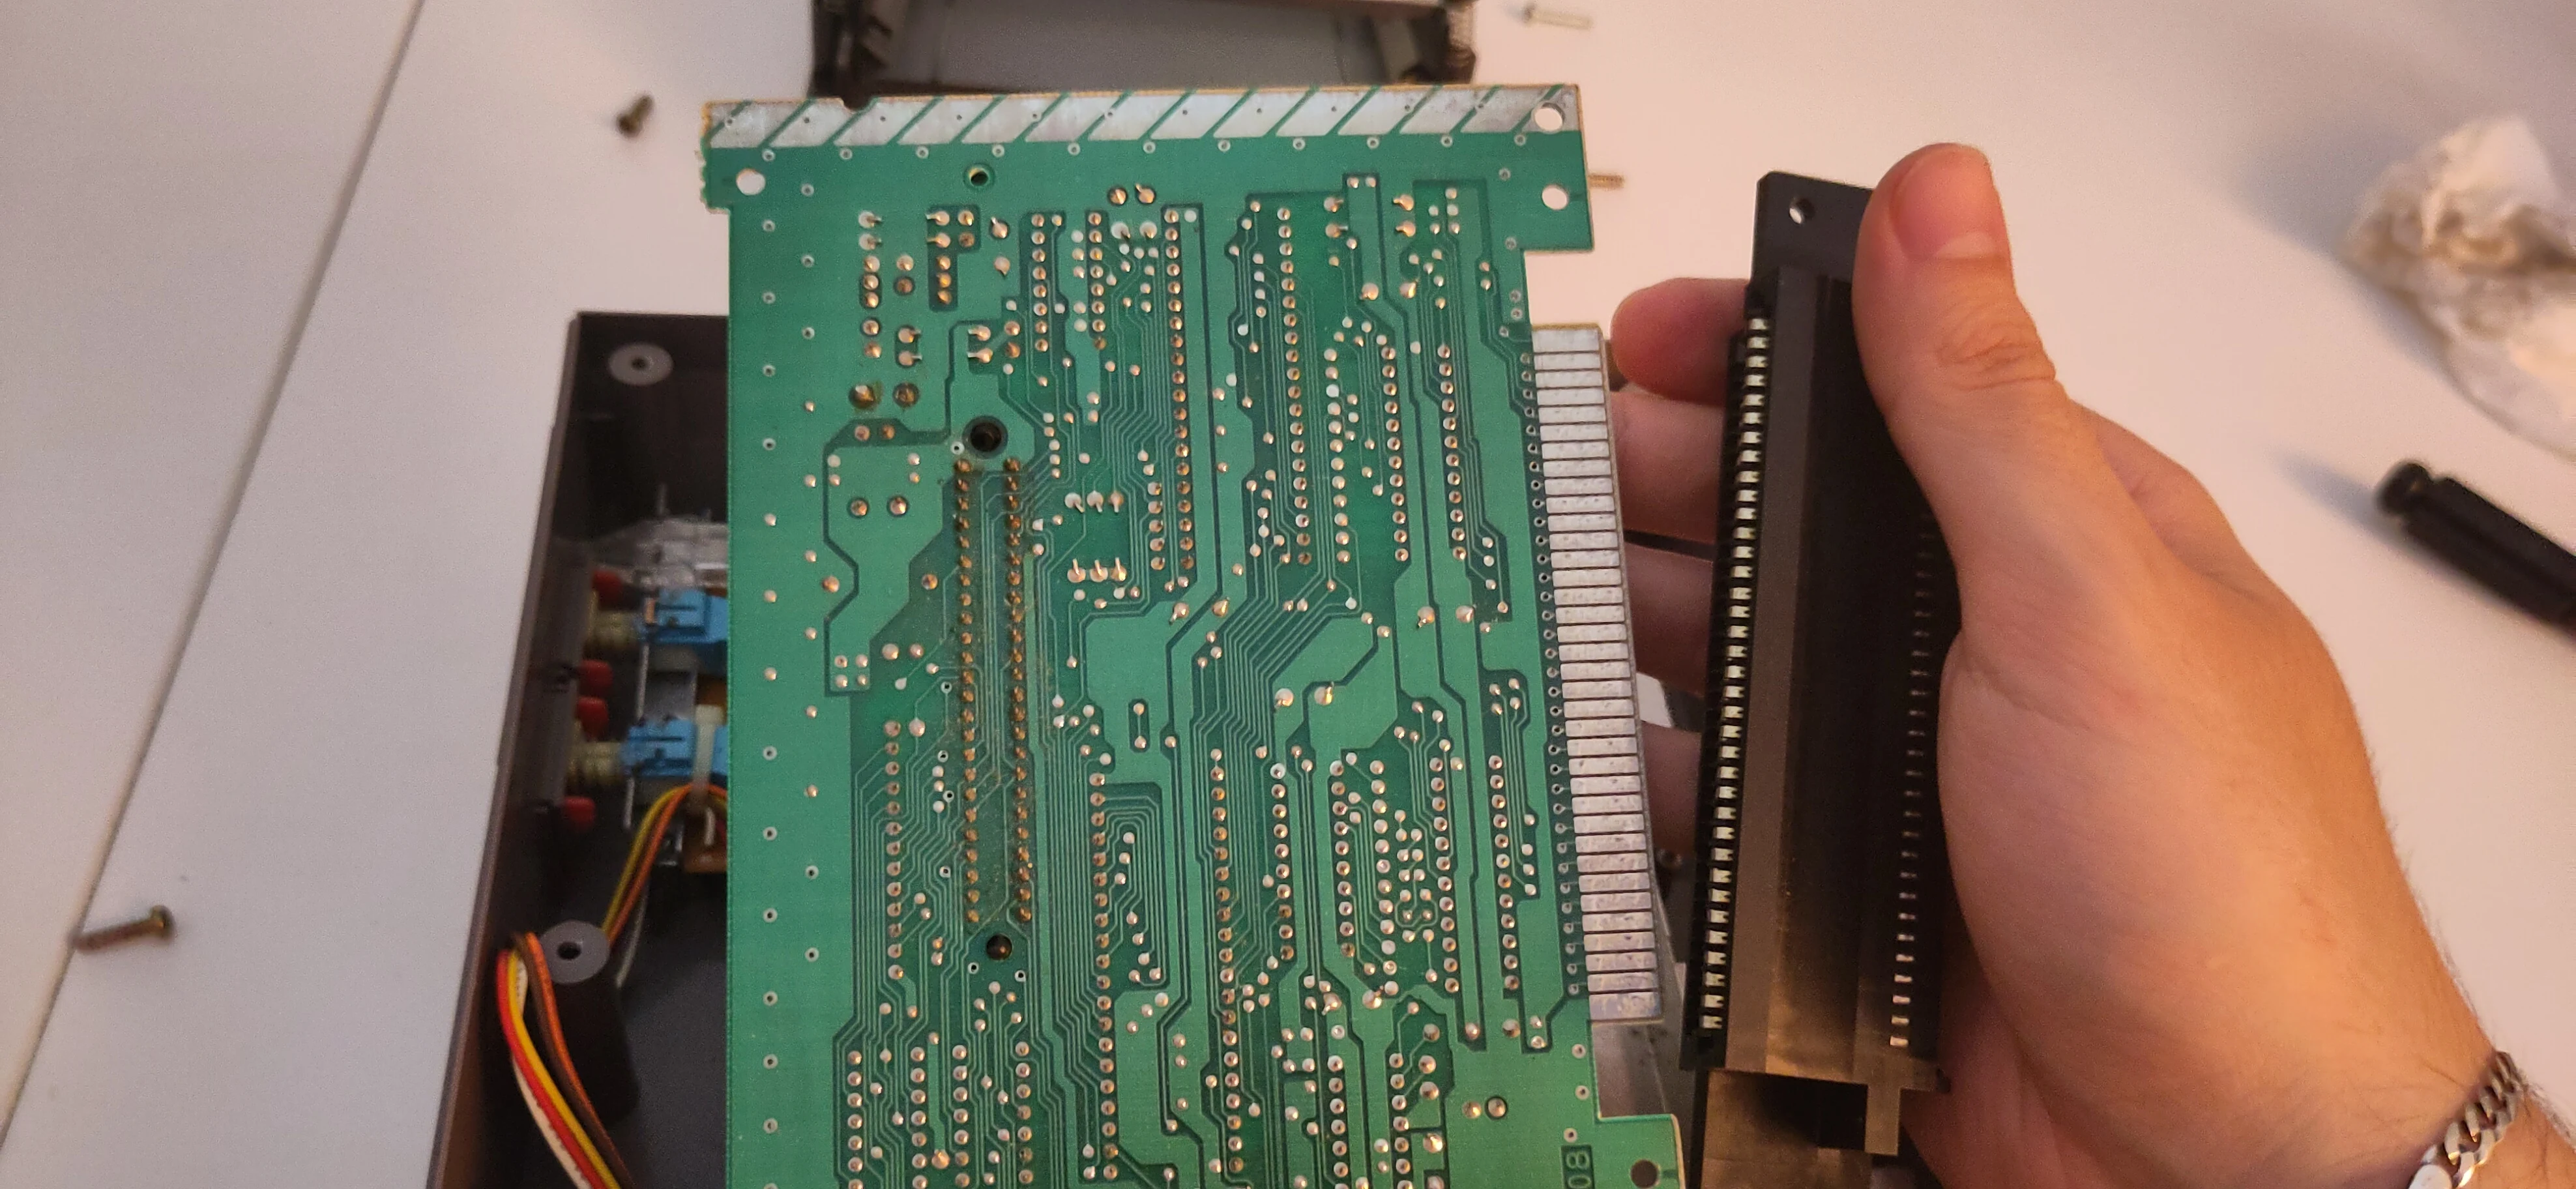
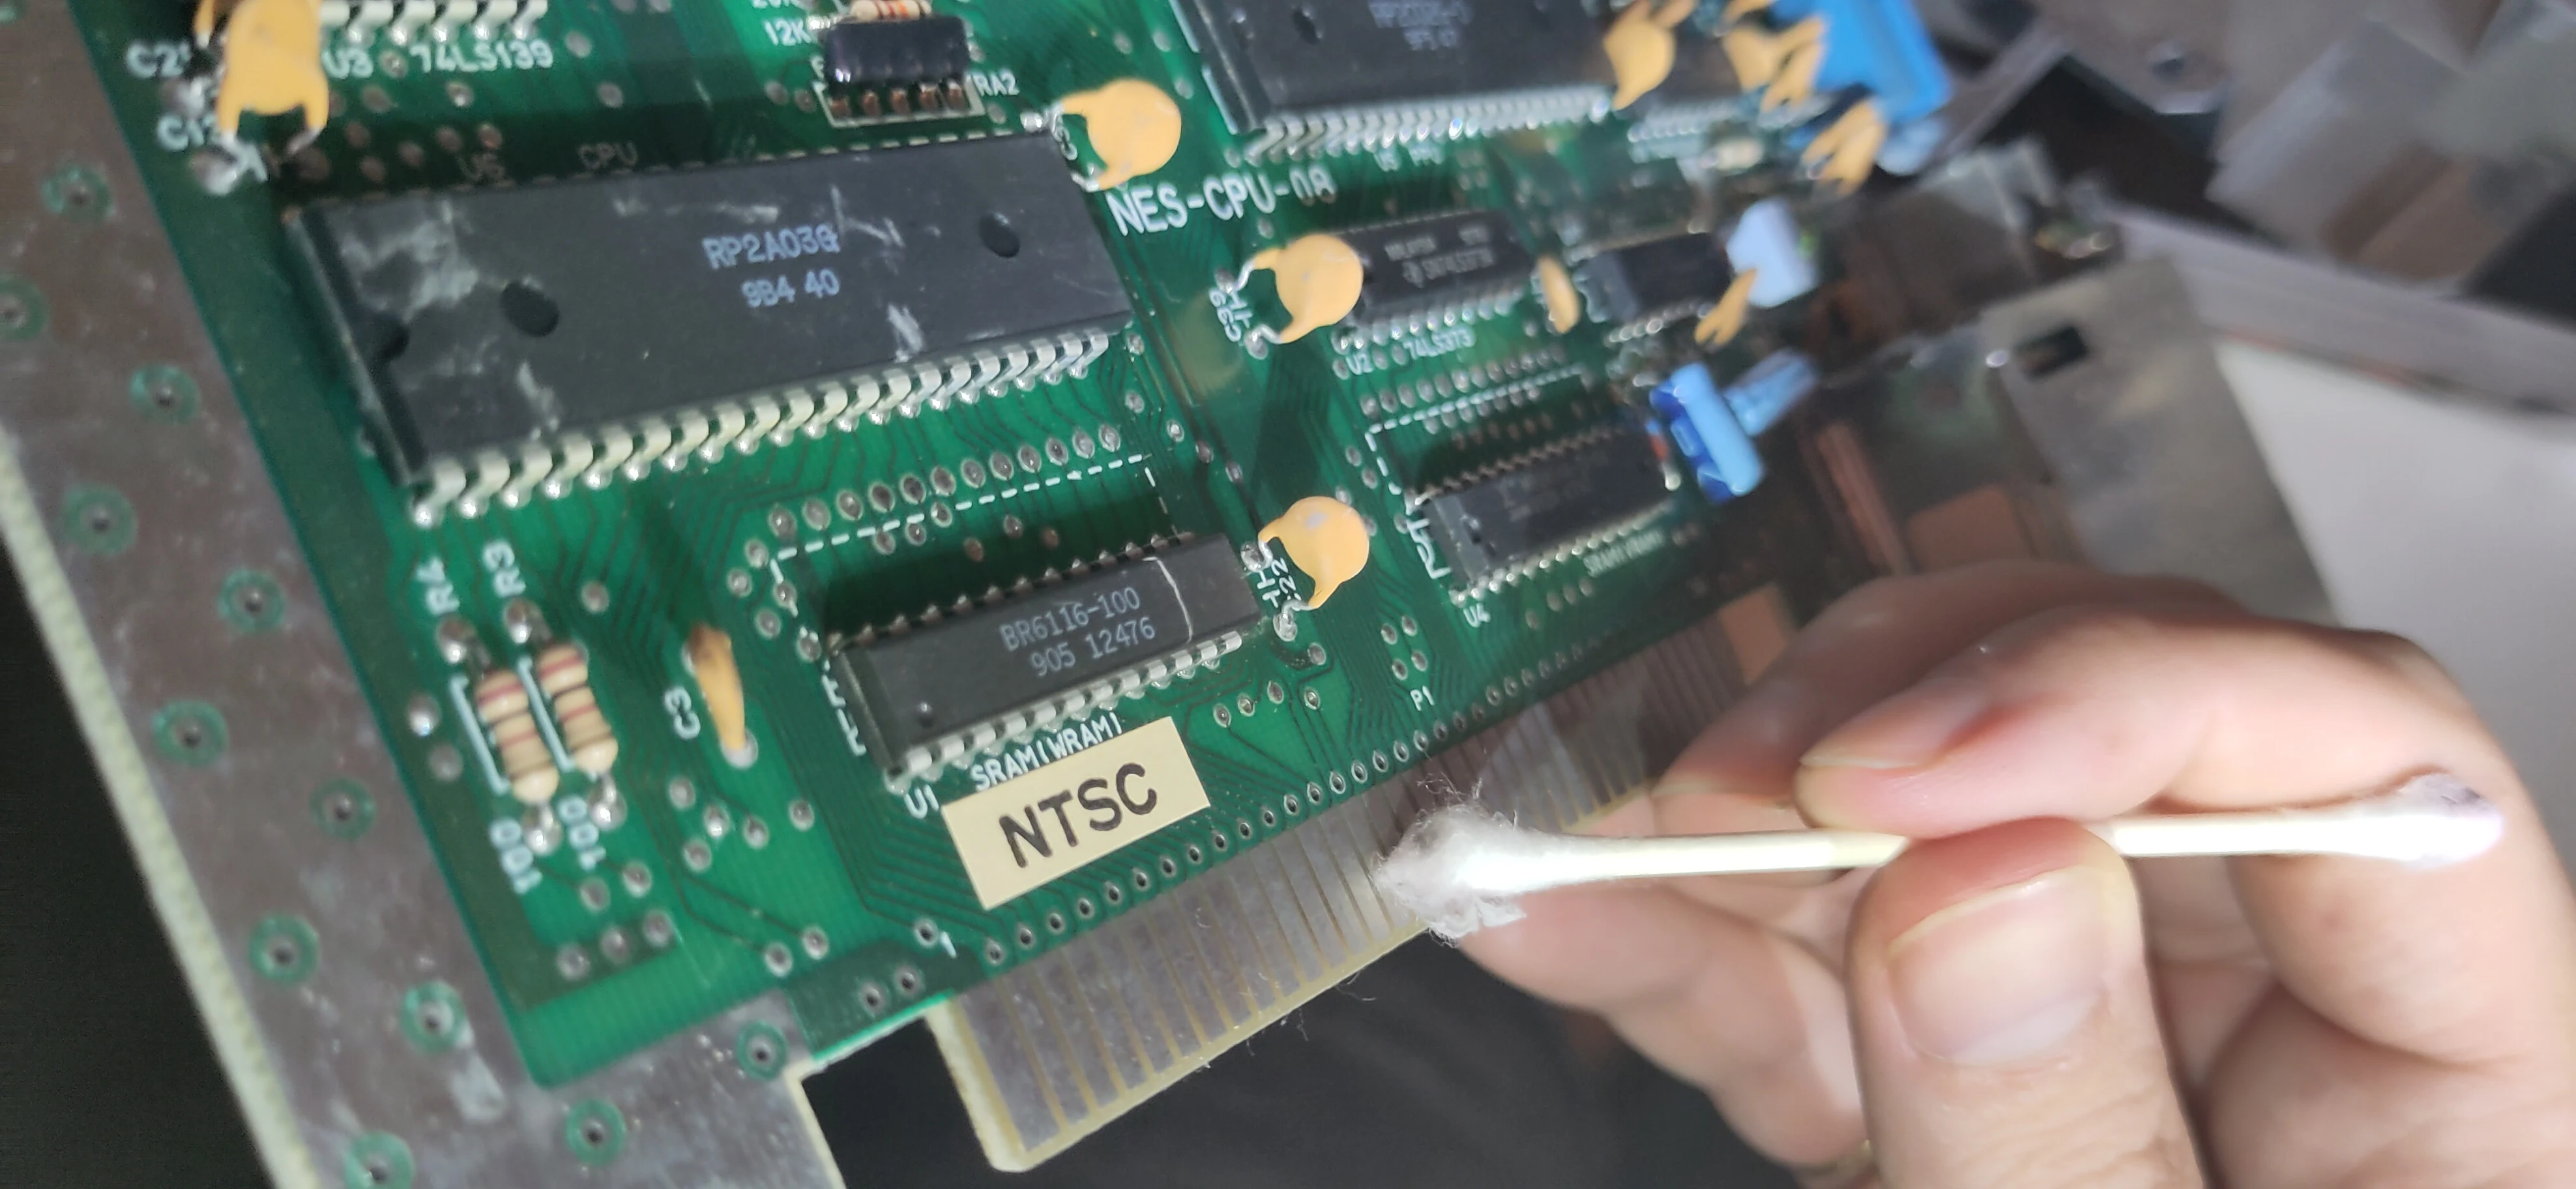
11. Apply DeOxIt to the exposed pins.
While the 72 pins on the motherboard are exposed, use a cotton swab and a thin layer of DeOxIt forumla to coat the pins, removing any old oxidation and improving the connection.
12. Install the Ninten-Drawer.
Align the bottom 72-bin connector of the Ninten-Drawer to the 72-pins on the motherboard.
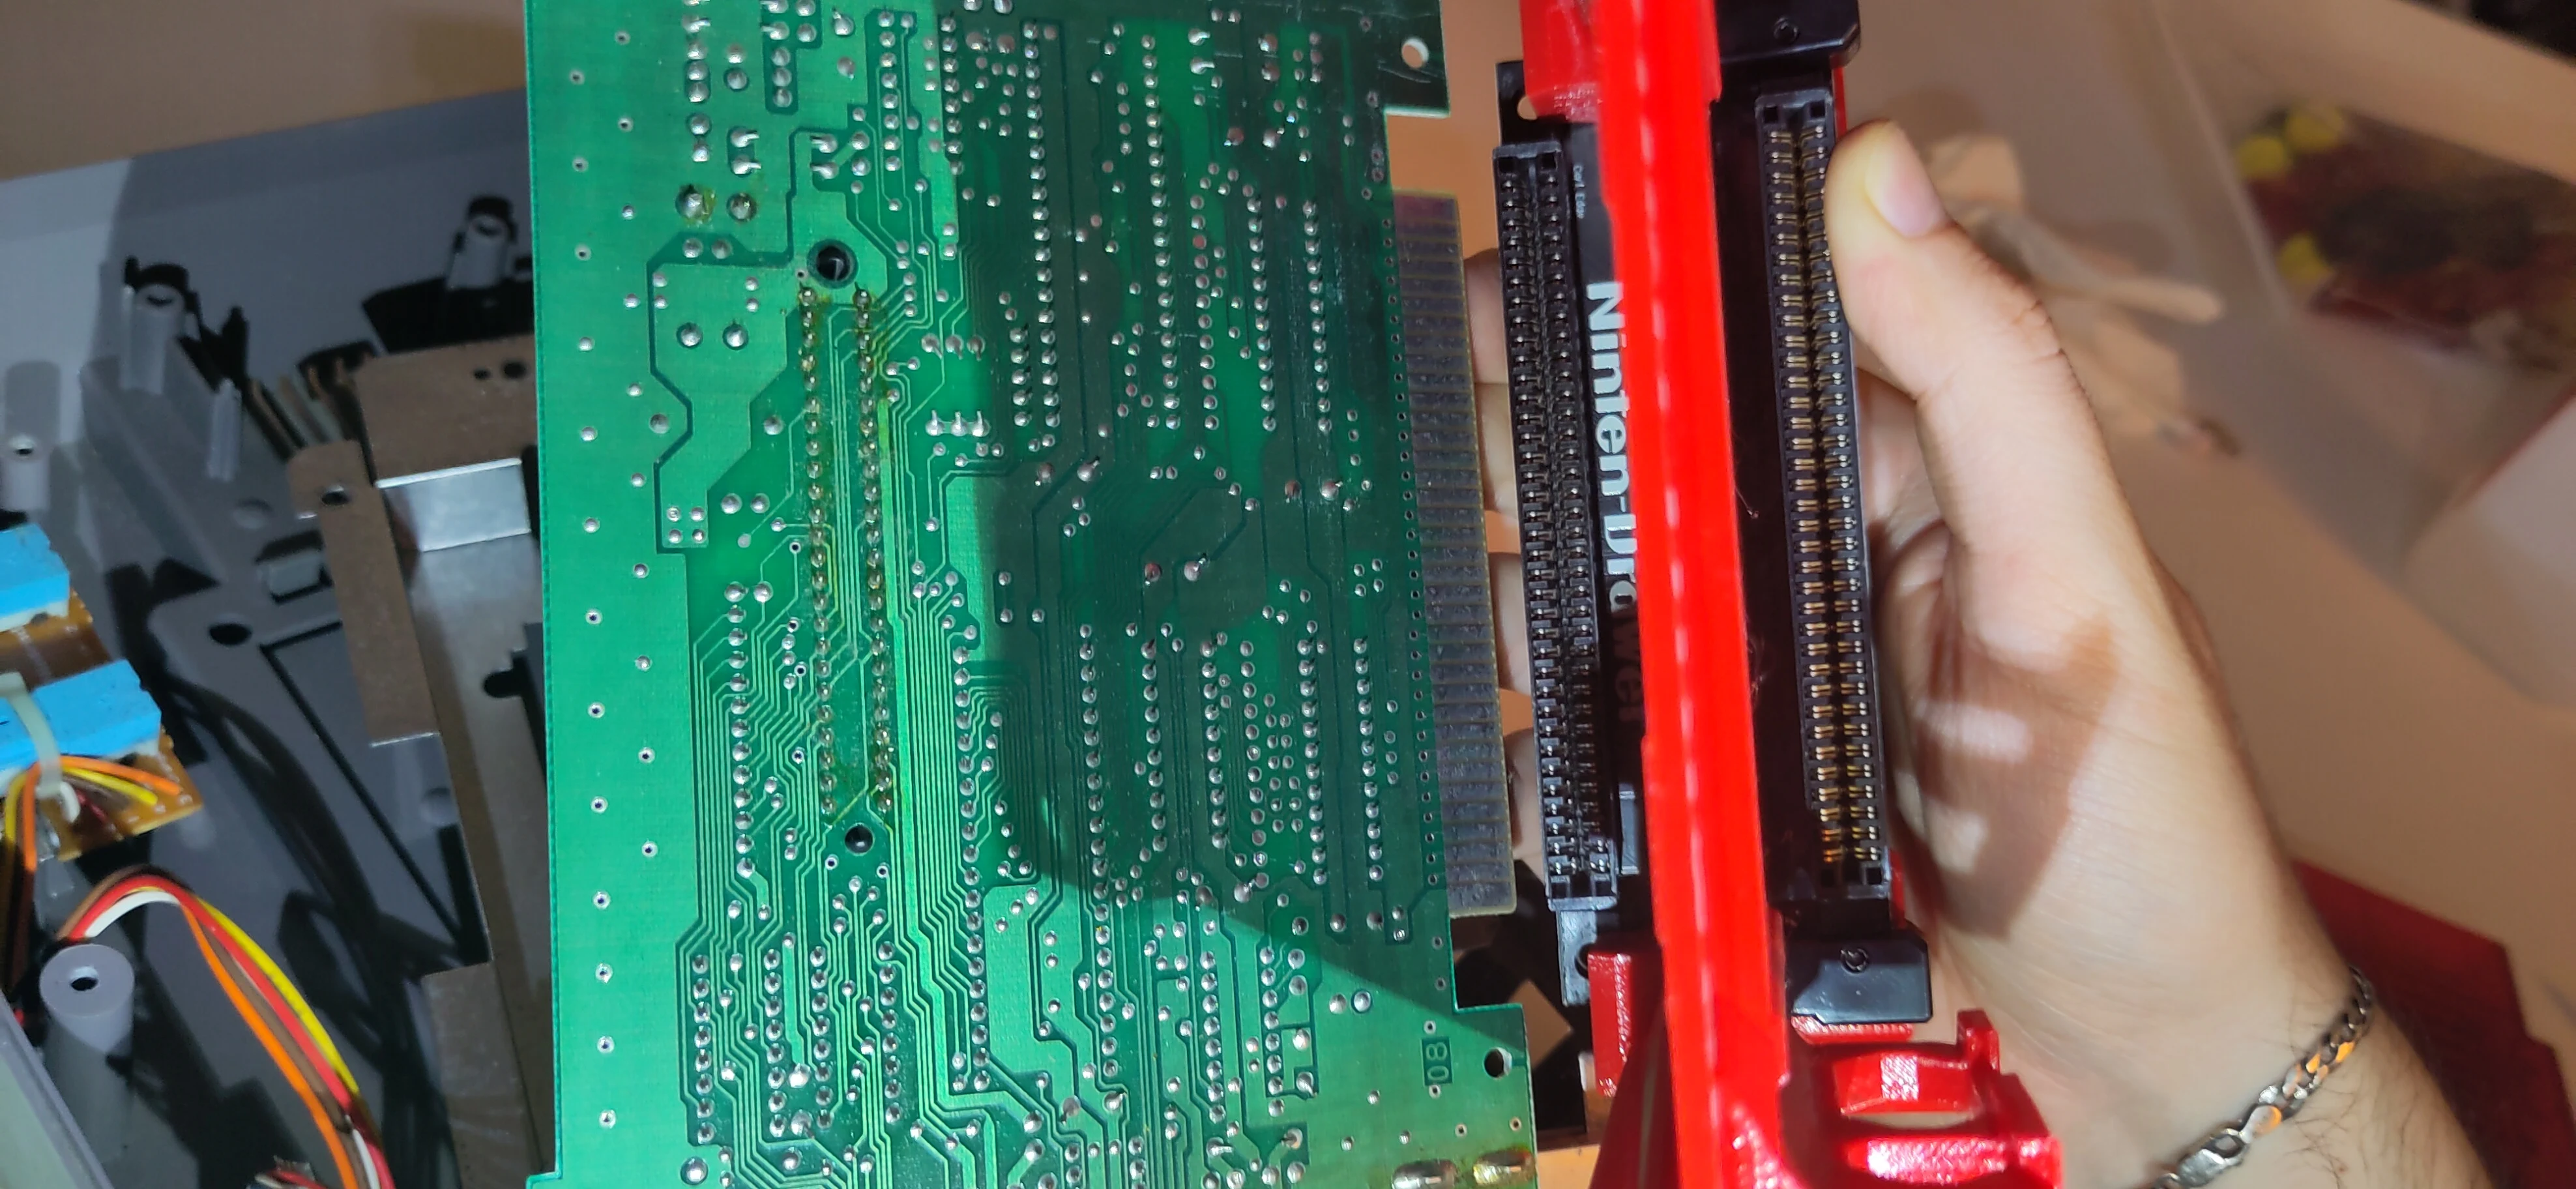
Apply steady pressure to one corner of the connector to firmly seat it on the motherboard, then move your hand down to apply the same pressure to the other corner. Repeat between each corner, securing the connector over the pins.
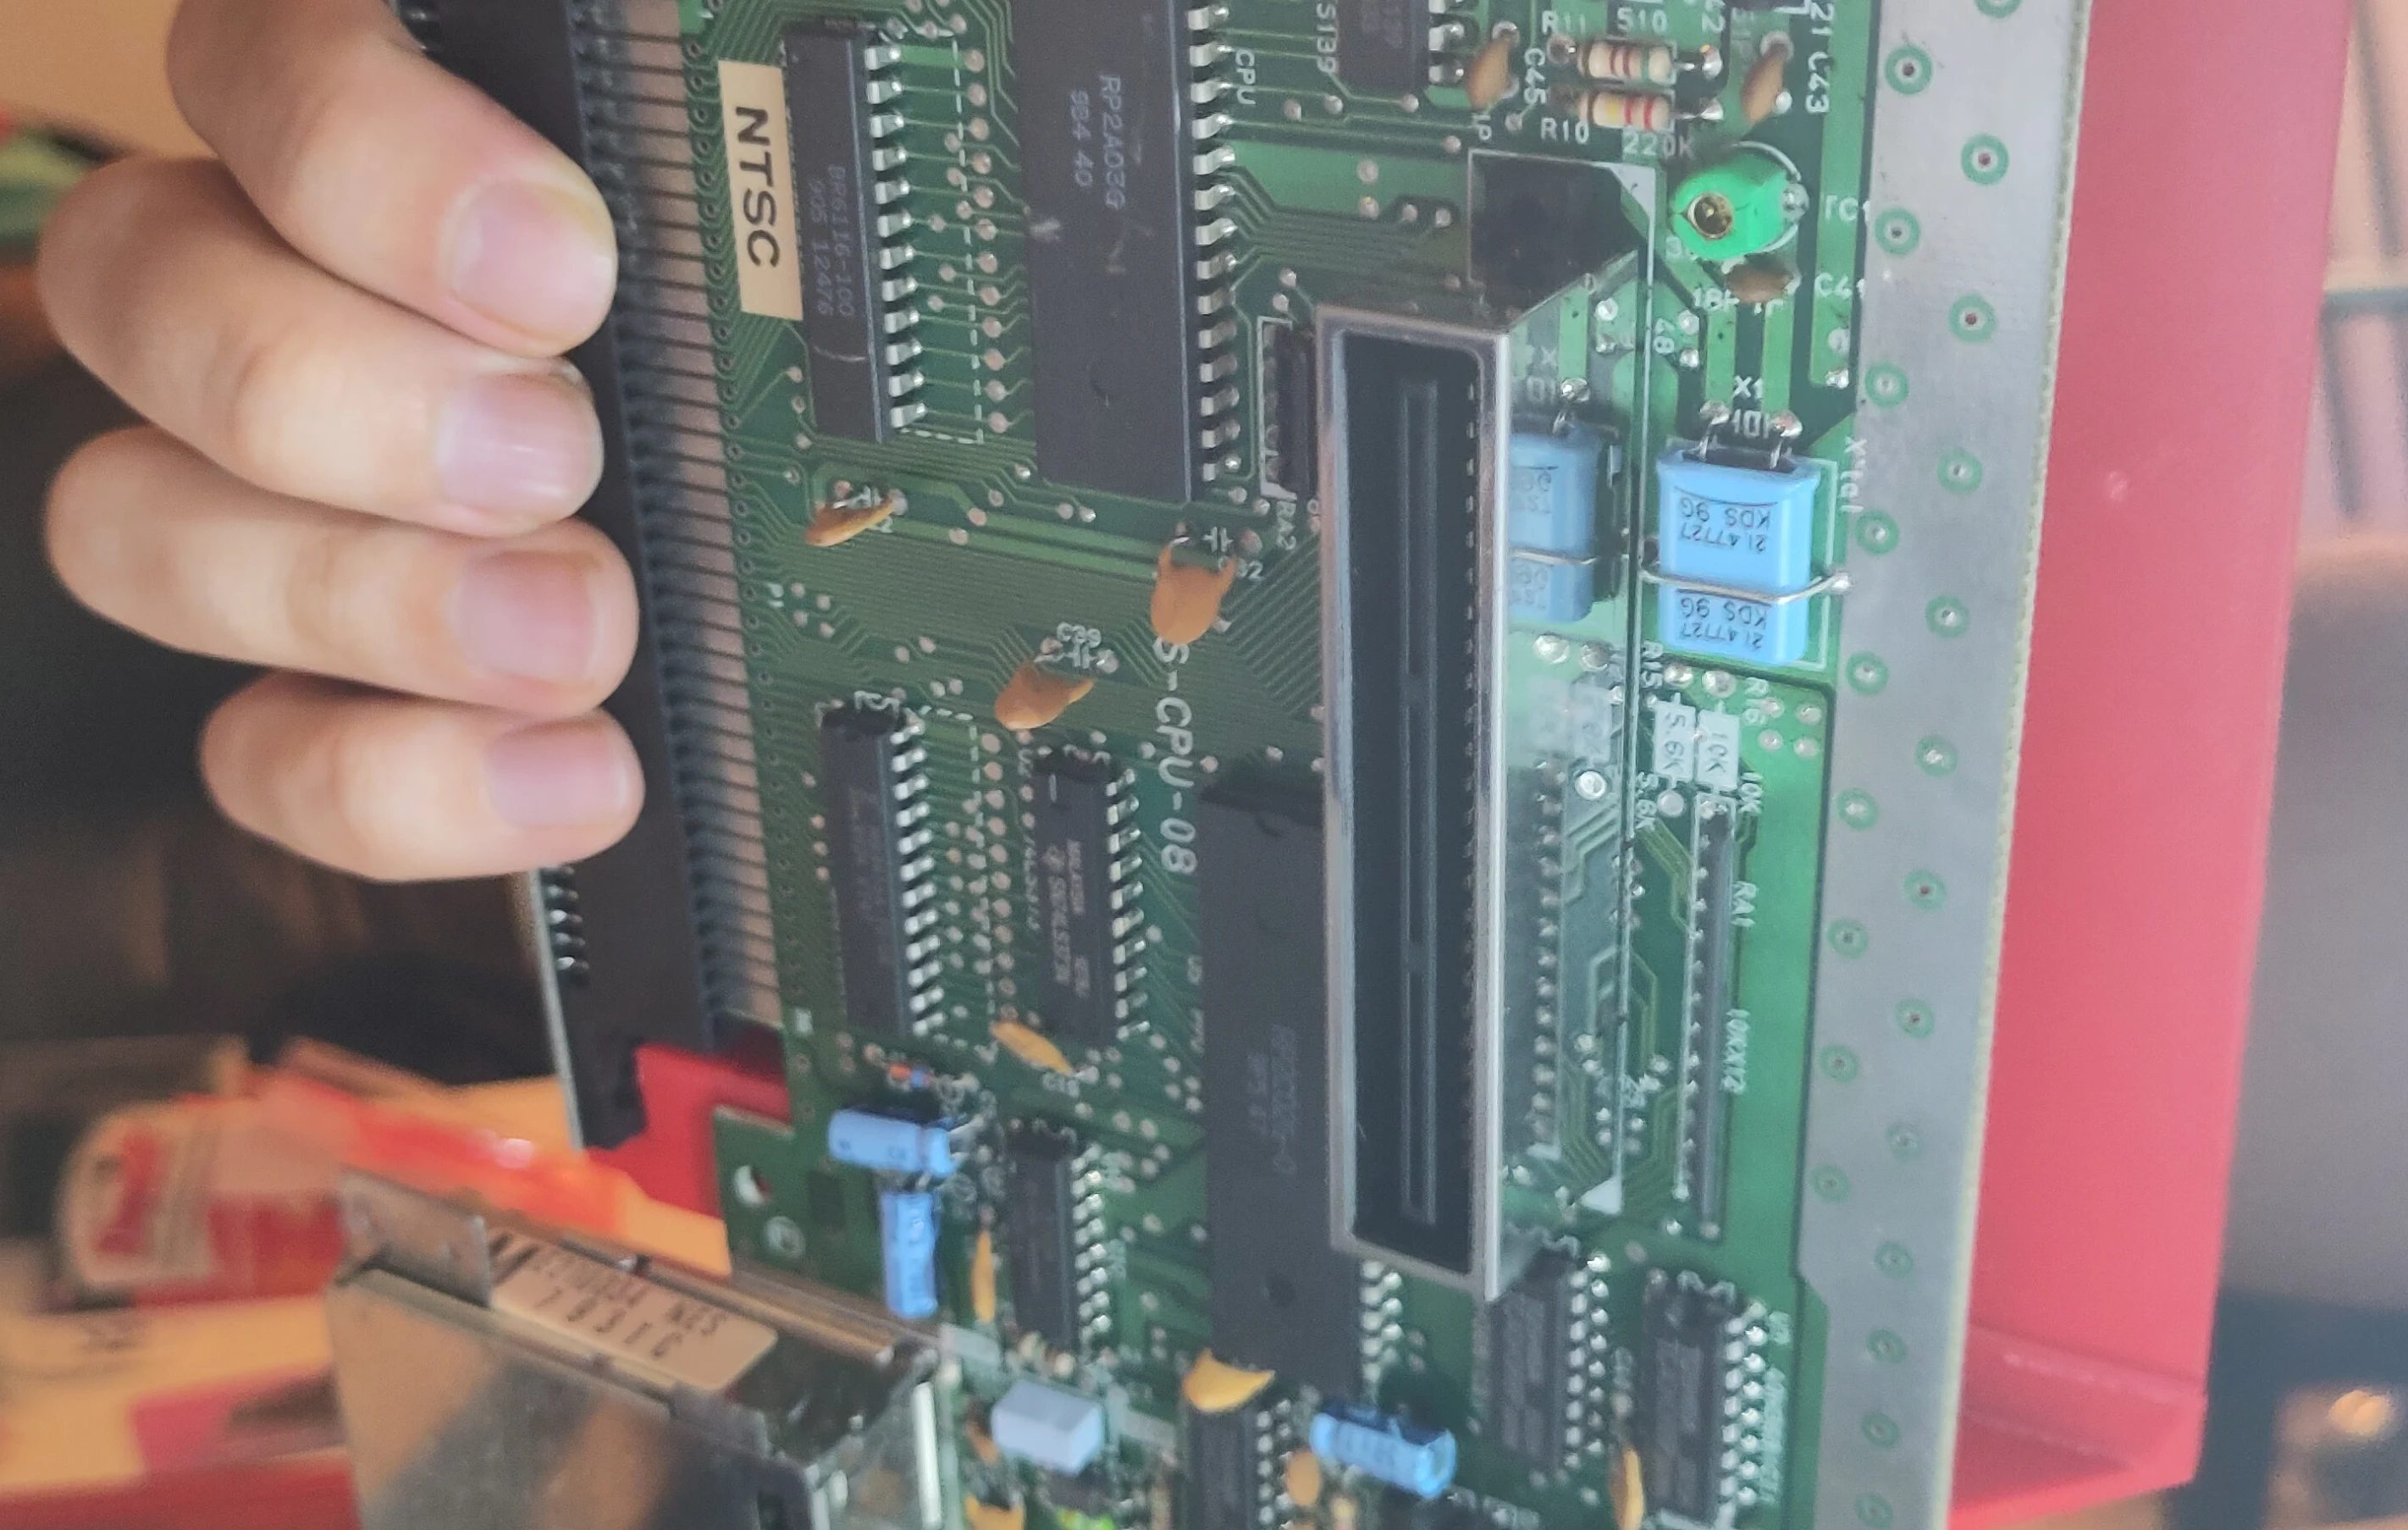
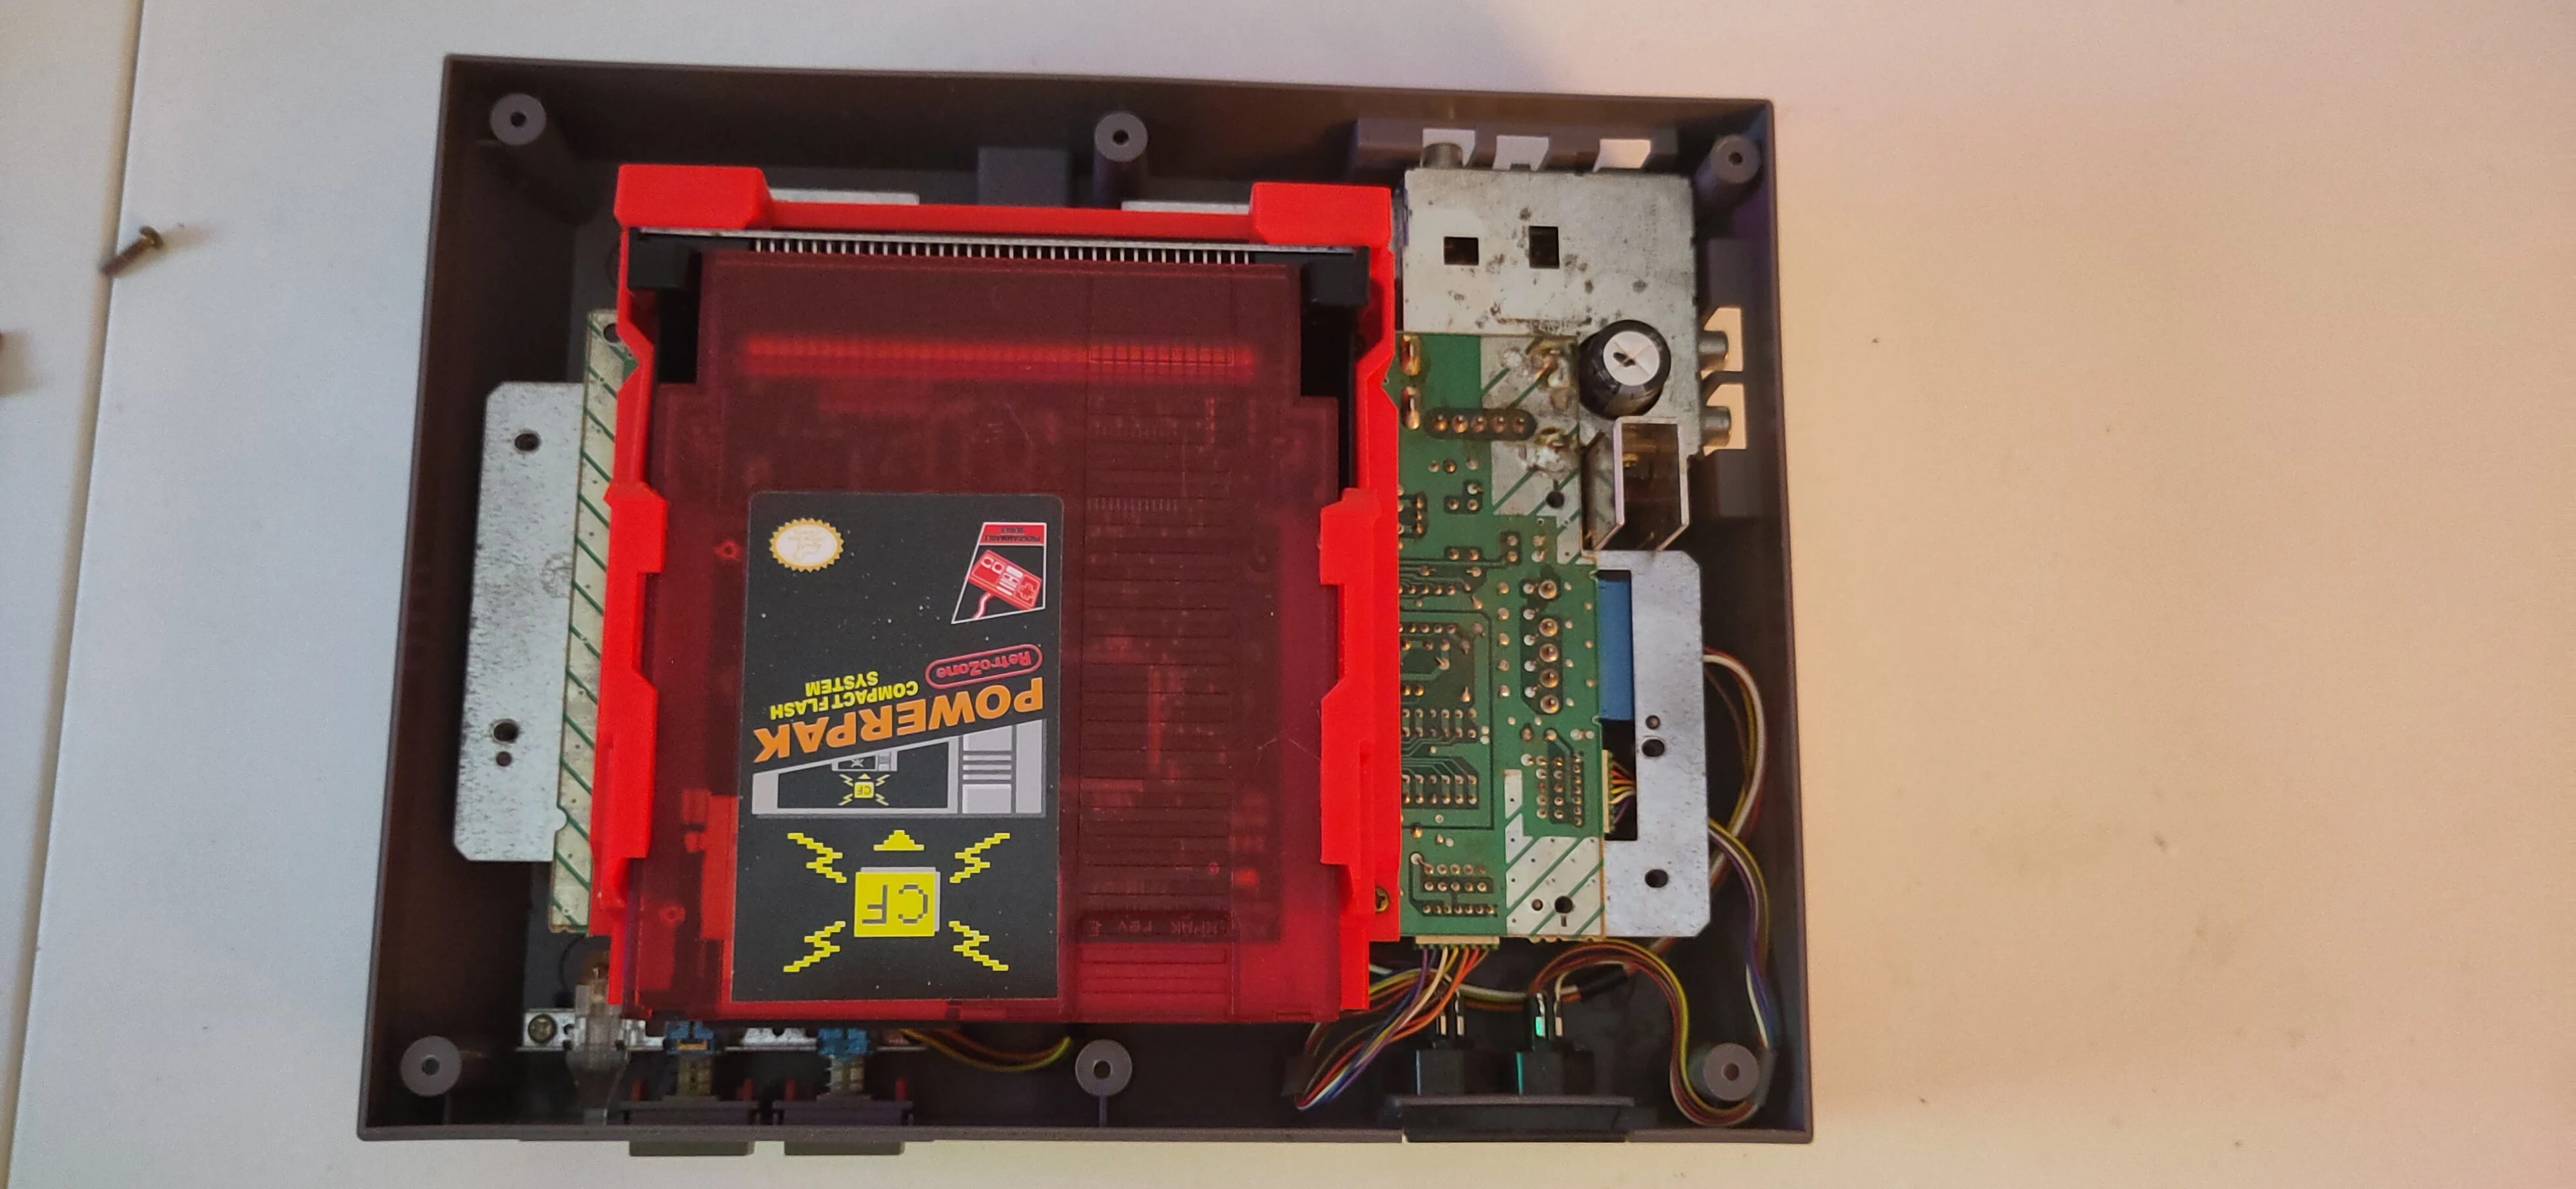
The black drawer piece should be completely over all the pins on the motherboard, viewable from the back.
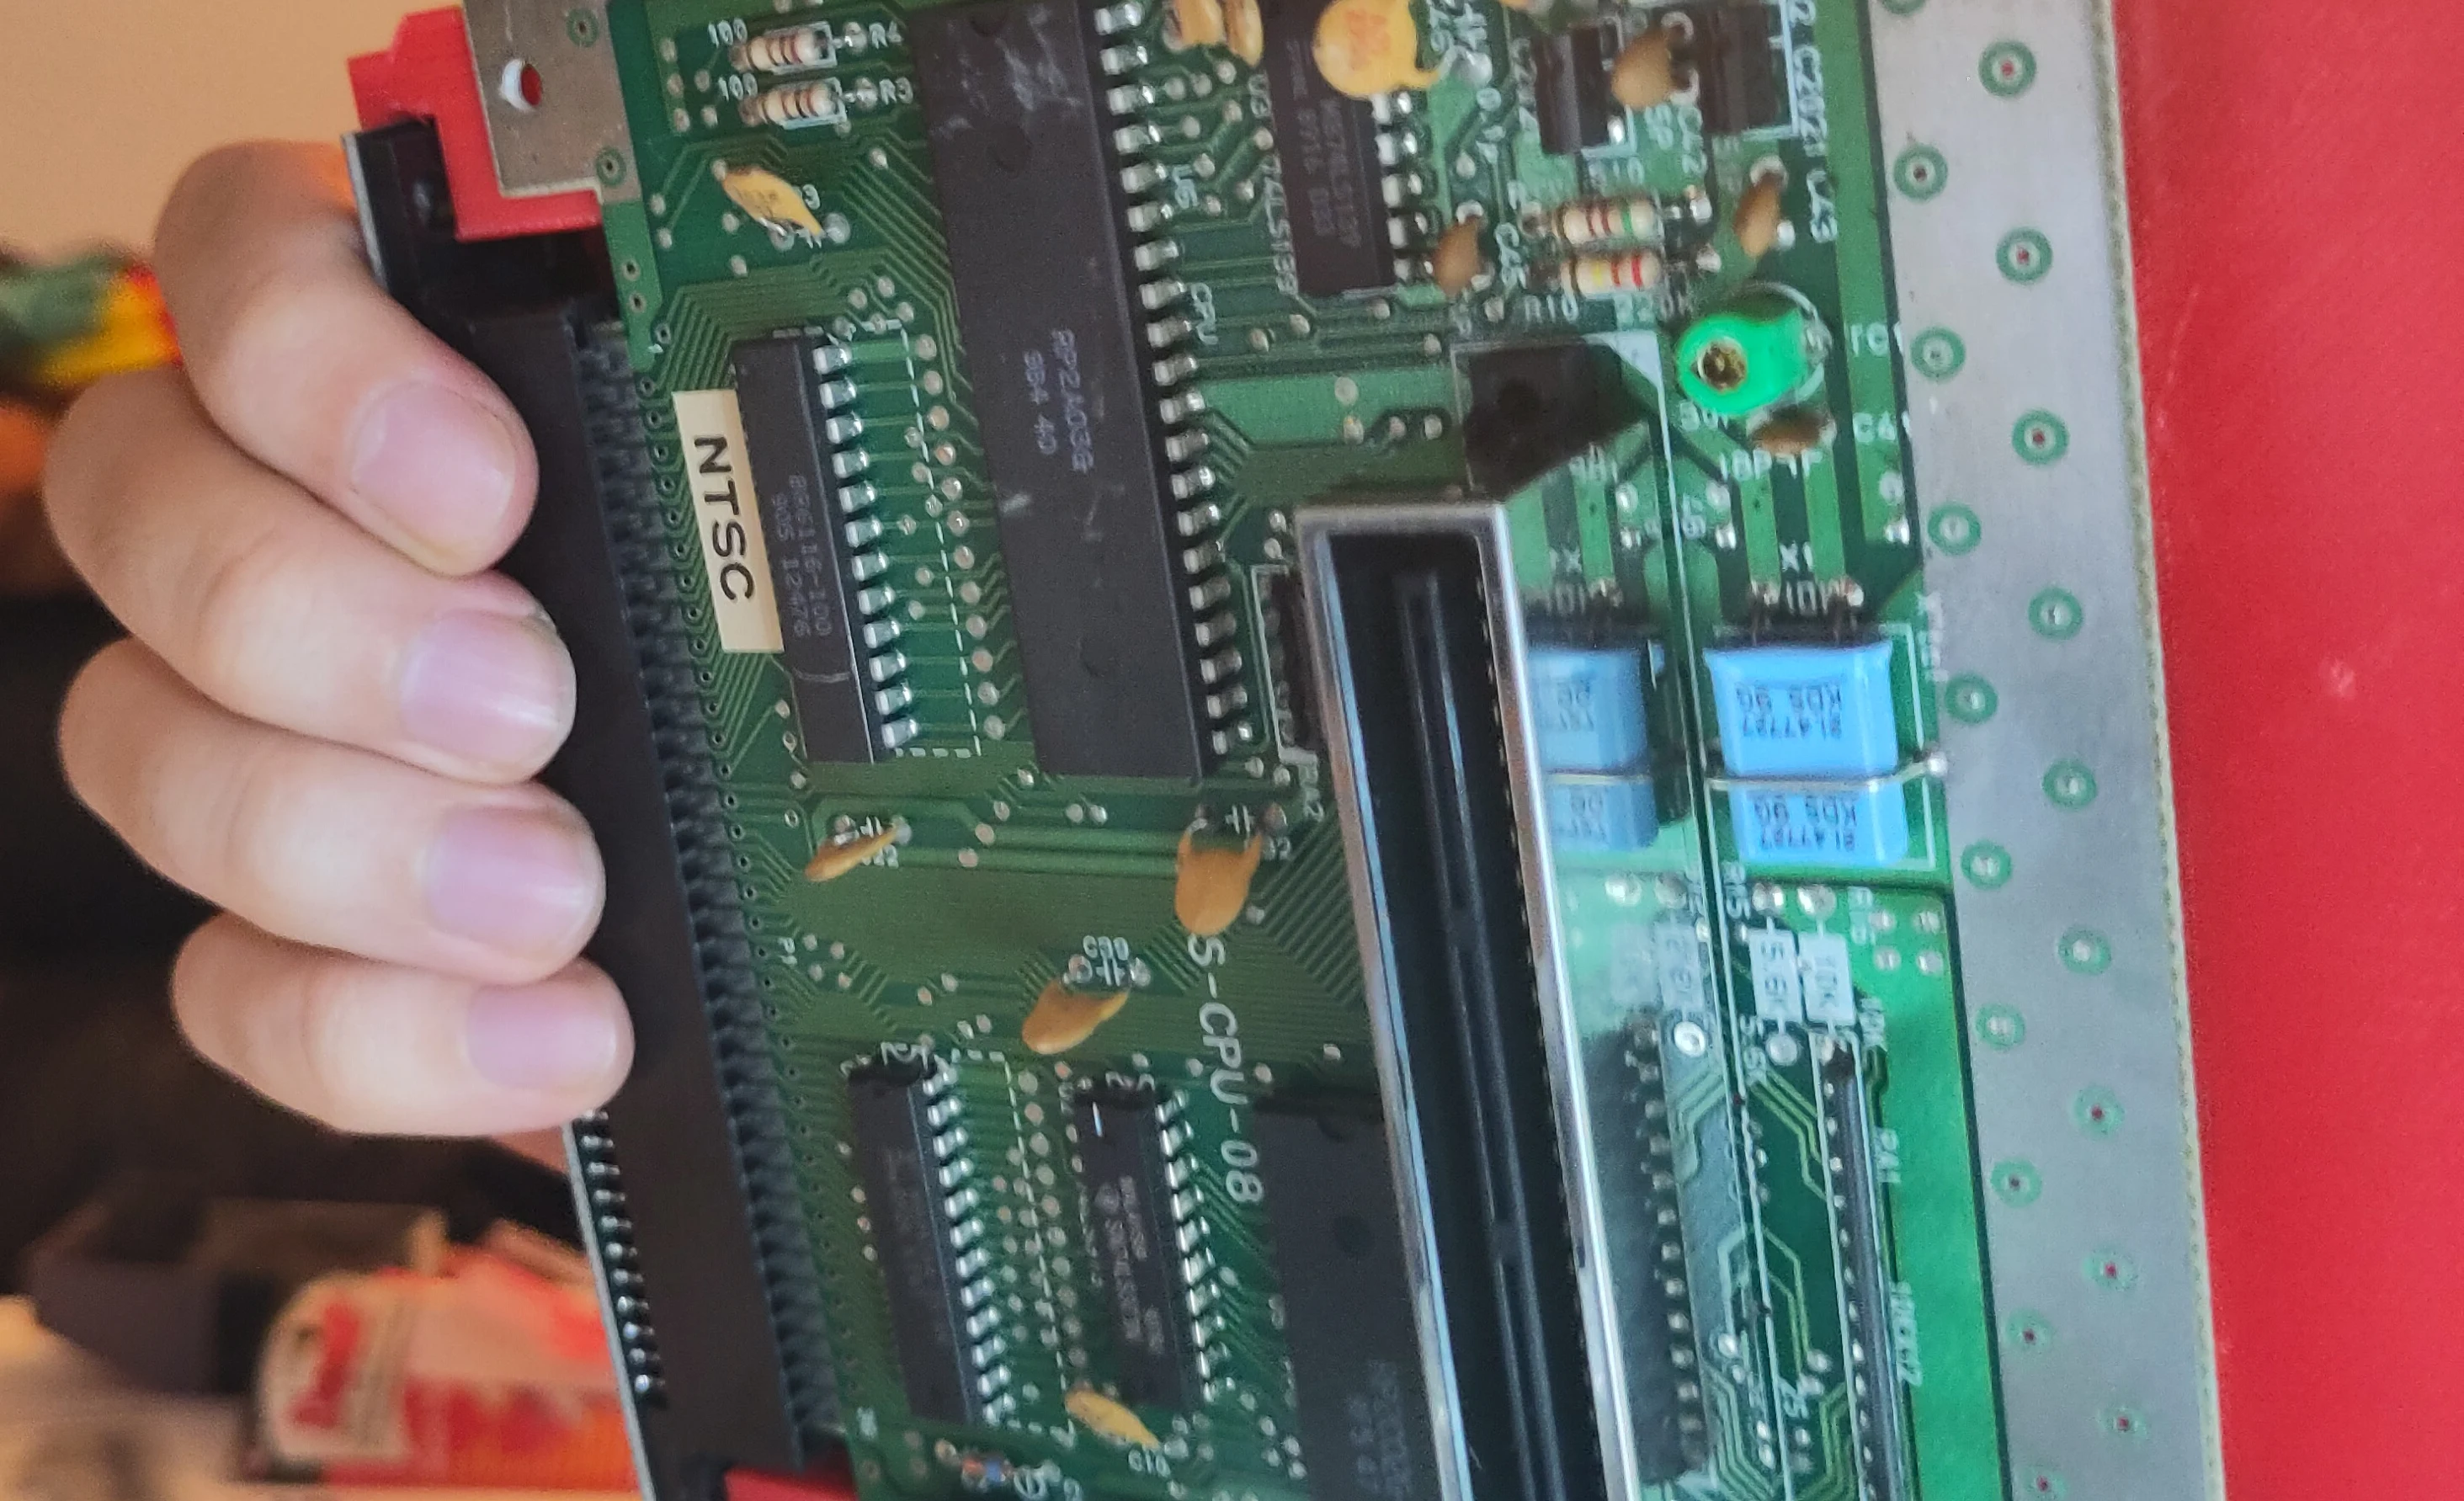
The holes on the Ninten-Drawer will also align with the holes on the motherboard.
13. Insert Cartridge and Test.
Reinsert the motherboard over the bottom RF shield, aligning the power and AV ports on the back corner of the console.
This is a good time to insert a known working cartridge.
Important! Make sure you provide support to the drawer when inserting and removing cartridges without the screws inserted.
14. Reassemble.
- Start with the two screws by the AC/DC converter junction in the corner.
- Reinsert the four (4) Philips screws around the Ninten-Drawer.
- The two silver screws above the top-most screws around the Ninten-Drawer can be omitted, conserved with the old 72-pin connector.
- Reinstall the top shield, then the seven (7) Philips screws around the shield.
- Replace the top cover, flip the console back over, and reinsert the six (6) Philips screws from underneath.
User Guide
Insert
Insert the cartridge directly into the Ninten-Drawer.
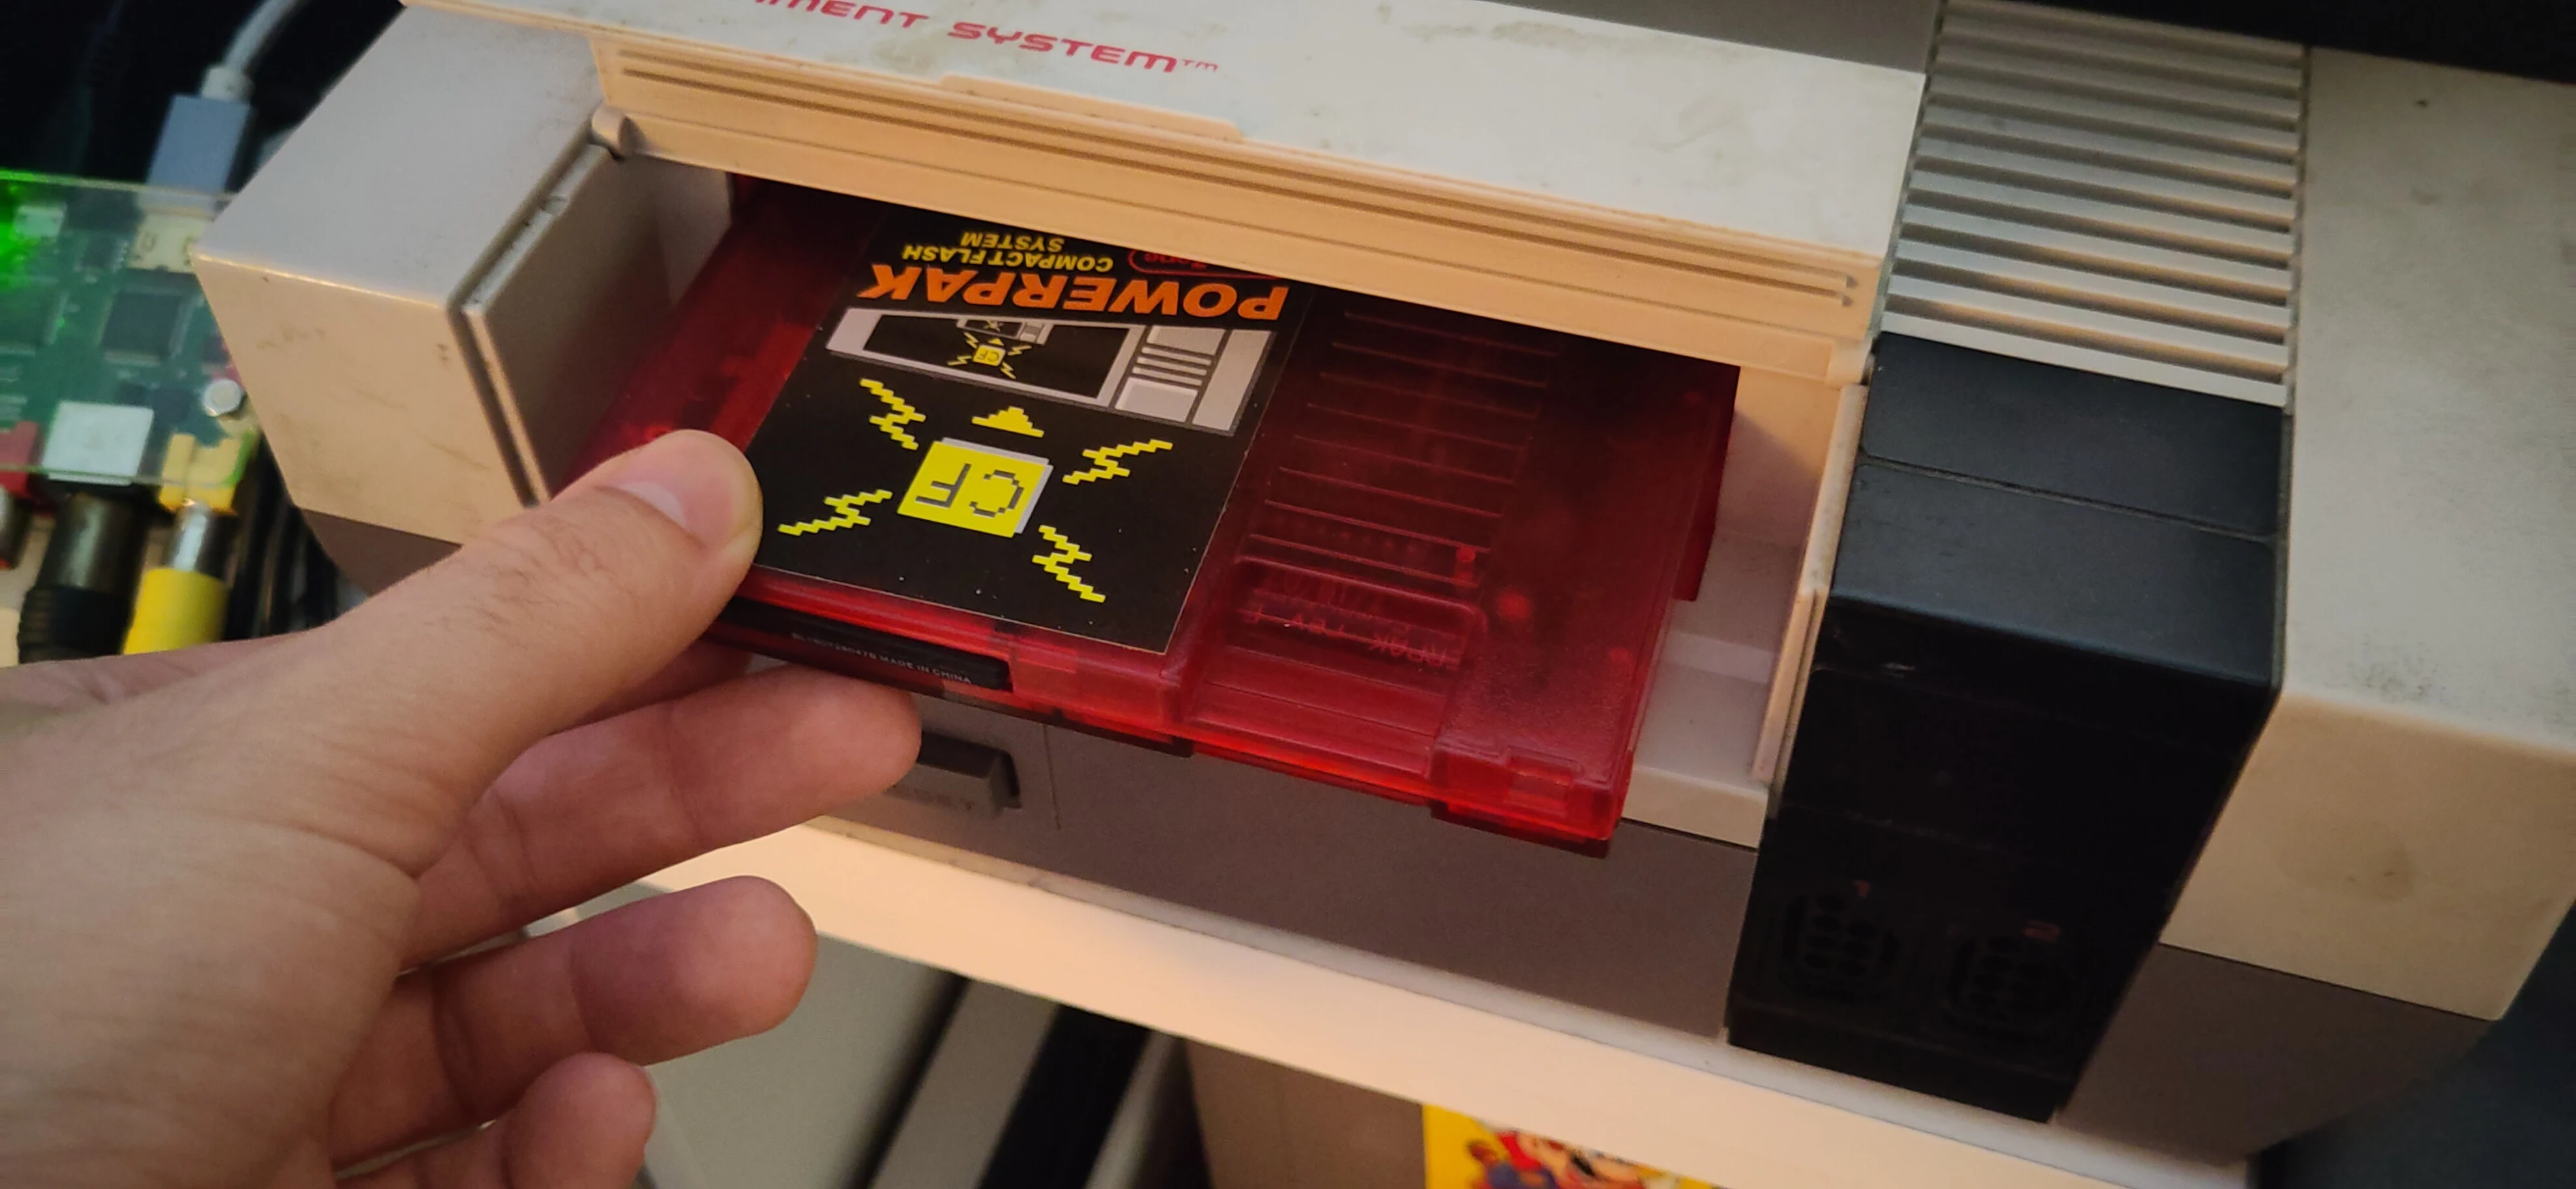
Important!
DO NOT PUSH DOWN ON THE CARTRIDGE.
Instead, push the cartridge further into the drawer. There should be a satisfying click along with a shift of the cartridge to the back of the console as it is grabbed by the magnets.
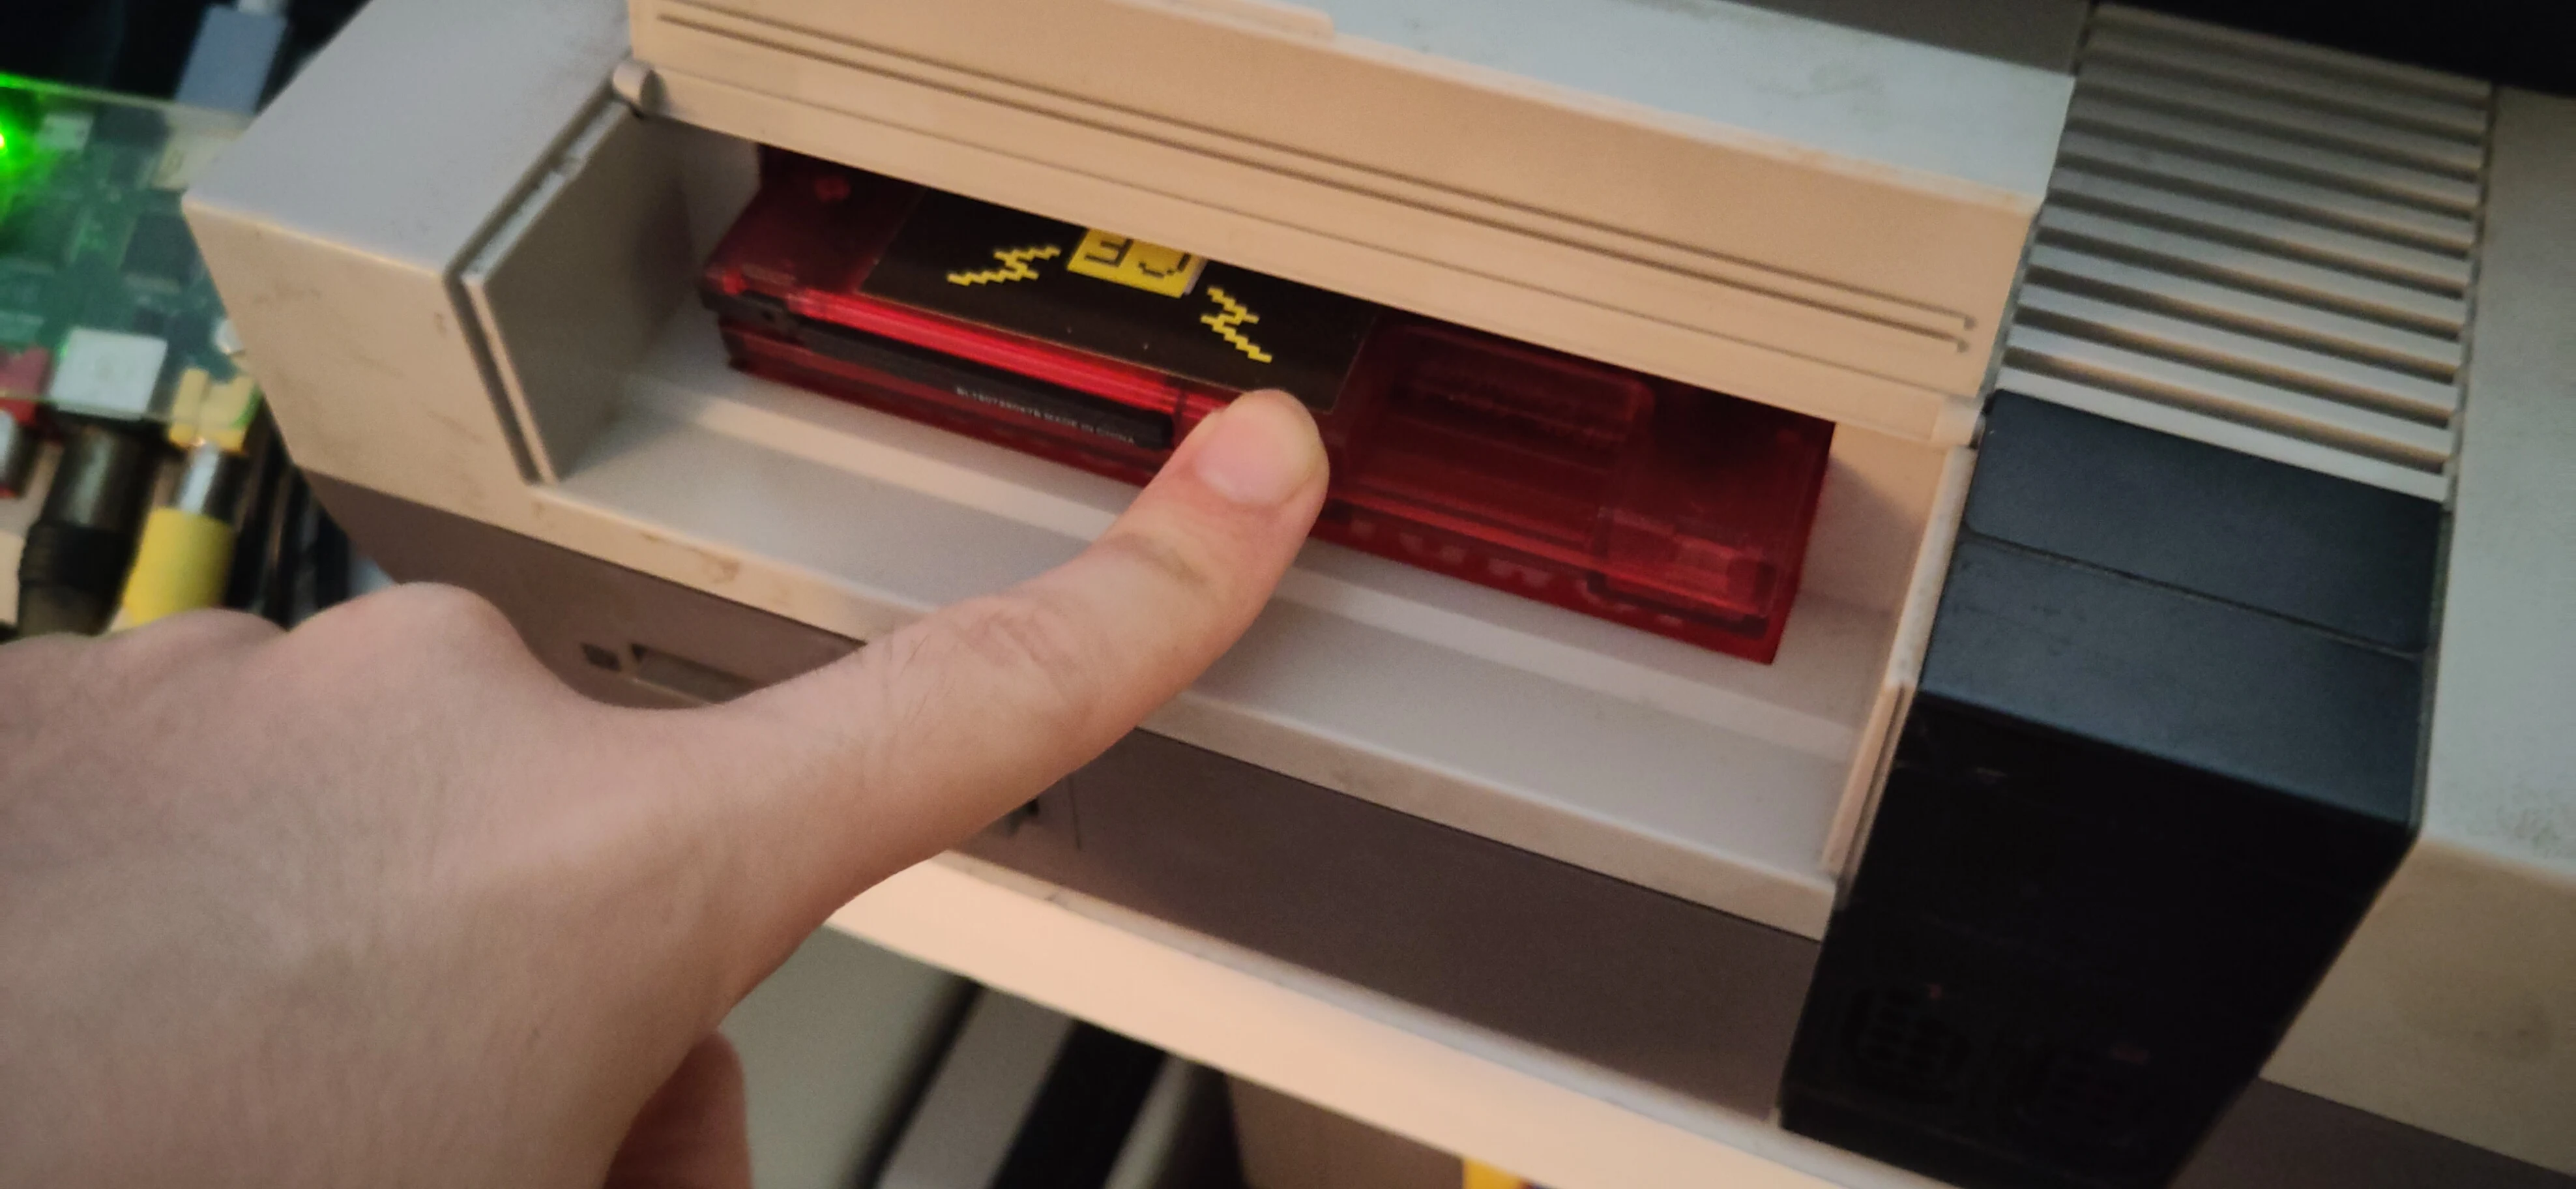
Remove
The magnet system has a strong grip on the cartridge.
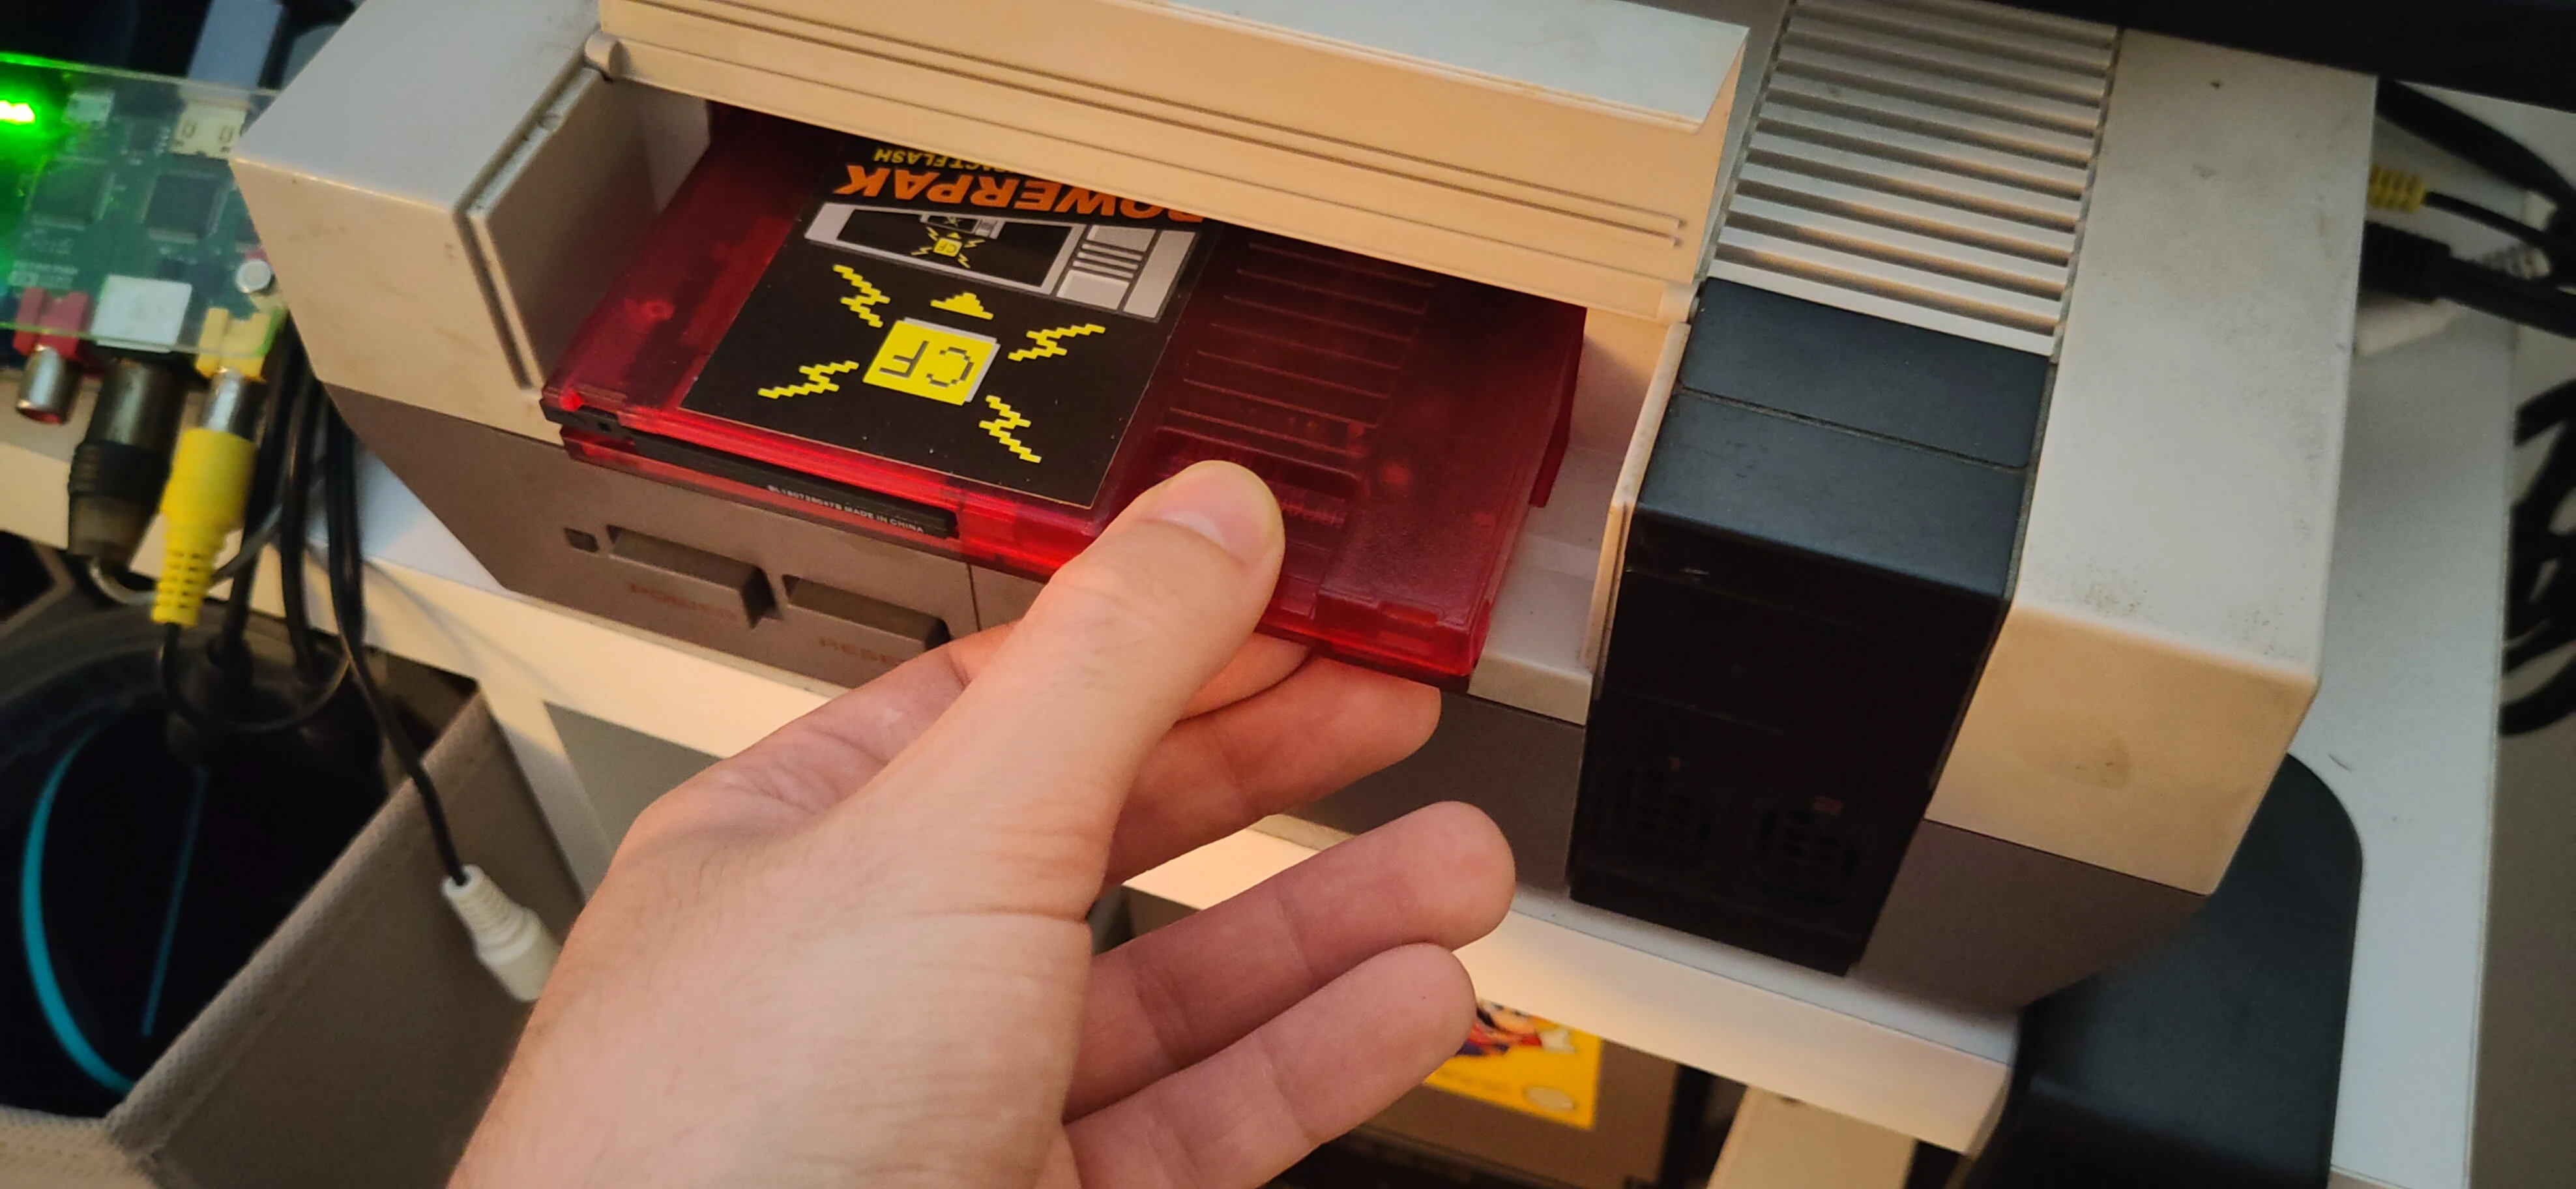
It is recommended to use two hands to remove the cartridge, one on each side of the cartridge.
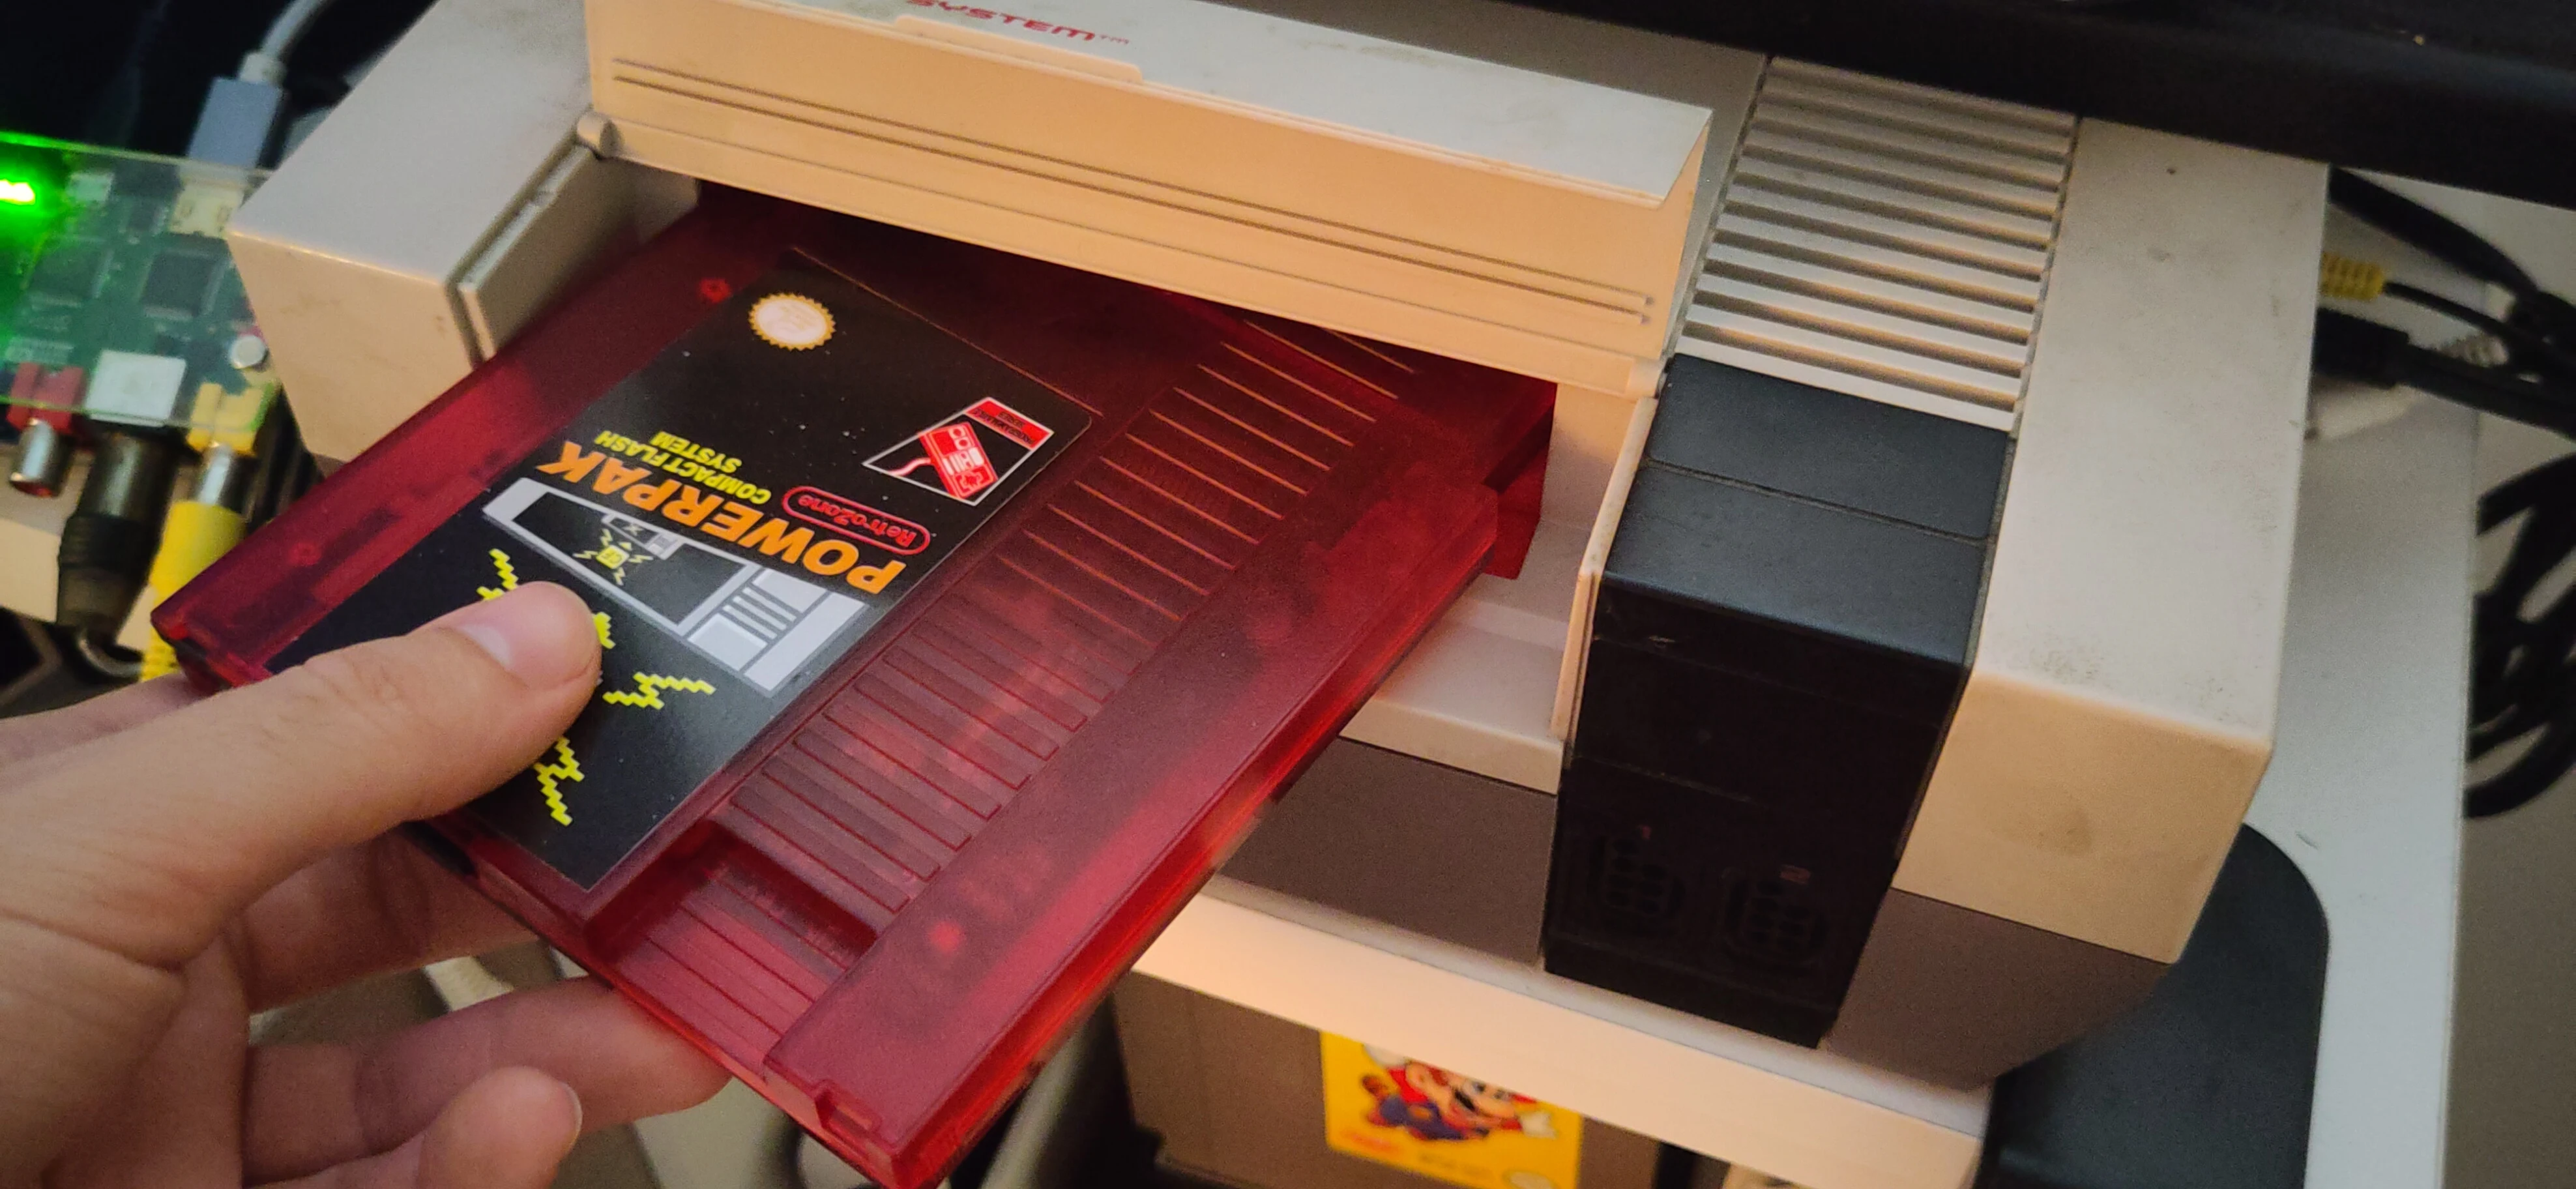
Work on nudging the cartridge out of the console corner by corner. The magnets will eventually give up the cartridge, and it can be pulled out of the Ninten-Drawer.