Nintendrawer Installation

Nintendrawer Installation

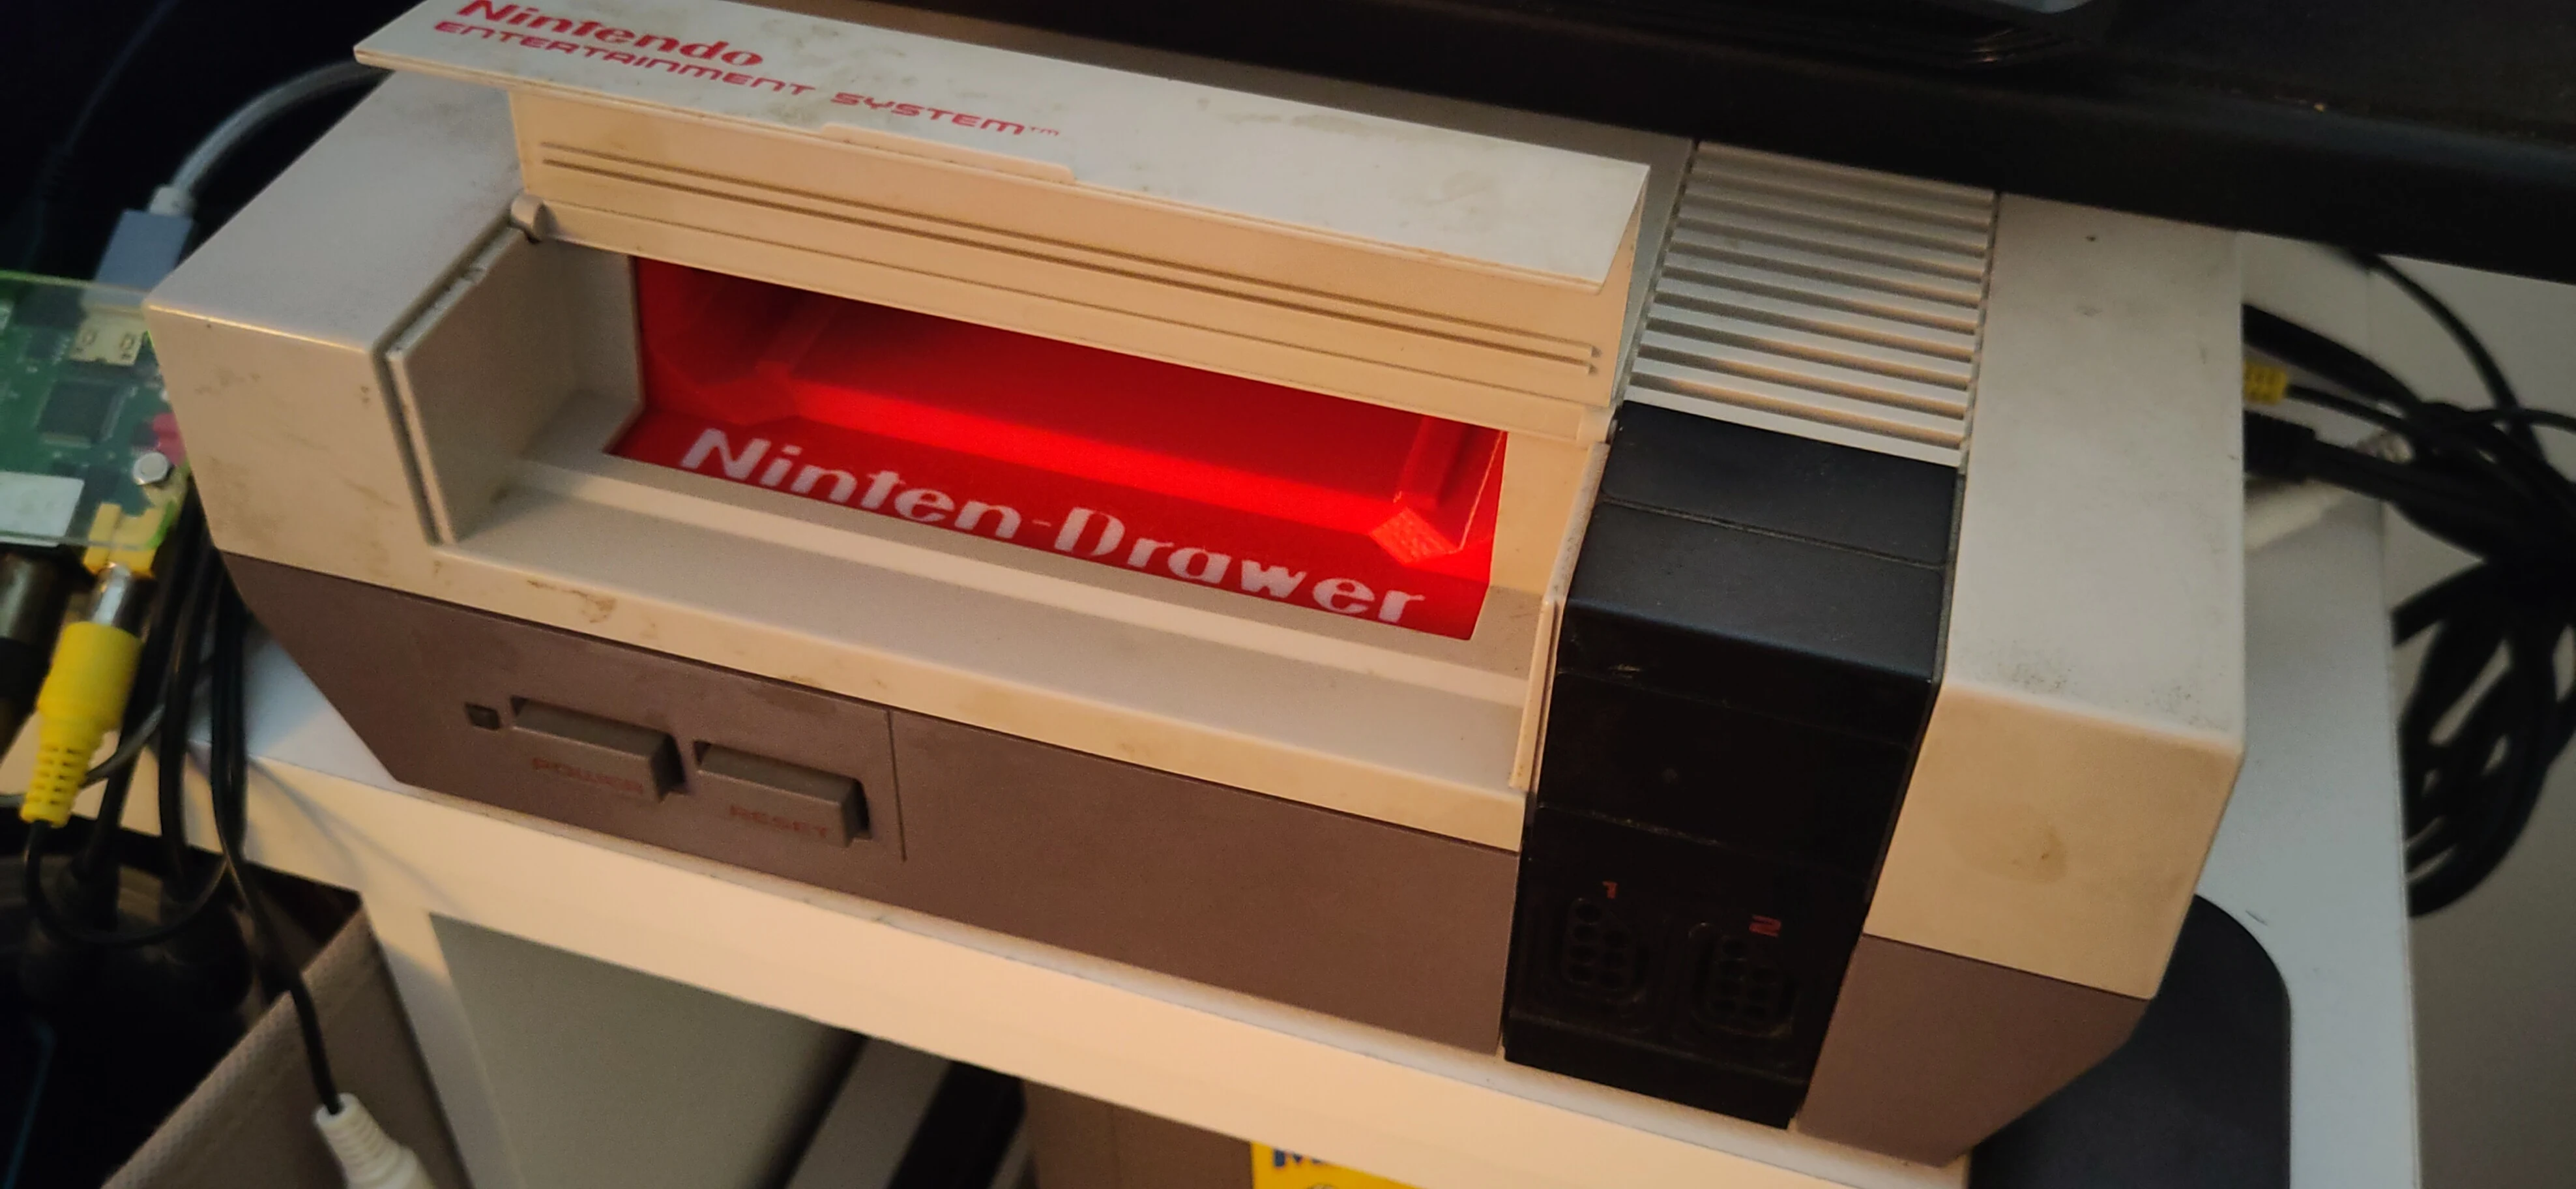
This is my step-to-step guide on how to upgrade a front-loading Nintendo Entertainment System (NES) with a Ninten-Drawer.

What is the Ninten-Drawer

The Ninten-Drawer is an over-engineered solution to the greatest fallacy of the legendary front-loading NES from 1985. It is a replacement slot mechanism for the cartridge to load into the console.

At the time of this blog entry, it can be purchased from RockerGaming website; some variants might be in other thrift or 3D-printing shops.

The original mechanism required that a cartridge was inserted in a loose drawer at an angle to the console's connector and then pressed down to align to fit. This loose connection has created significant ambiguity with malfunctions; when powering on the console and there's nothing but a colored screen or a flashing LED, it's hard to tell if a game is defective, the console is defective, or if it is simply not seated properly. Many, many times, this is simply the problem: a badly seated cartridge, with no affirmation on how secured it is, aside from repeated trial-and-error, removing and reinserting the cartridge.

Instead, the Ninten-Drawer requires that the user inserts the cartridge directly through the slot, much like the top-loading consoles which proceeded this version of the NES. A toggleable magnet system catches the cartridge as it enters the console and holds onto it tightly. The cartridge can then be removed by pulling from corner to corner until the magnets give up the connection.

The Ninten-Drawer vastly improves the cartridge-insertion step by providing a reliable and direct connection between the game and the console, and the magnet system gives the console a satisfying grip on the game cartridge ensuring that it has a snug fit with the console, preventing ambiguity on why games do not load when switching.

Overview
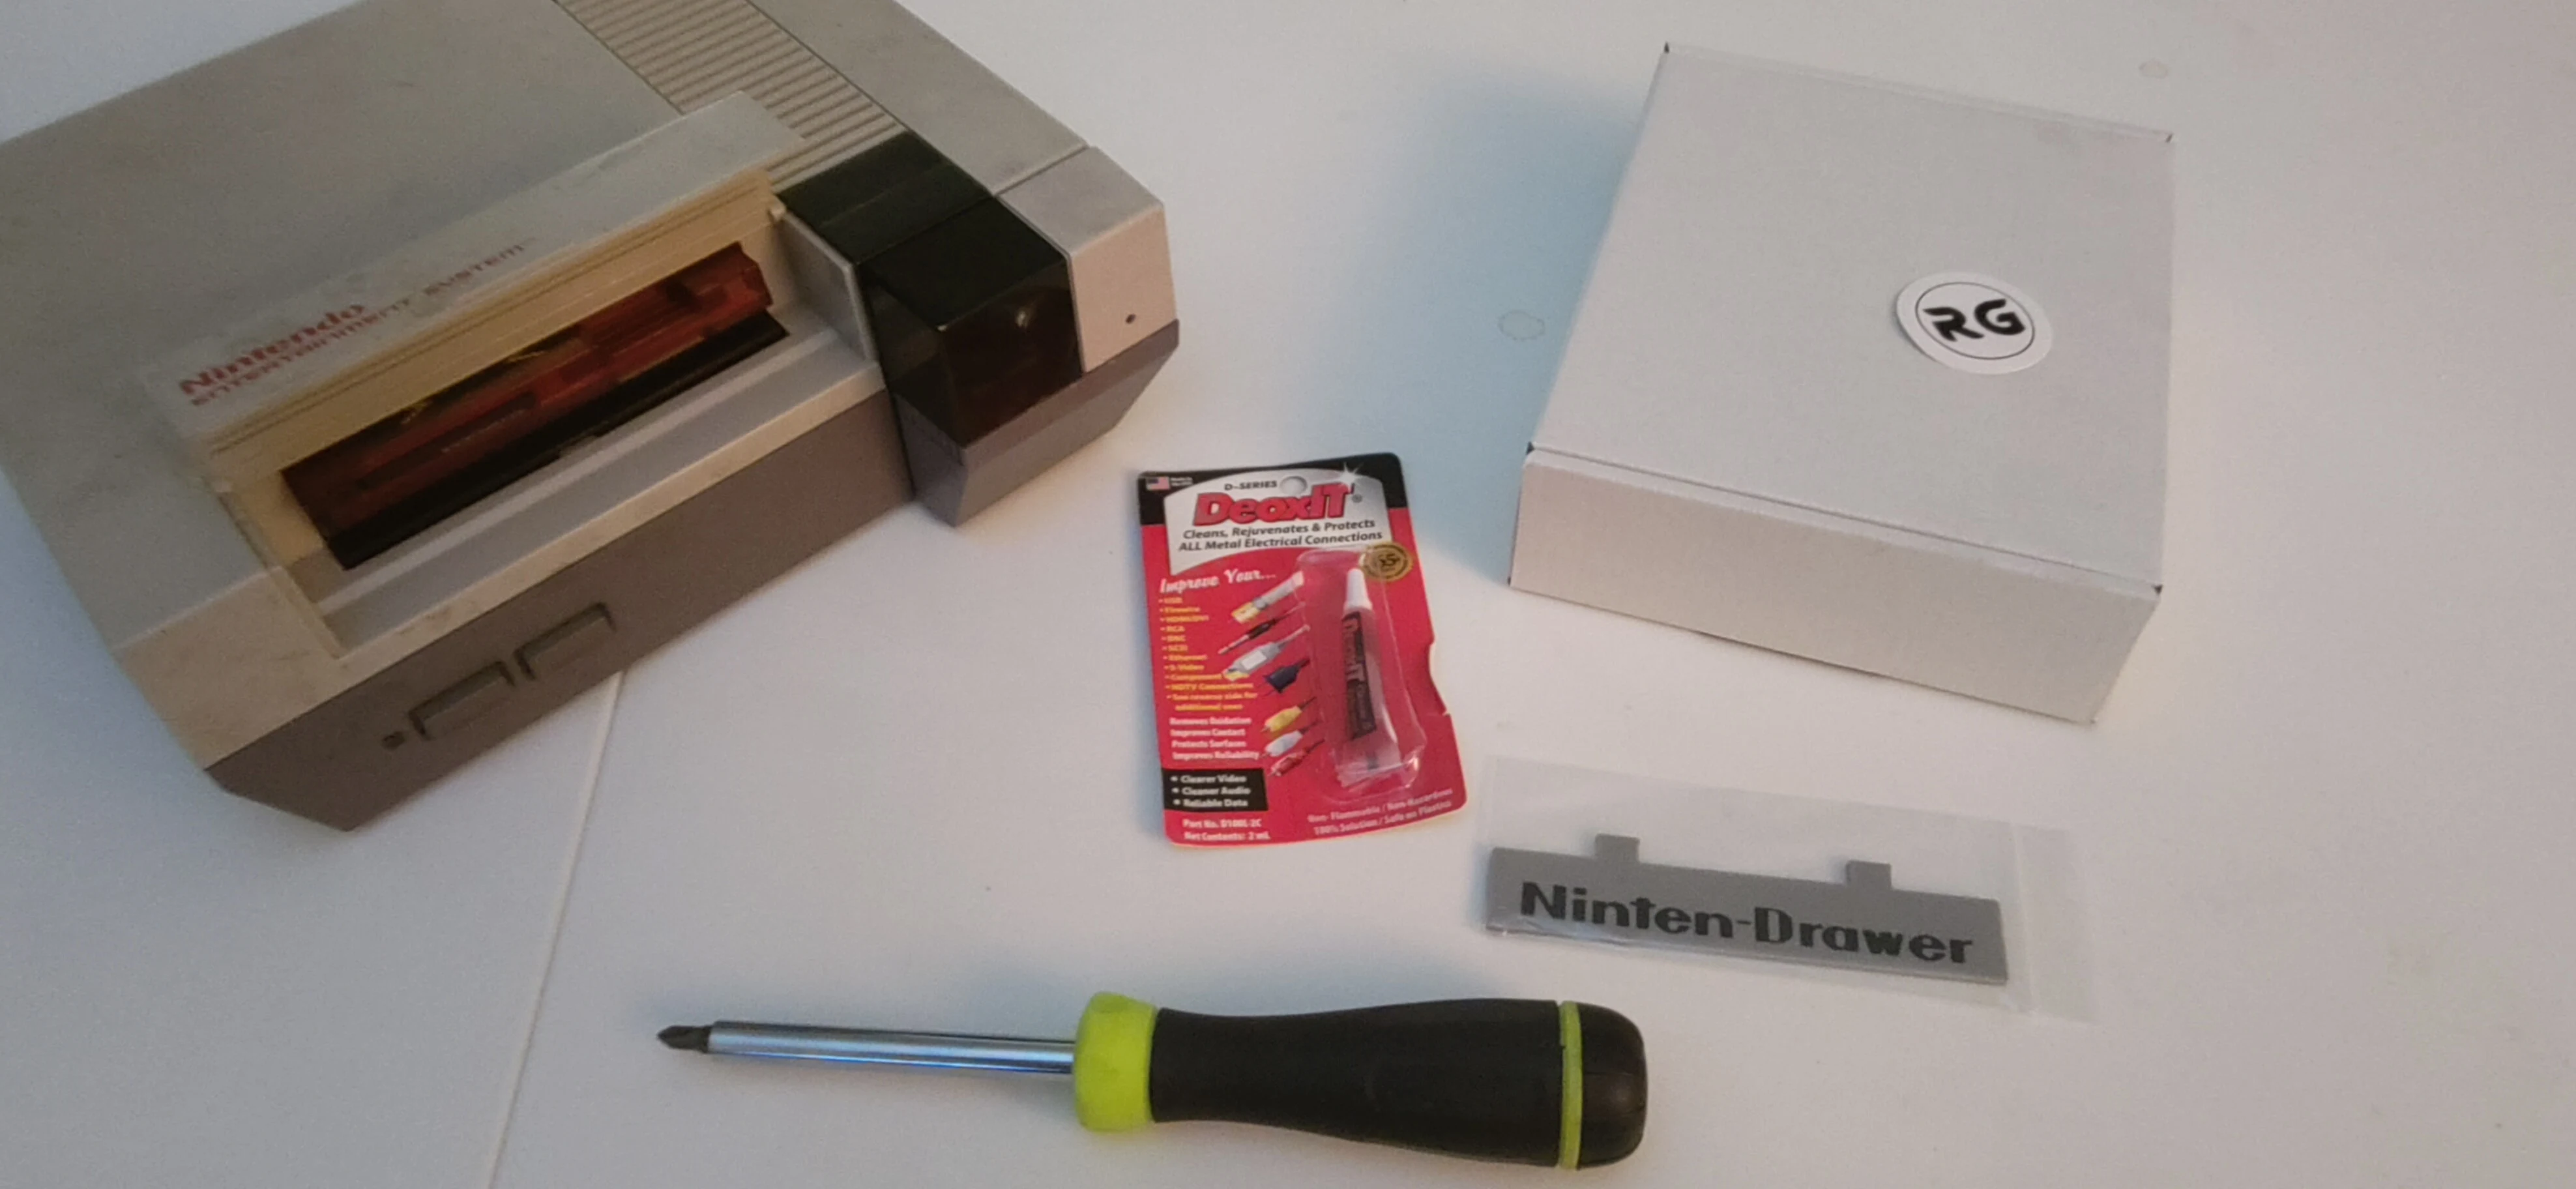
NES console, Ninten-Drawer, Screwdriver, DeOxIt

Steps

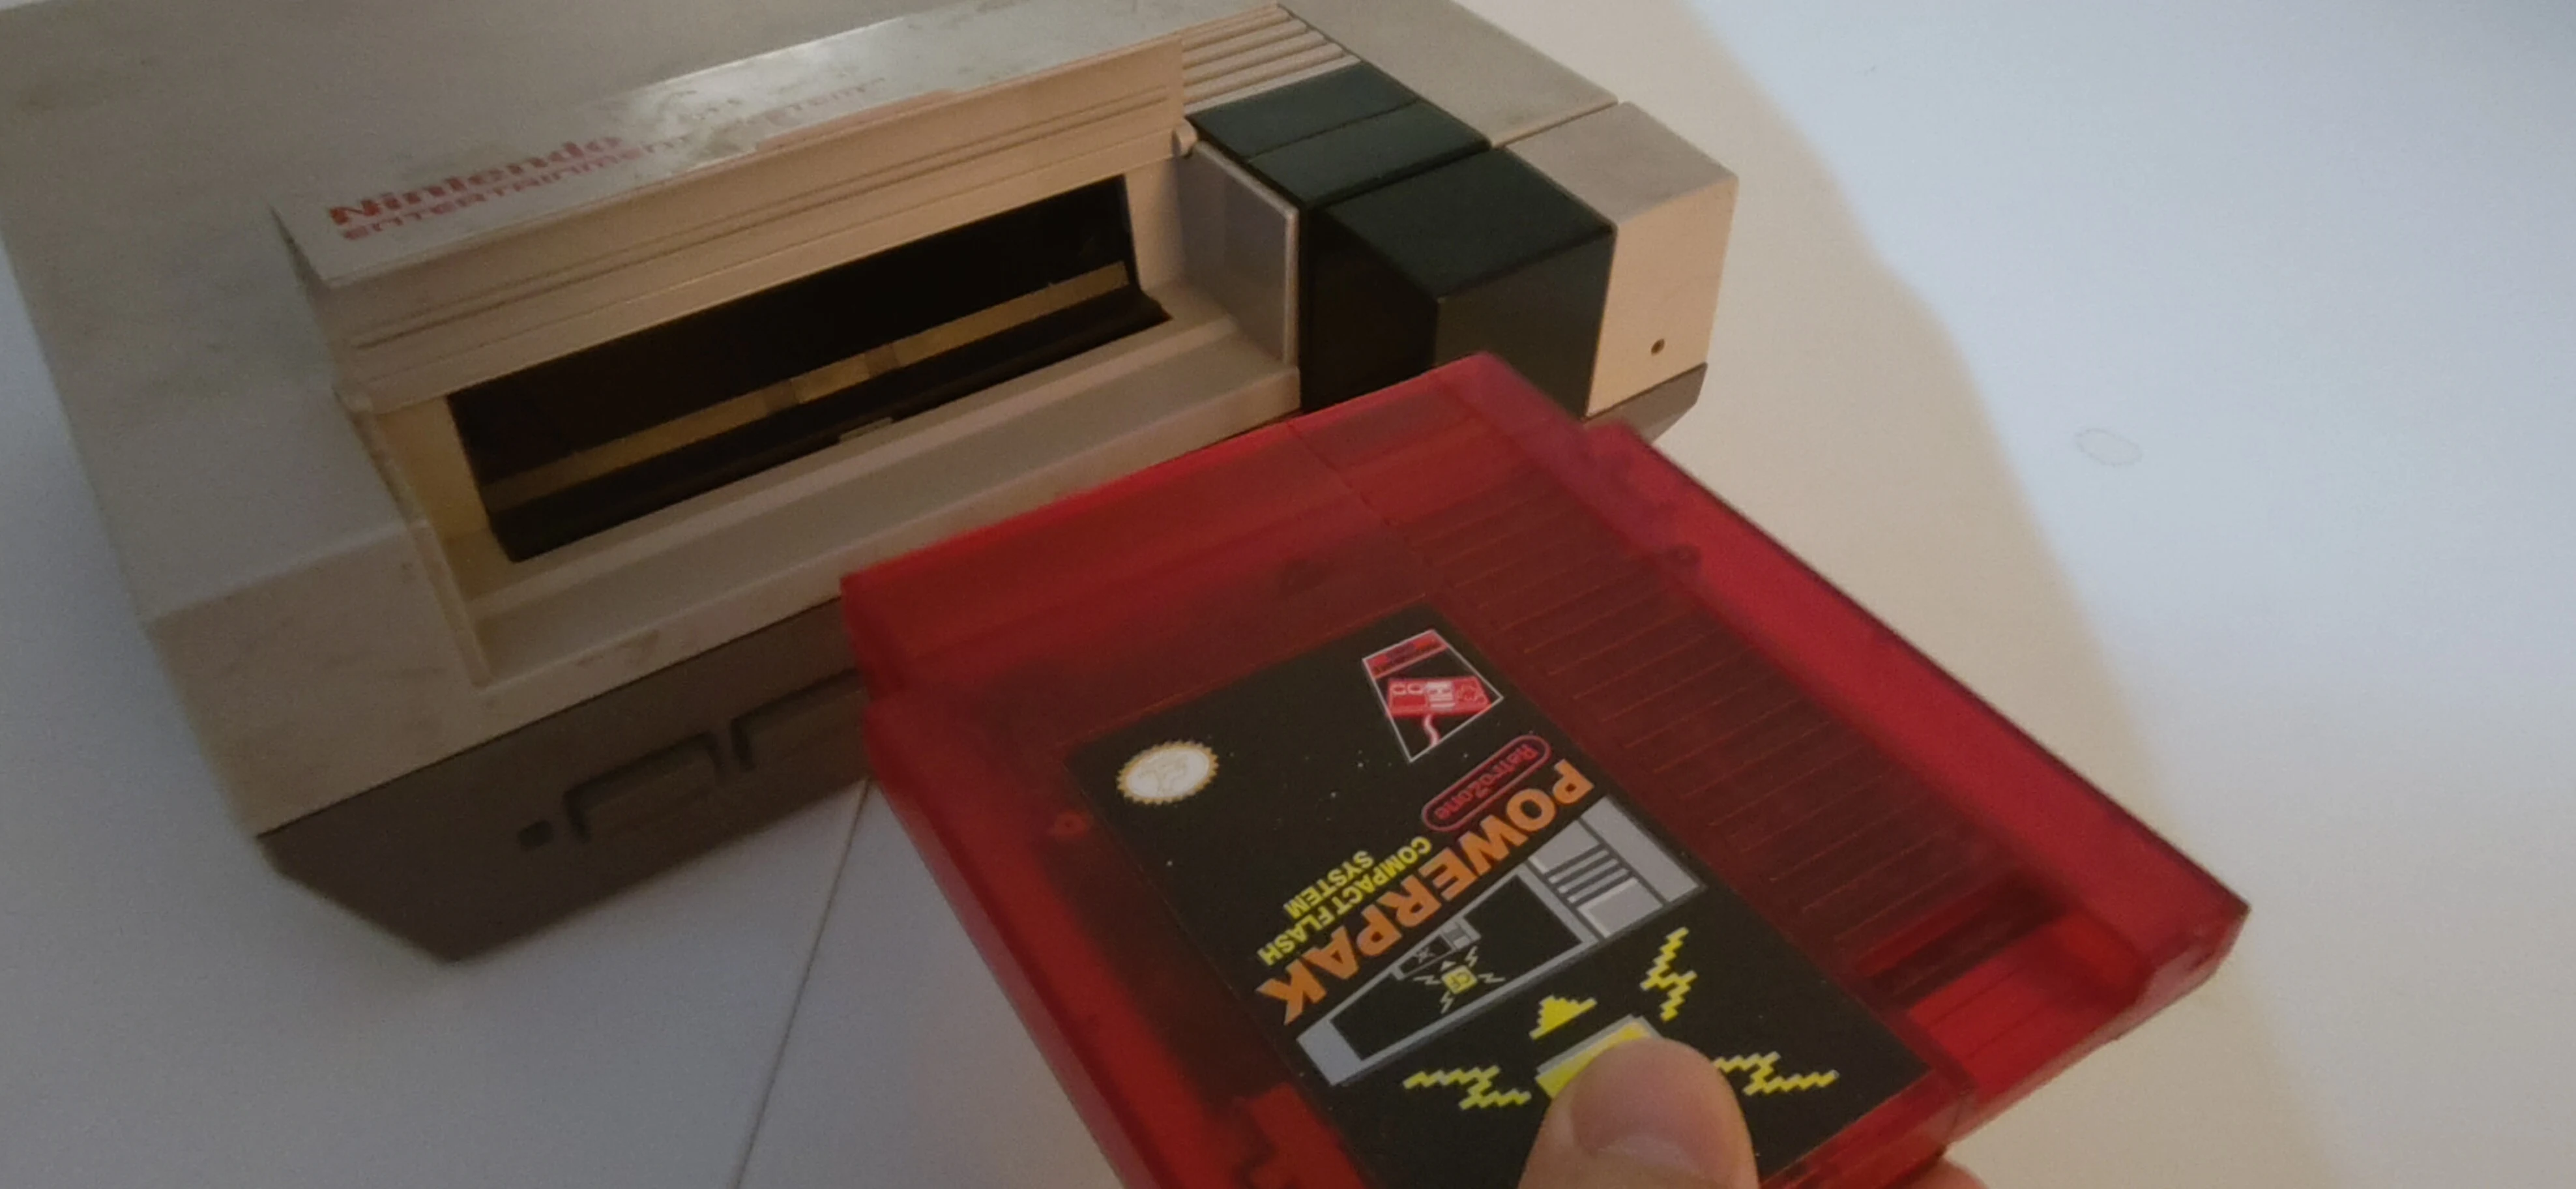
1. Remove the top cover (and any inserted game or attached controllers).
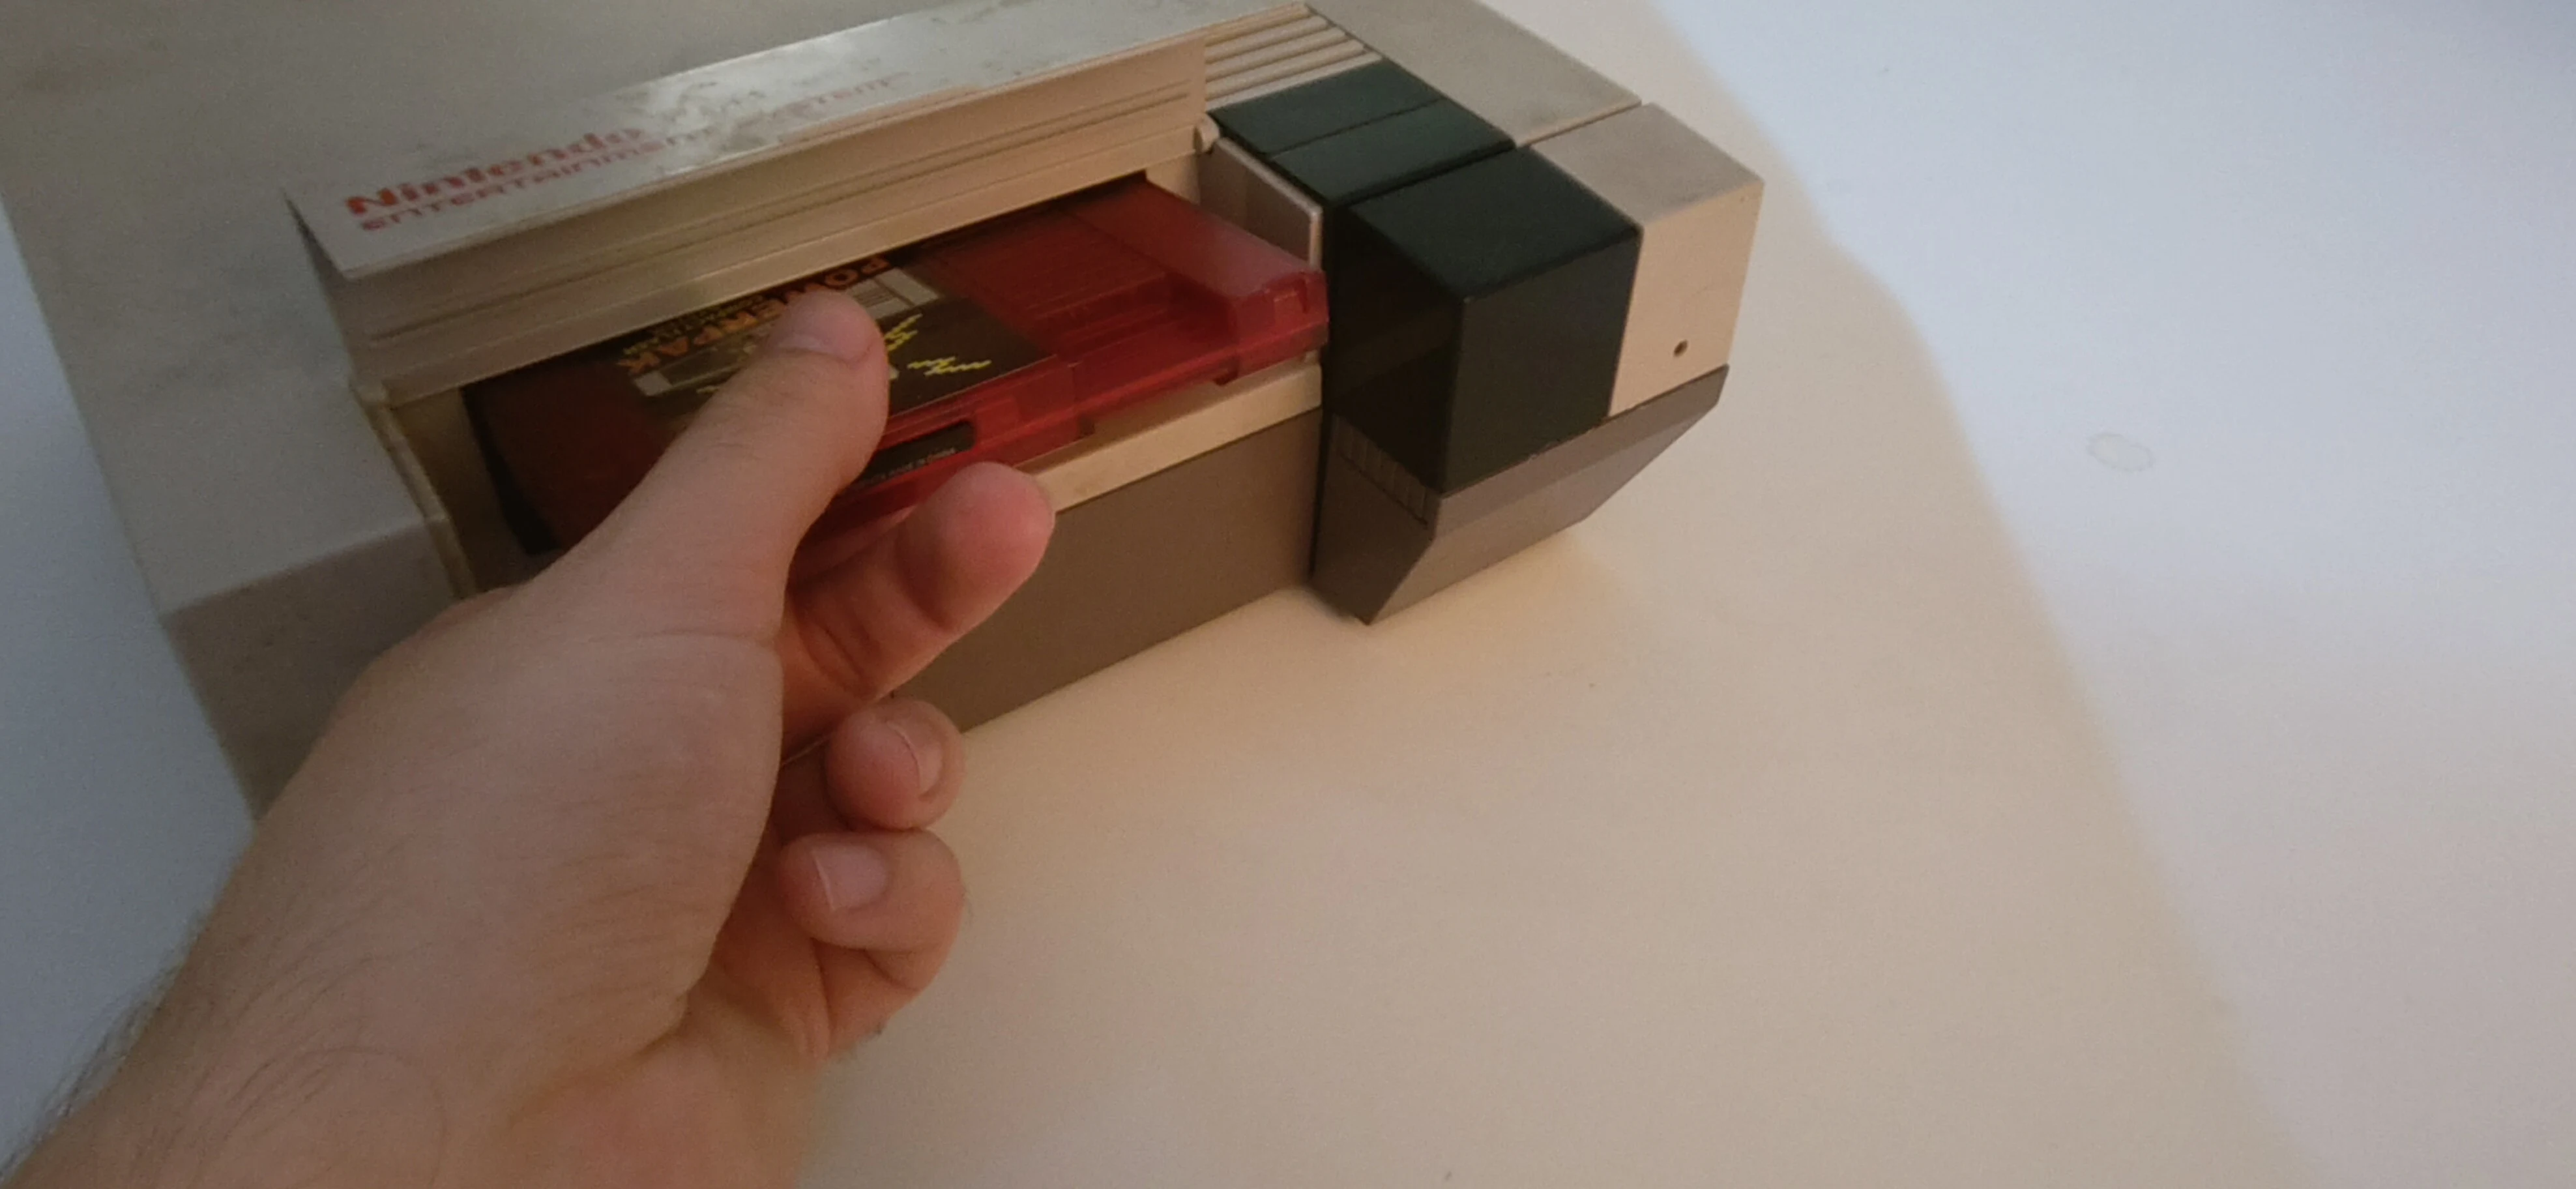
Remove game cartridge

Cartridge removed

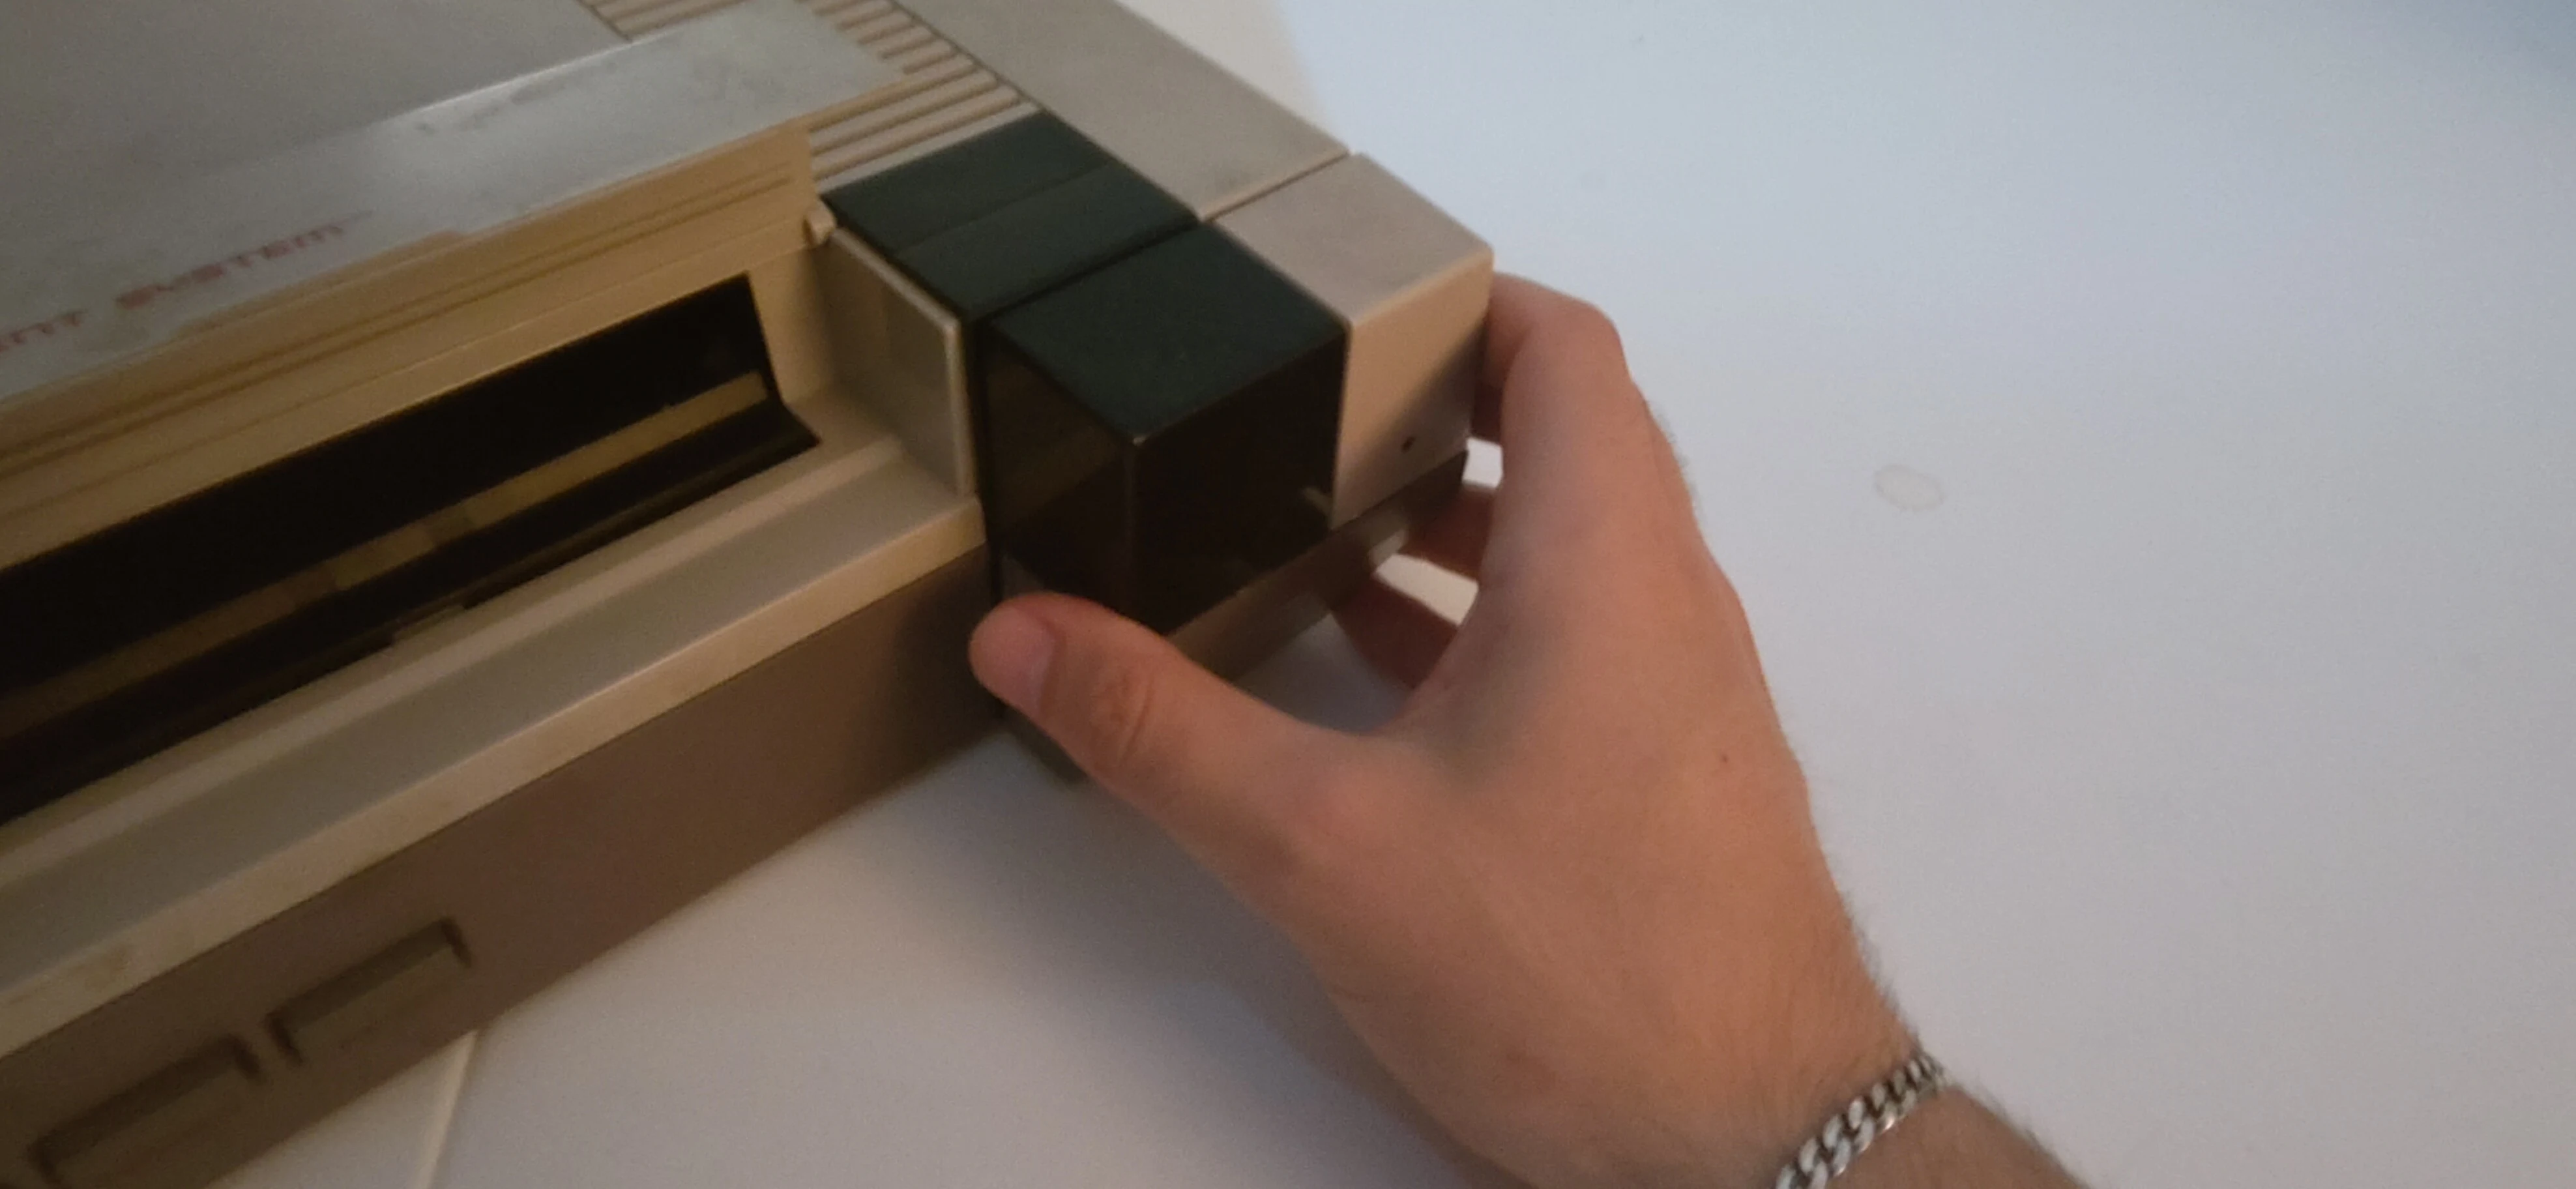
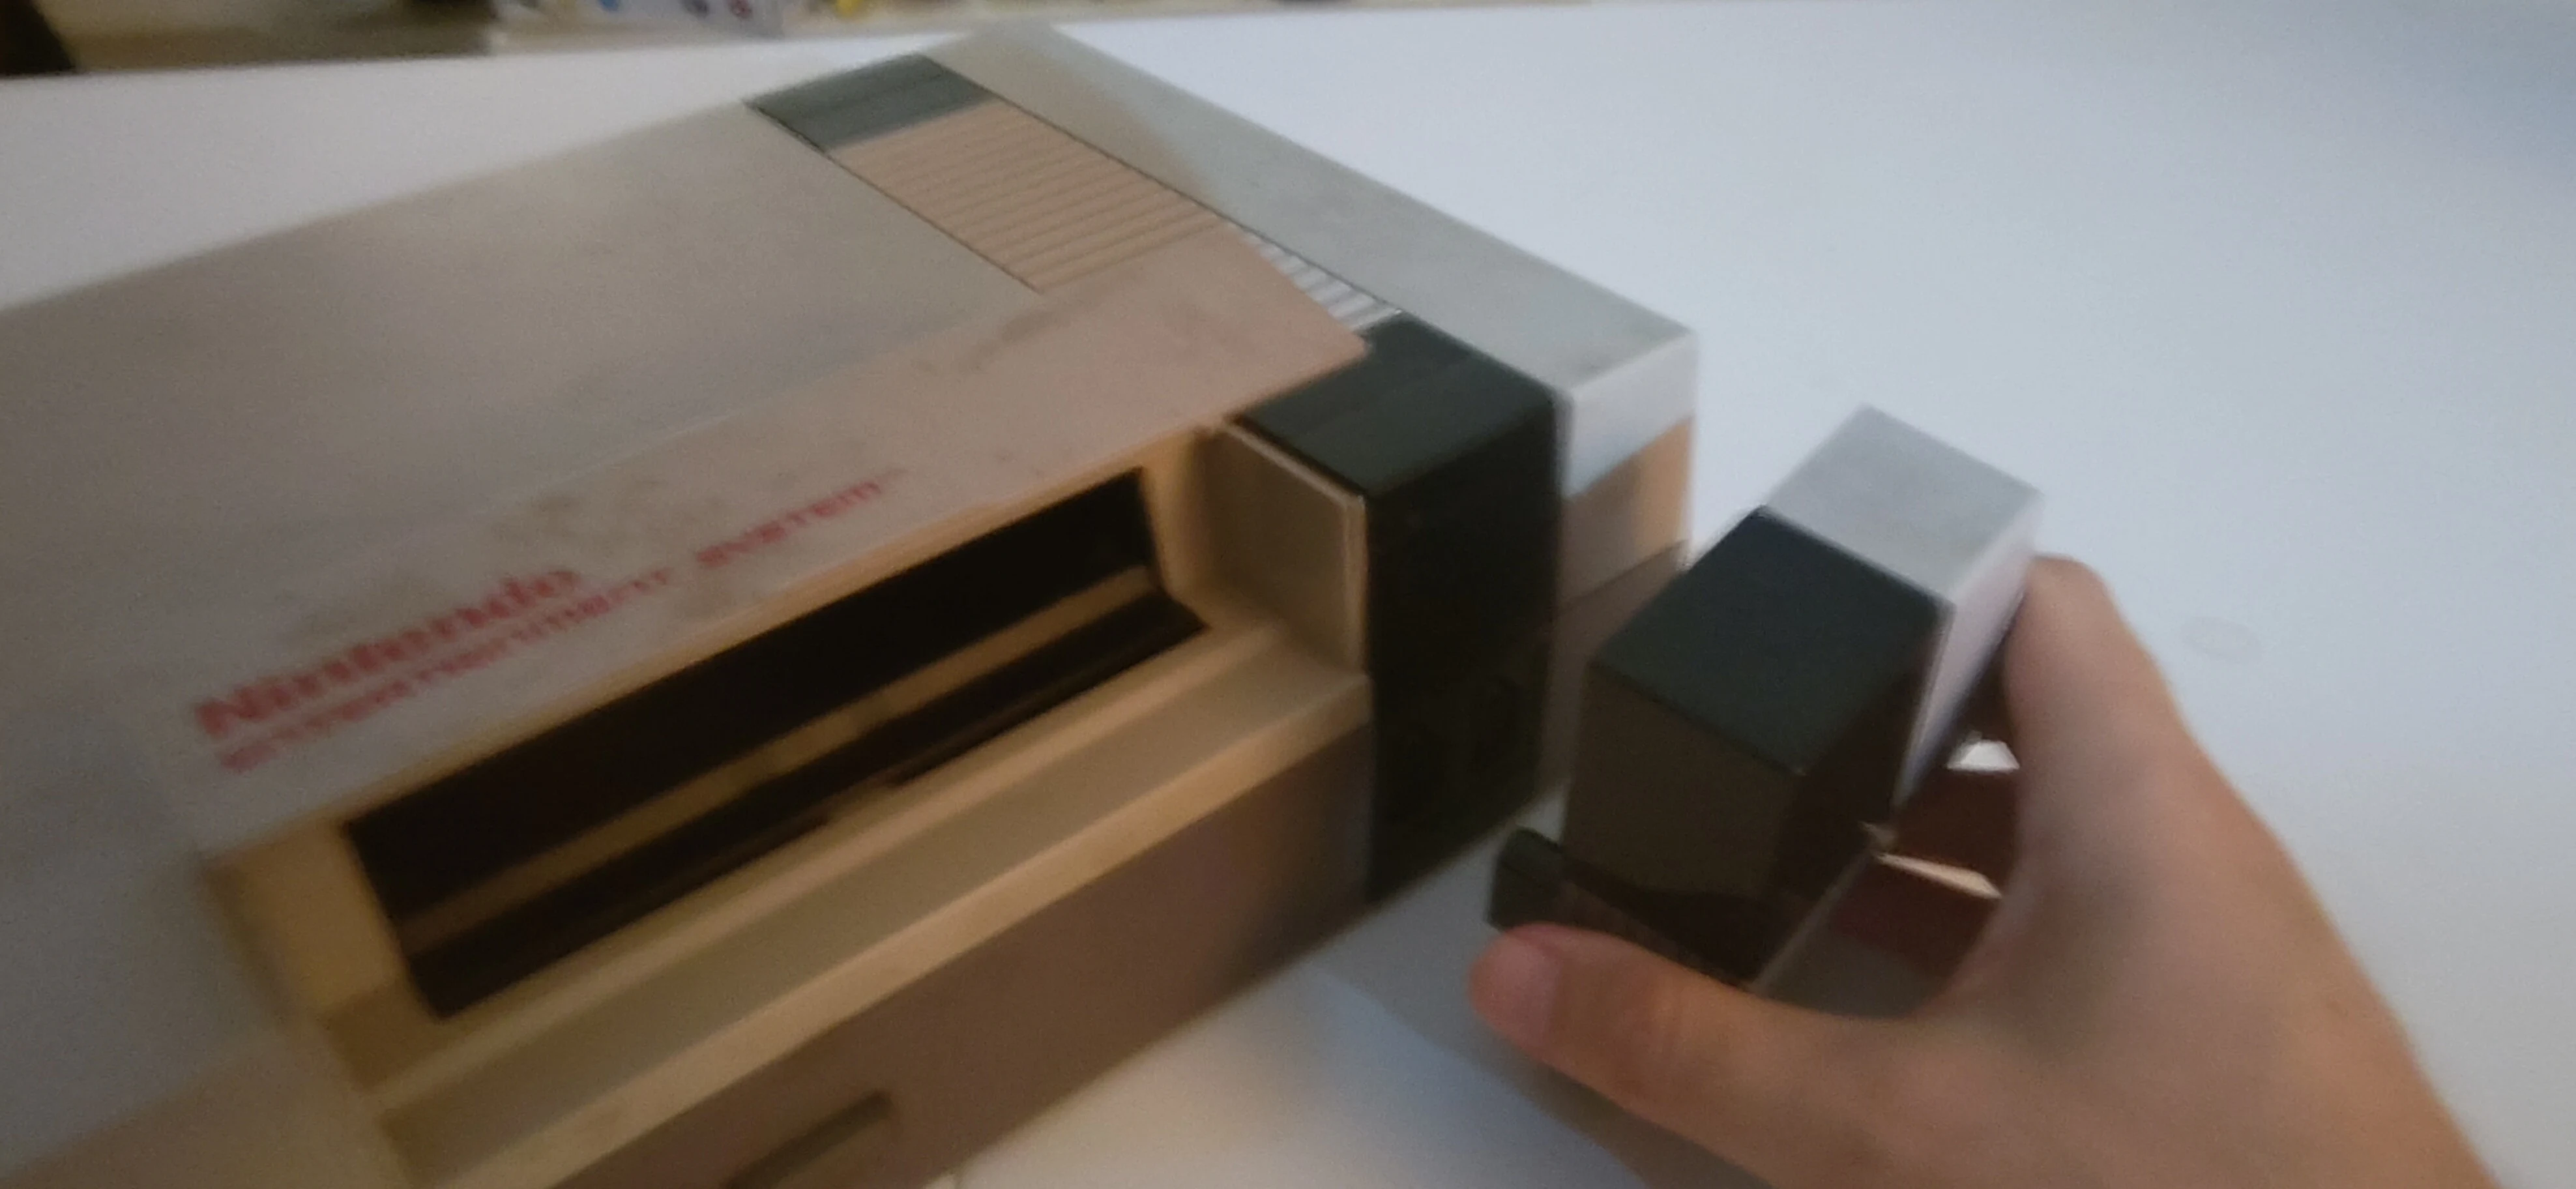
Remove controllers

Controller removed

2. Remove the screws under the console.
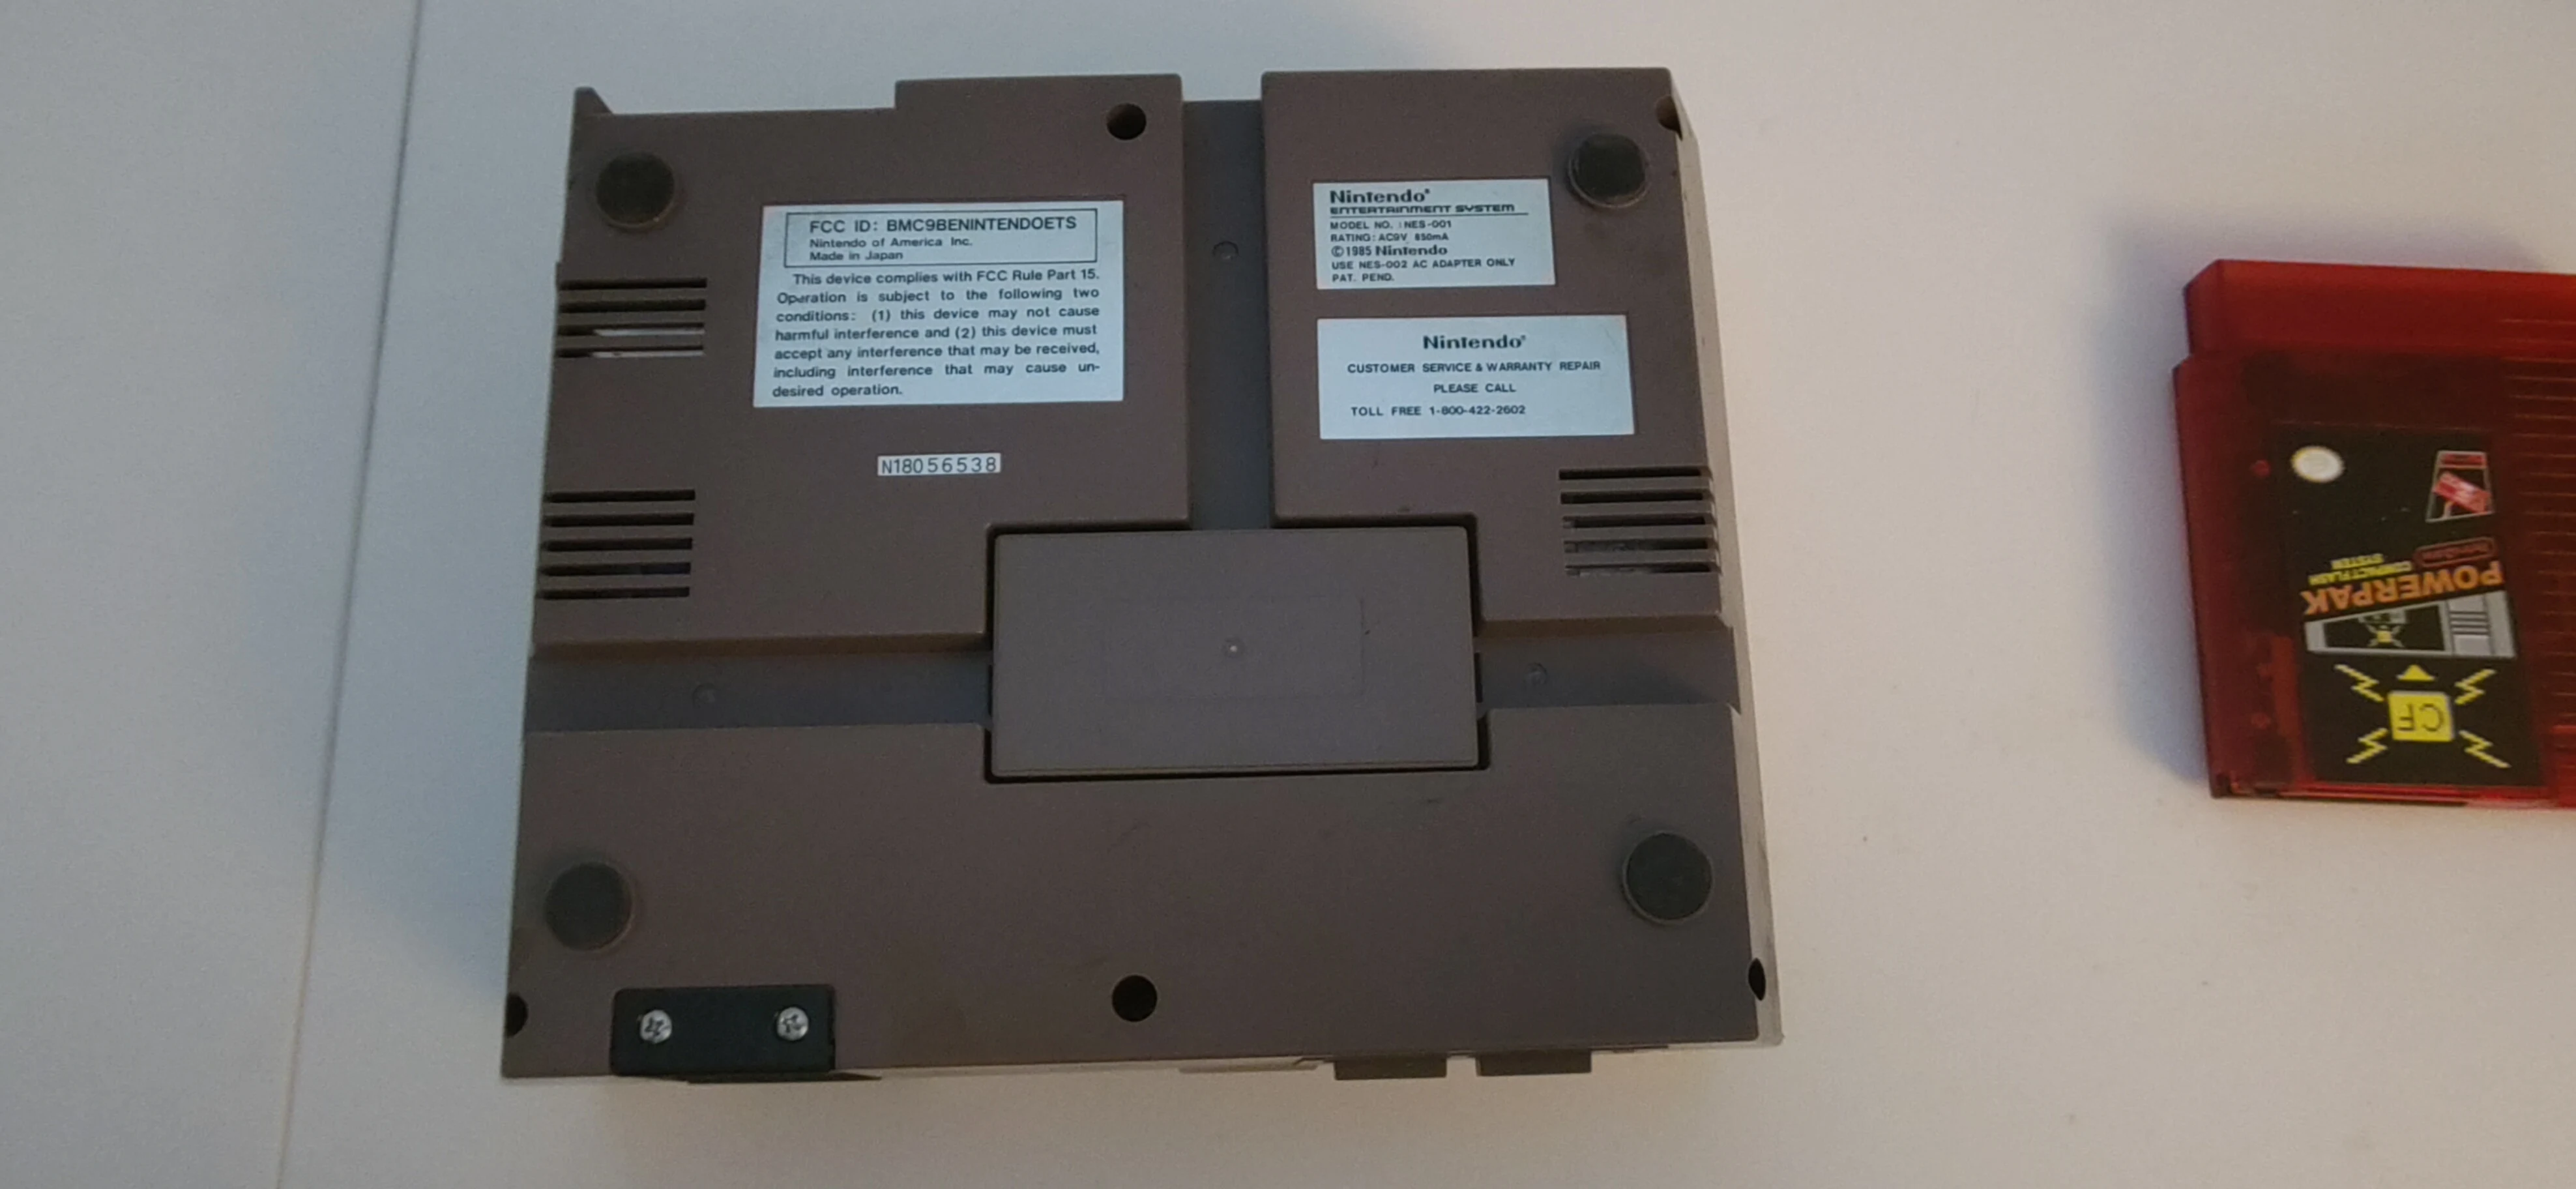
Remove the screws under the console

Remove the six (6) Philips head screws around the bottom of the console.

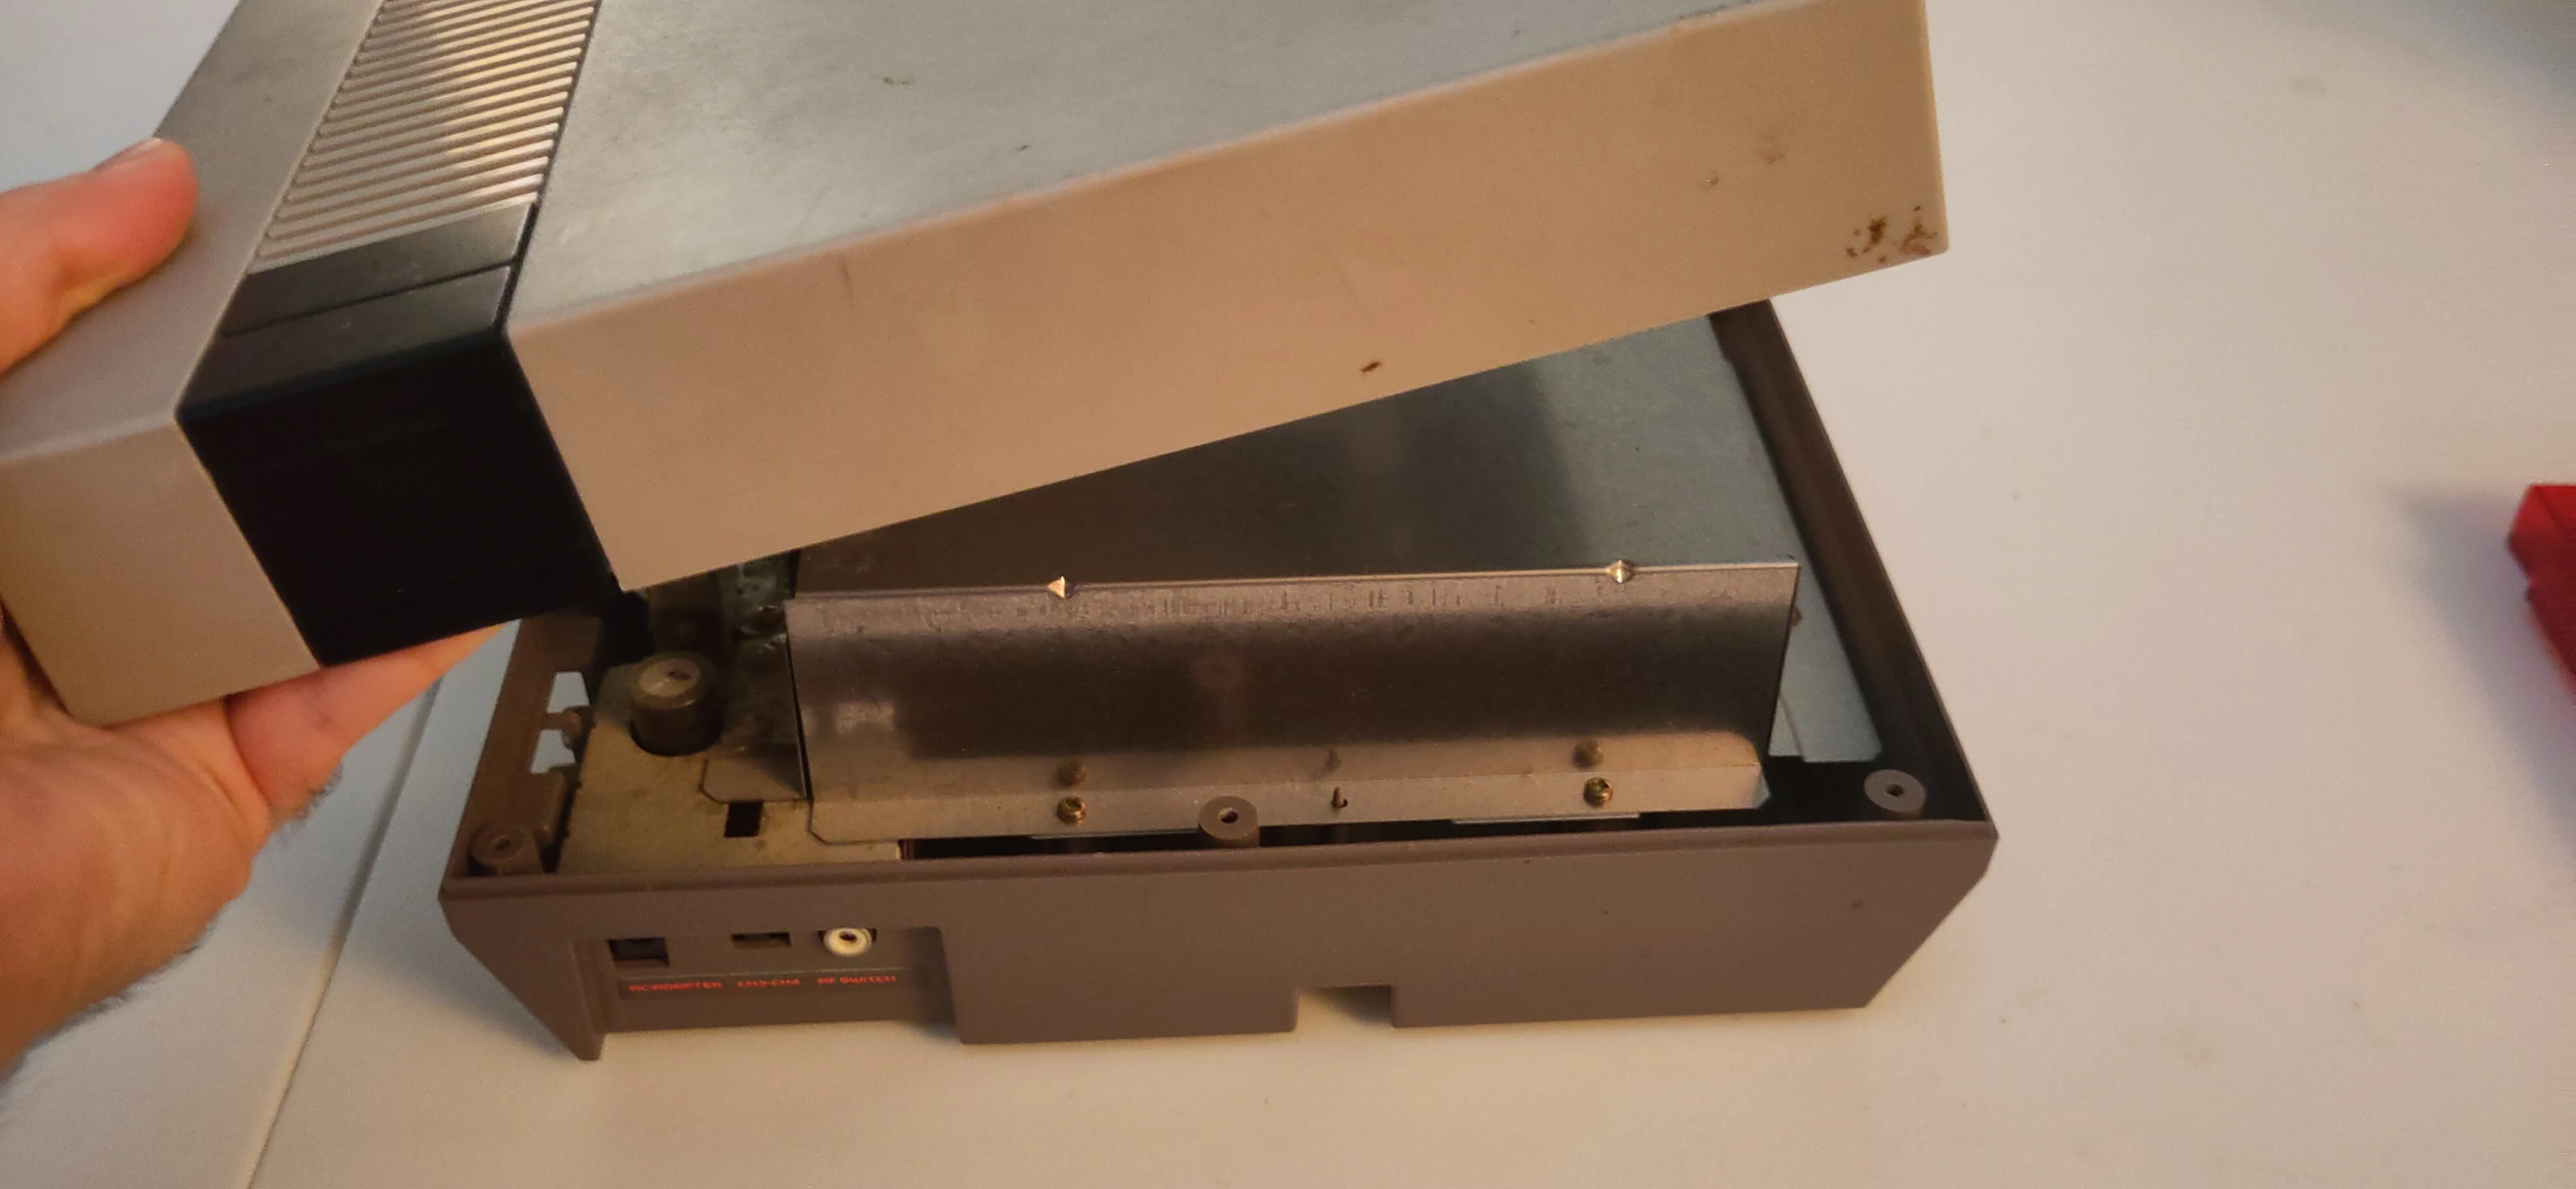
3. Remove the top cover.
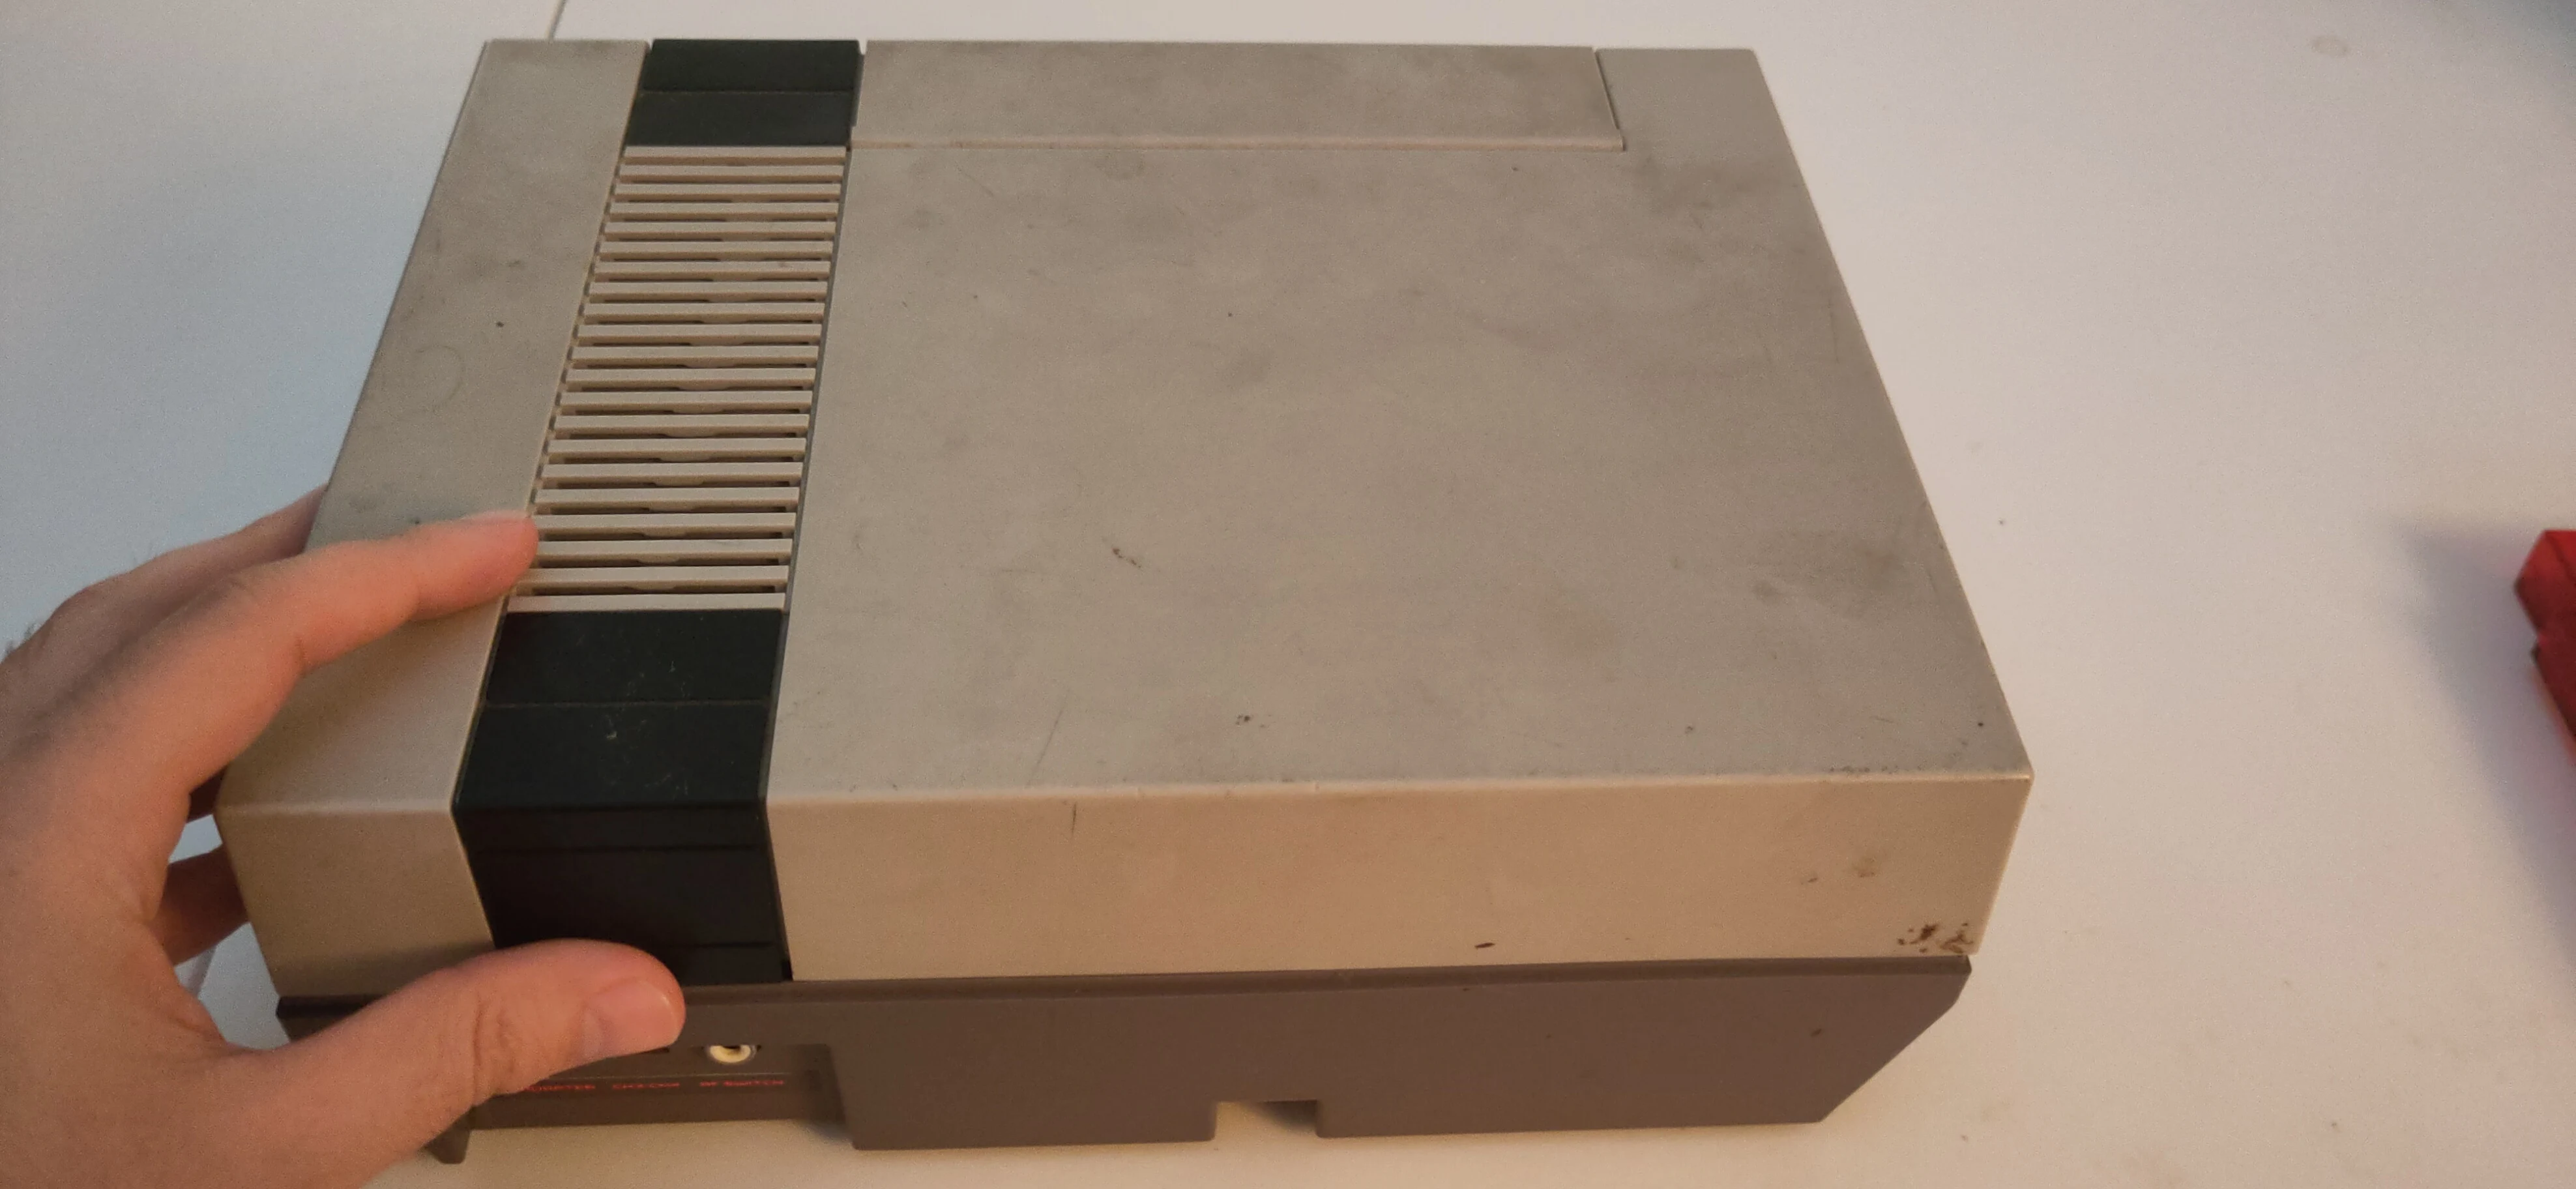
Remove top cover

Top removed

4. Remove the RF shield screws.

The top RF shield has seven (7) Philips screws around the top, surround the cartridge slot.
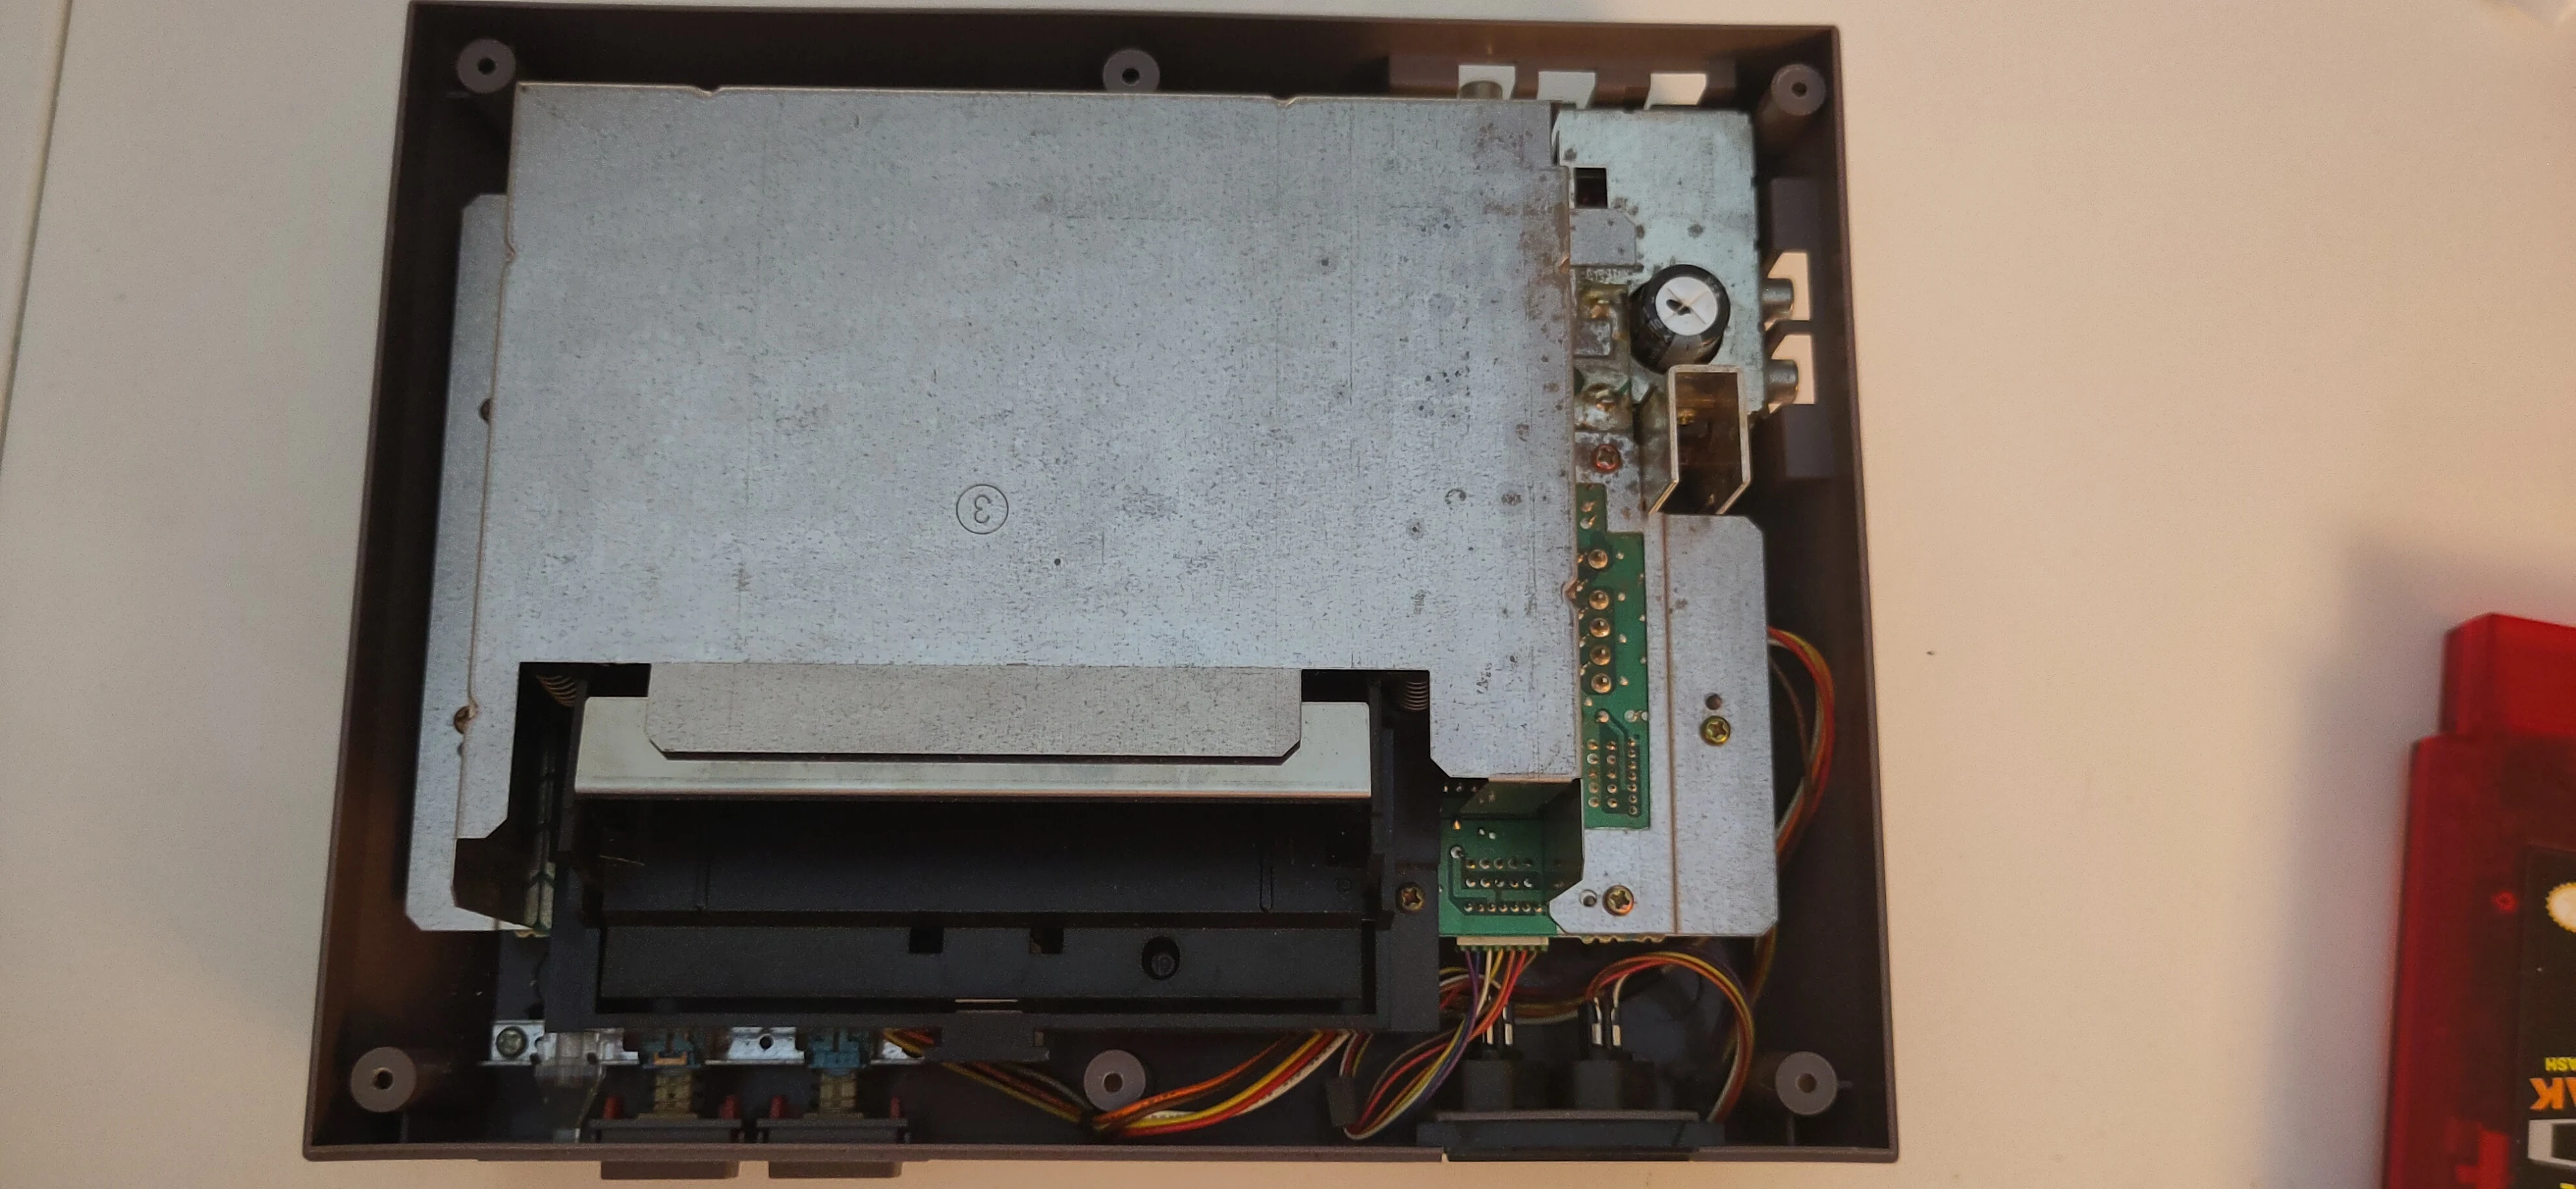
Remove RF shield screws

5. Lift up the RF Shield.

Lift RF Shield

Shield removed

6. Remove screws around the old cartridge drawer.

Remove the six (6) Philips screws, two in each of the top-most corners including one silver screw on each side below the top-most screw, and one more screw per bottom corner.
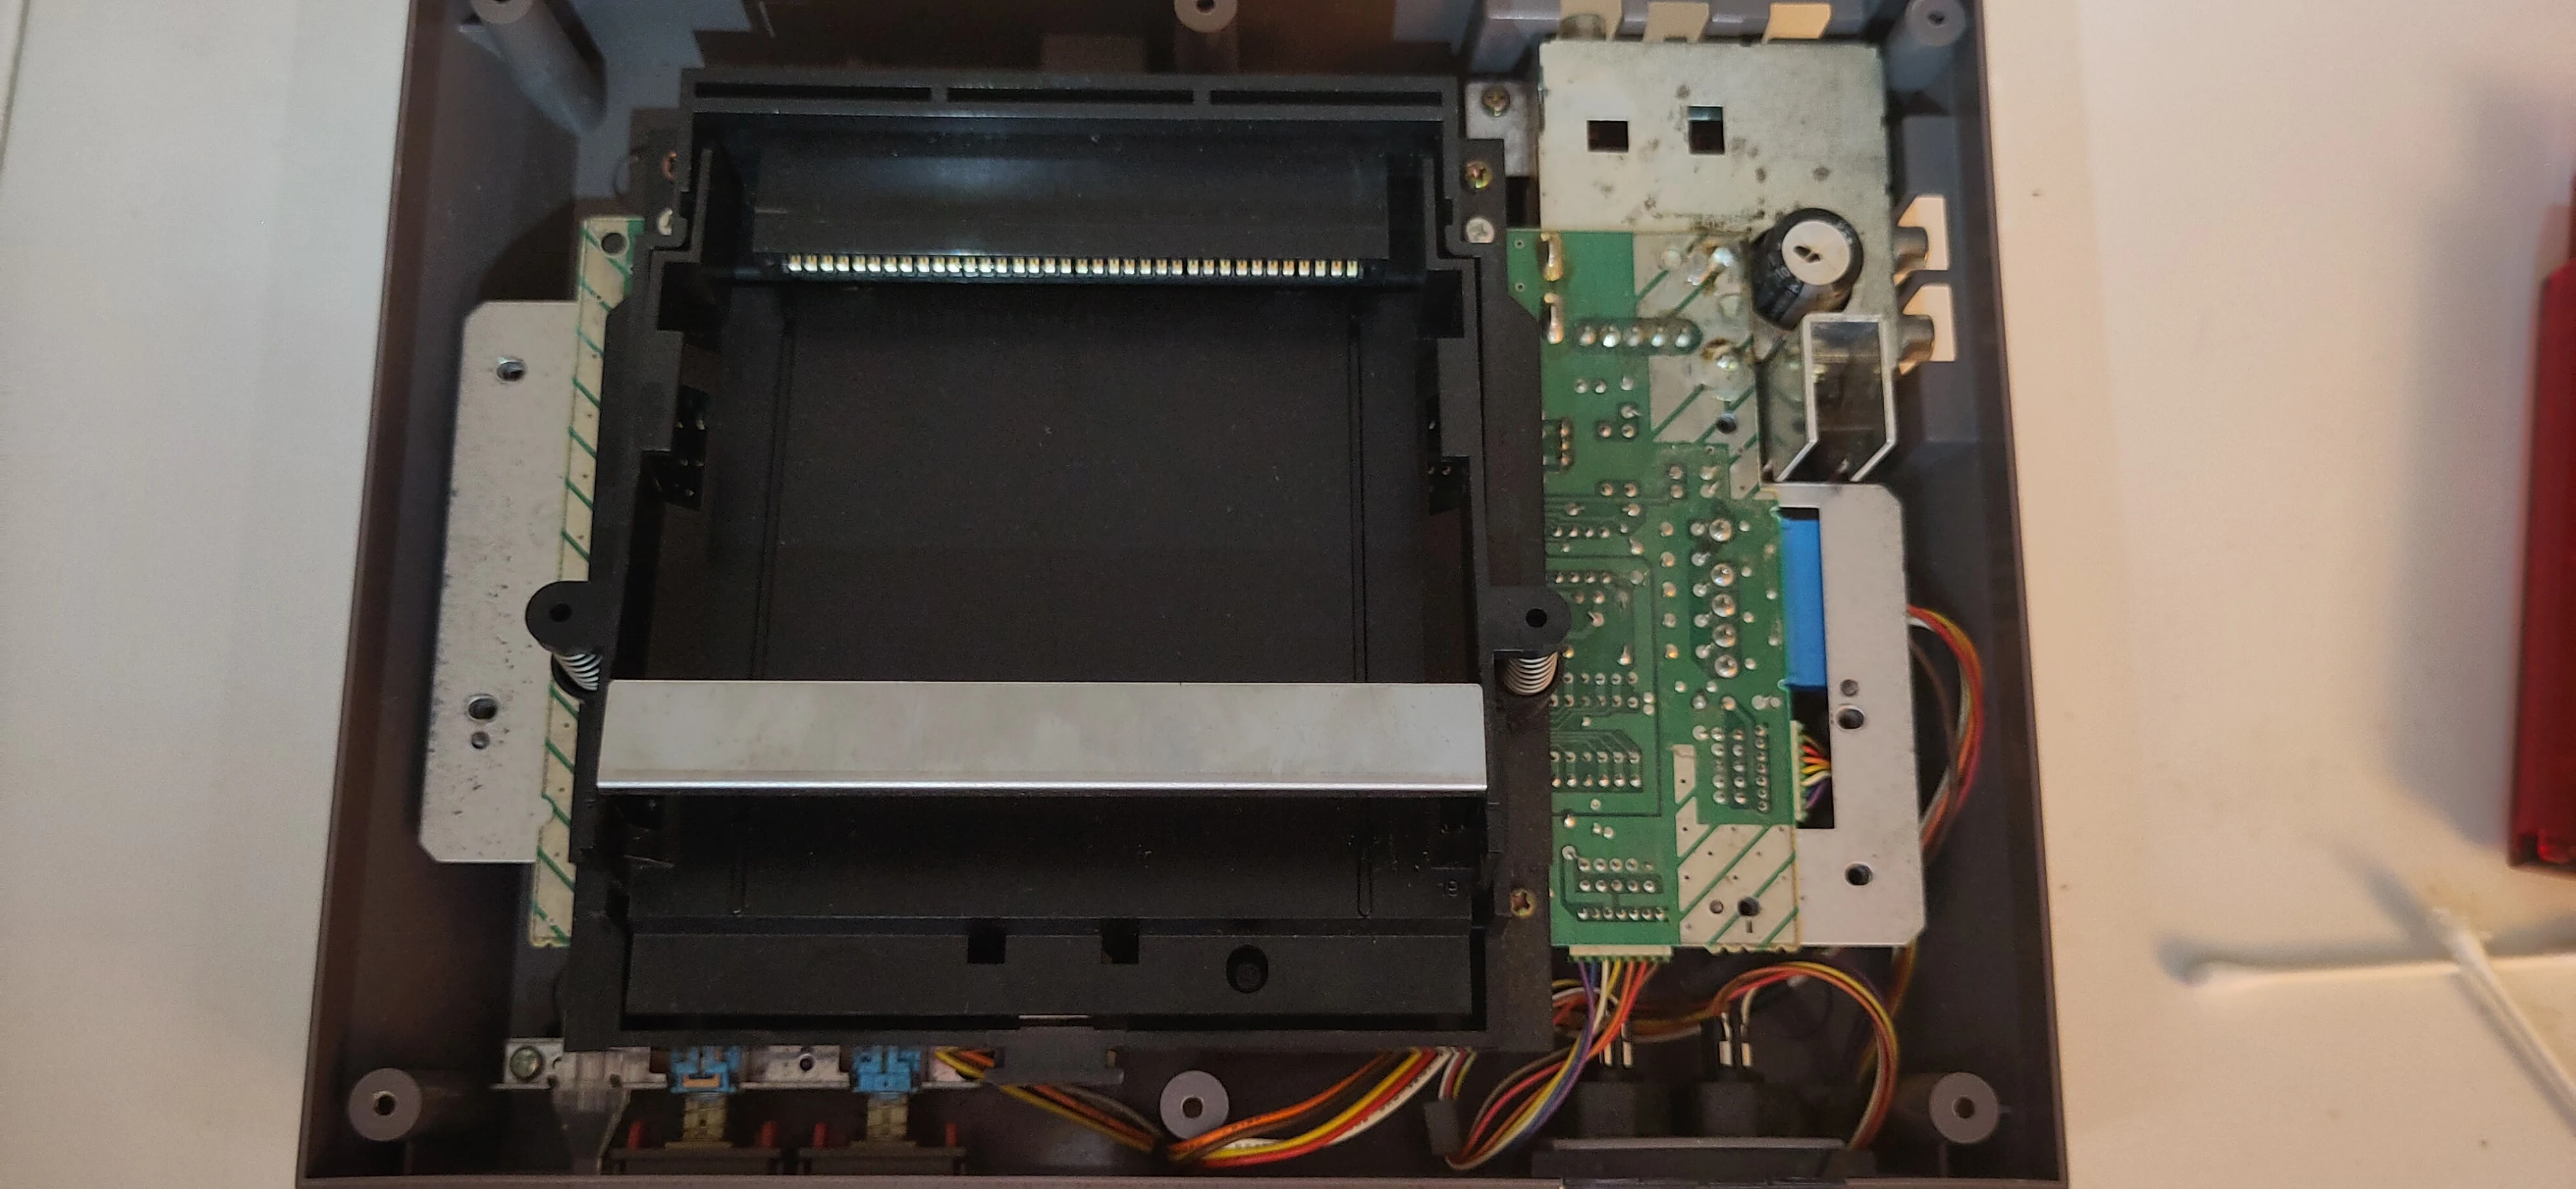
Remaining screws under shield

The silver screws are not needed for the Ninten-Drawer; they are not needed for reassembly, but keep these screws with the old drawer and 72-pin connector when removed.

7. Remove the old cartridge drawer.

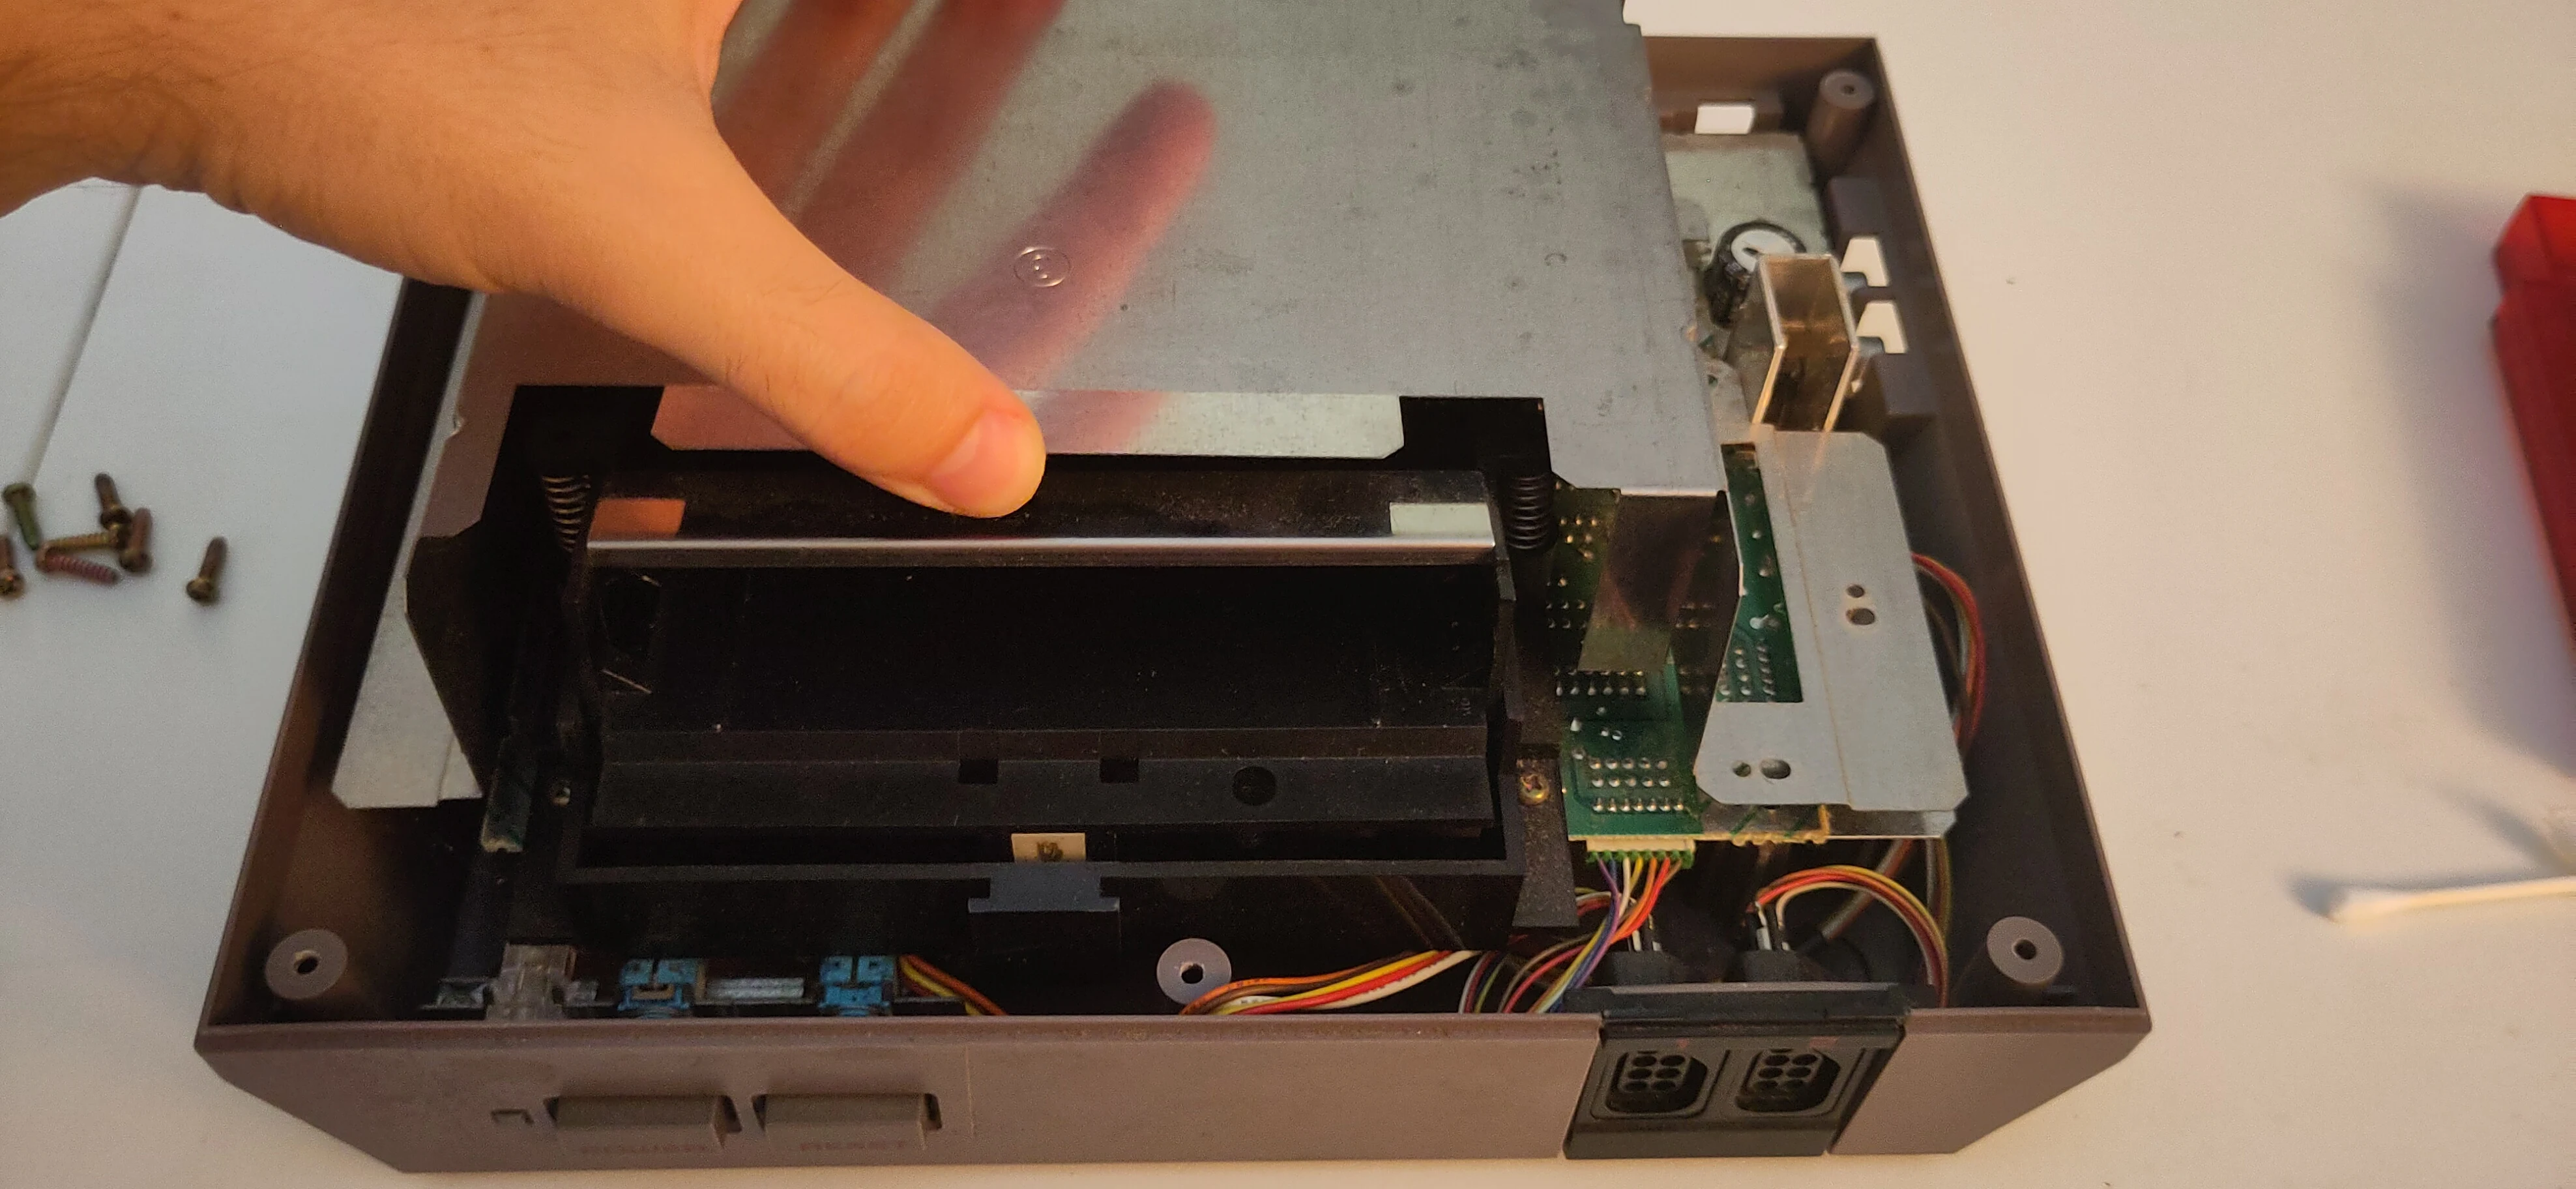
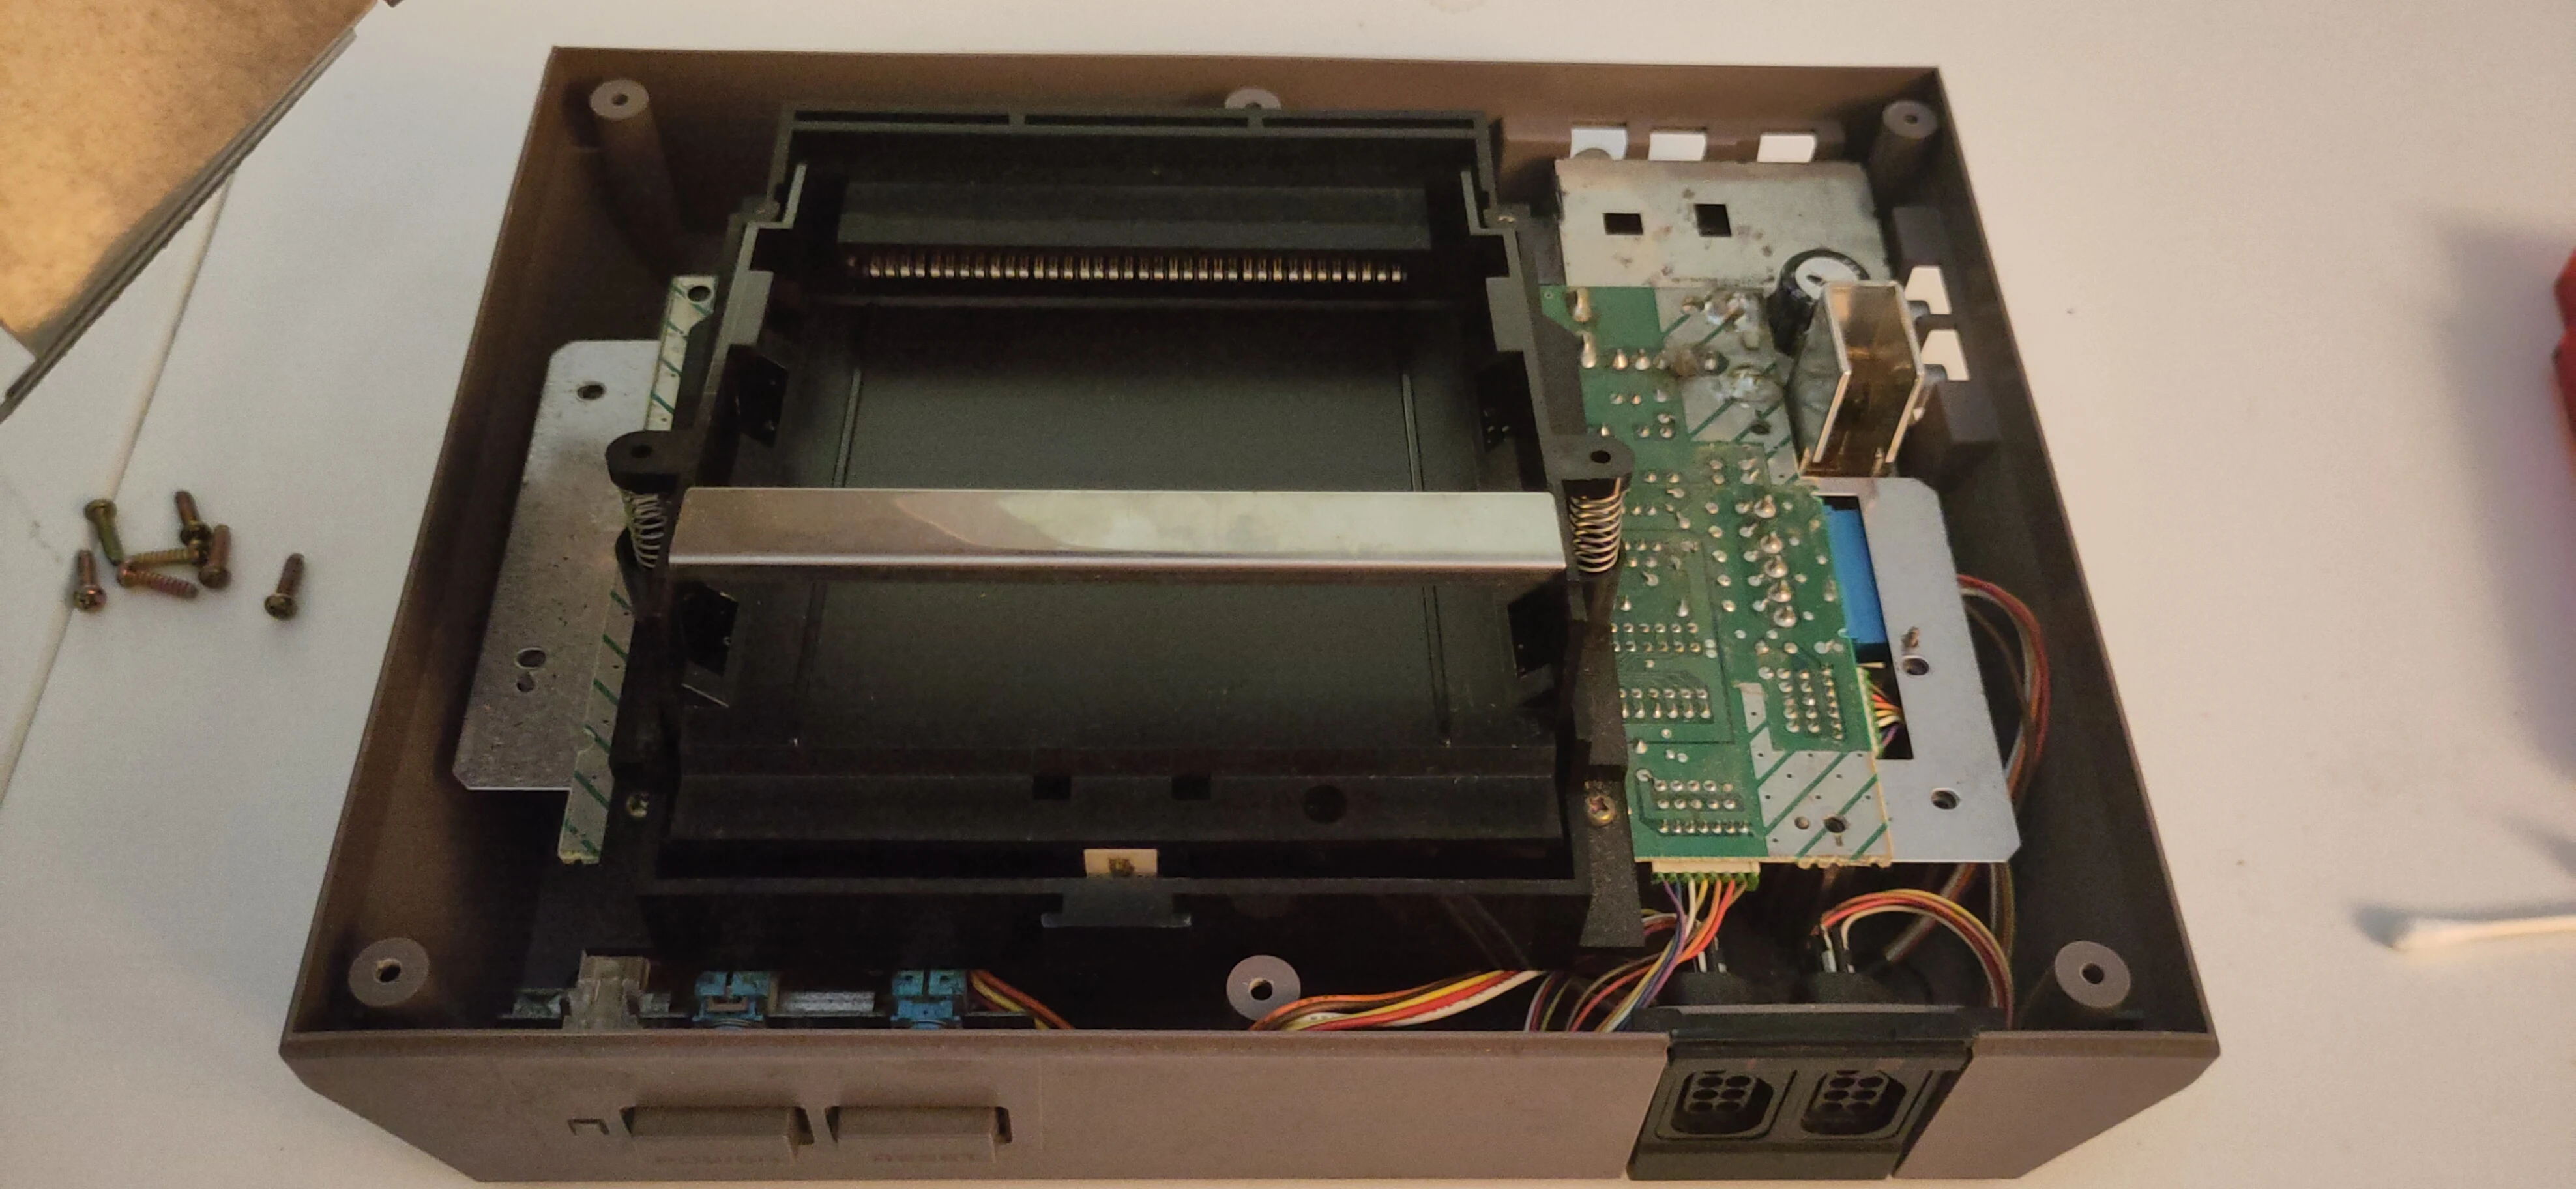
Firmly grab the cartridge drawer by the metal piece, lifting it up slightly to clear the motherboard and the front of the console, then pull the drawer out of the connector.
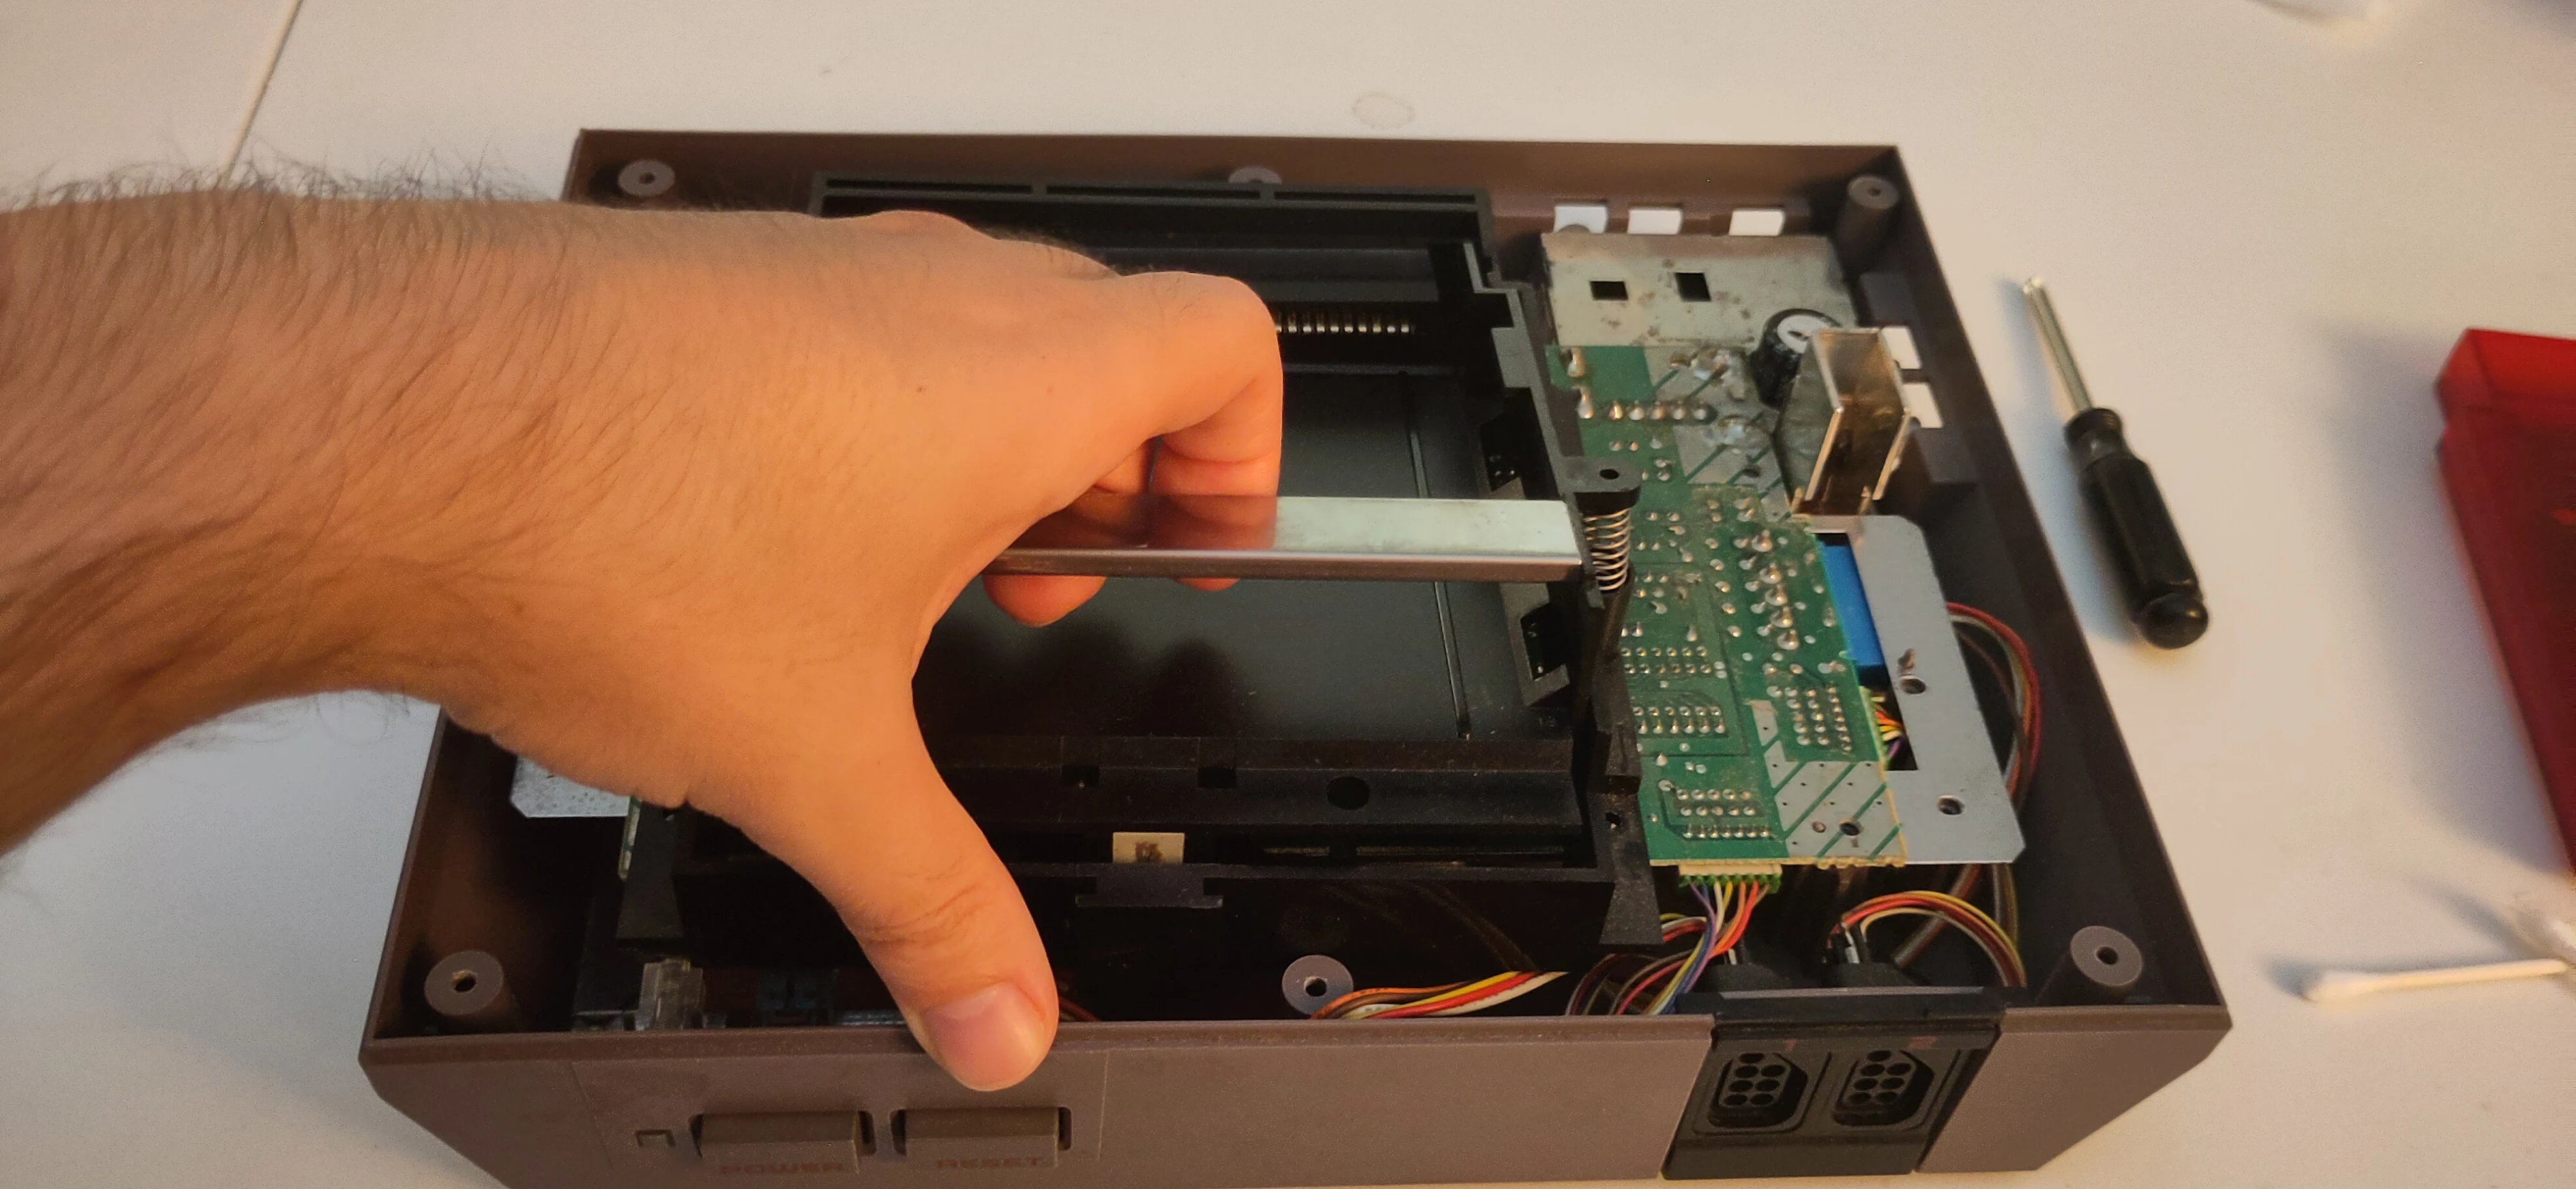
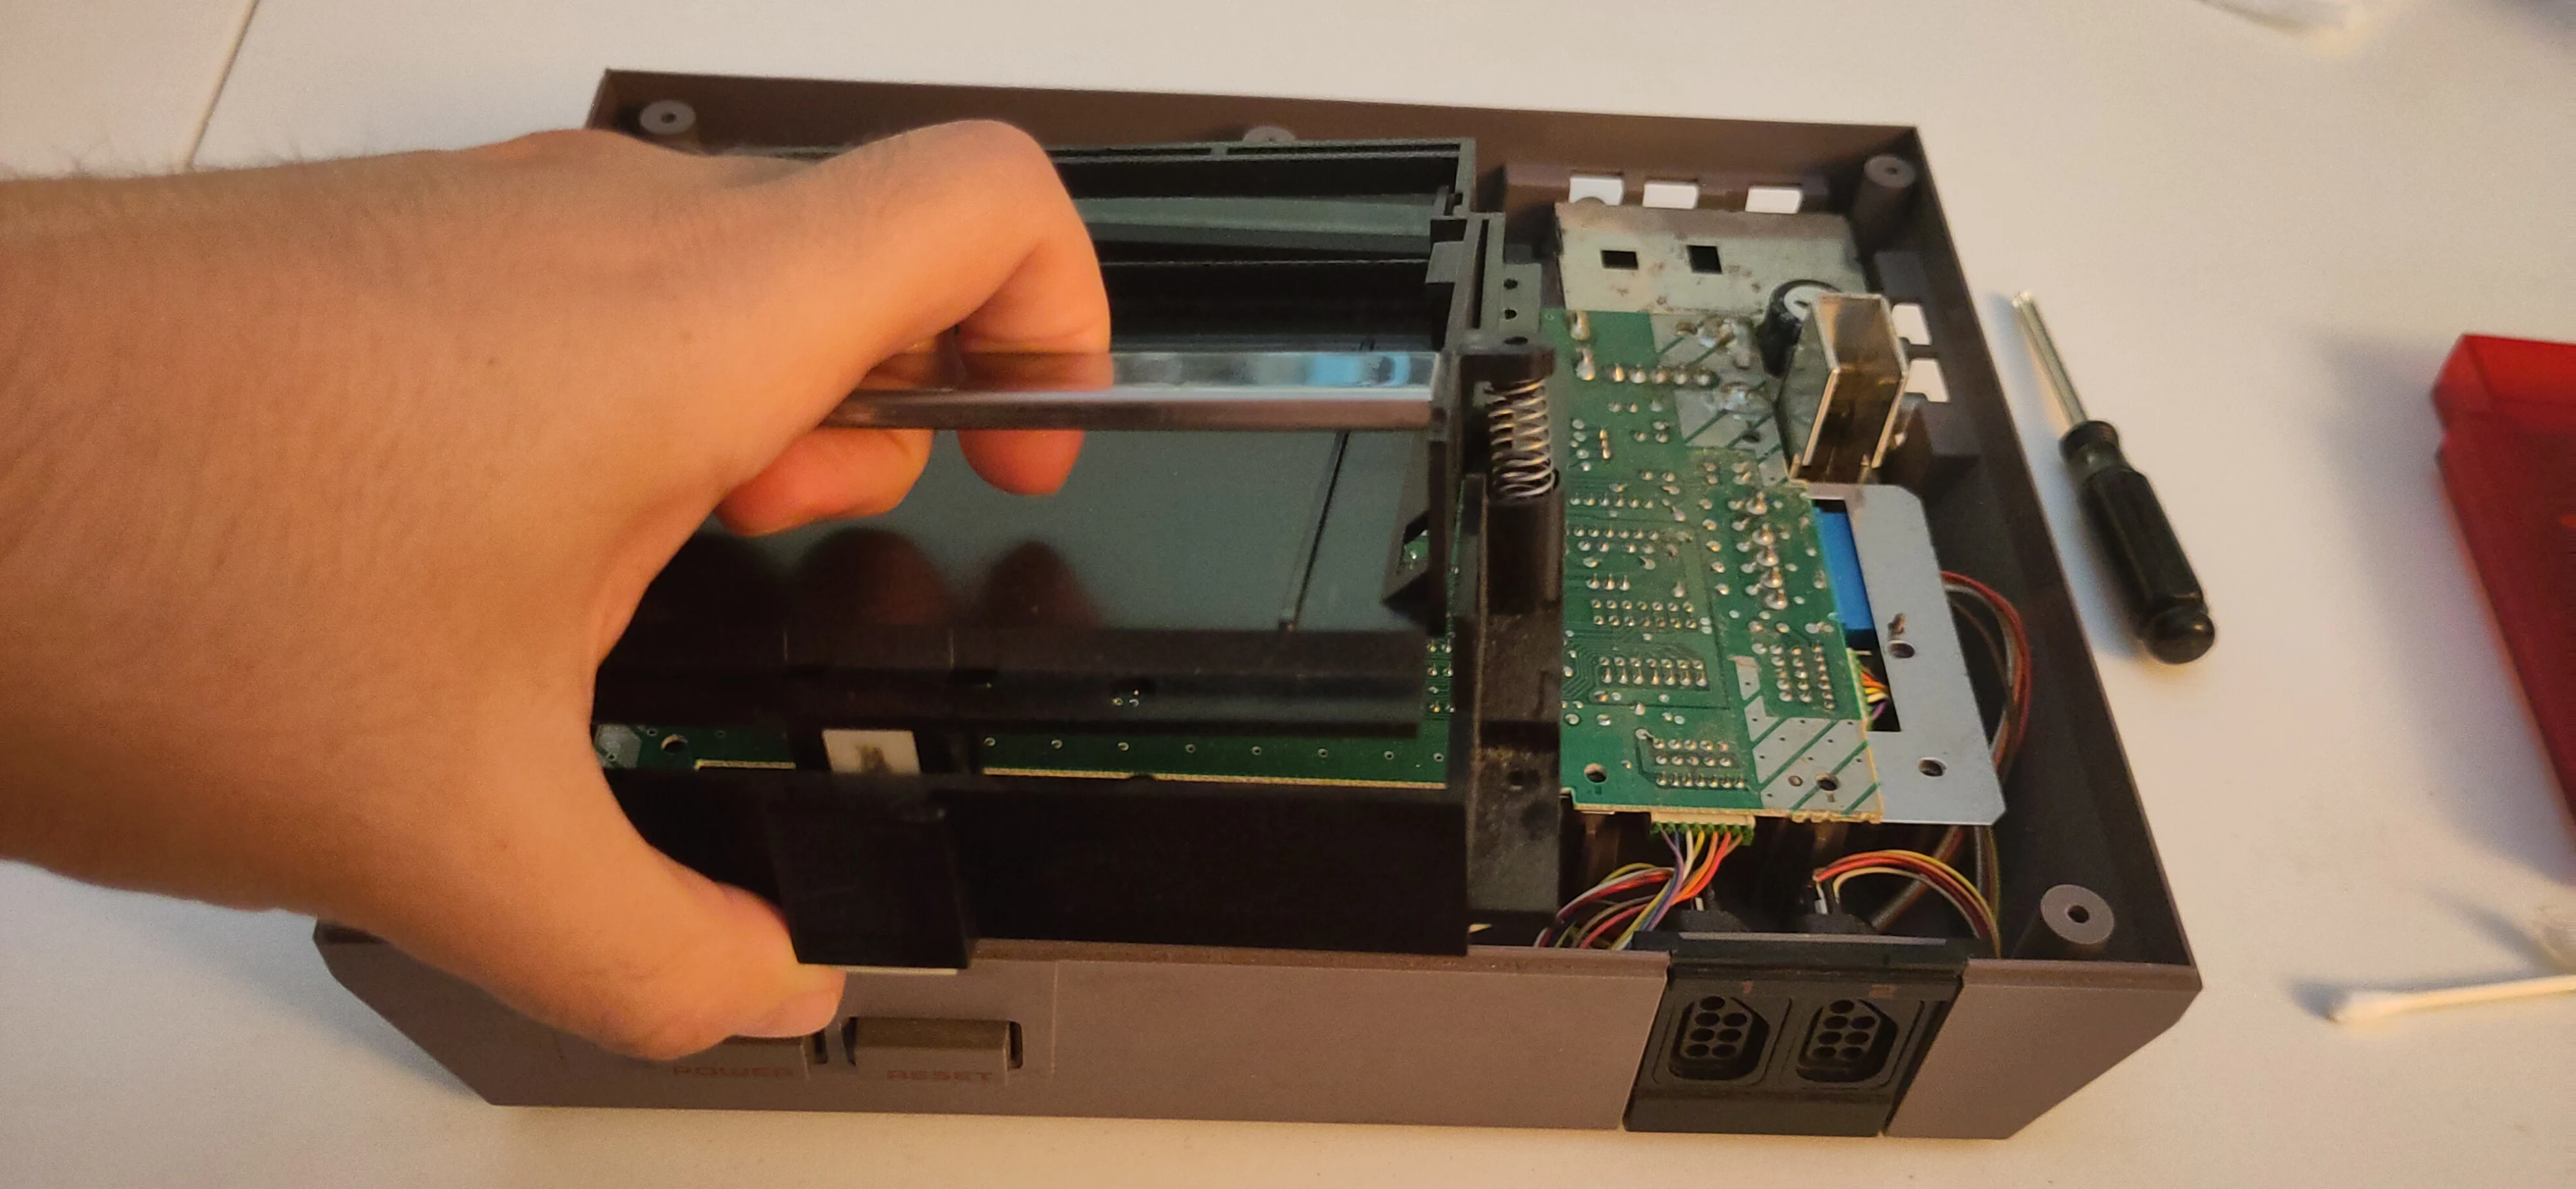
Grasp drawer

Lift up

8. Remove the remaining screws near AC/DC converter.

There are two (2) Philips screws around the back corner of the motherboard, near the power supply and video input jacks.
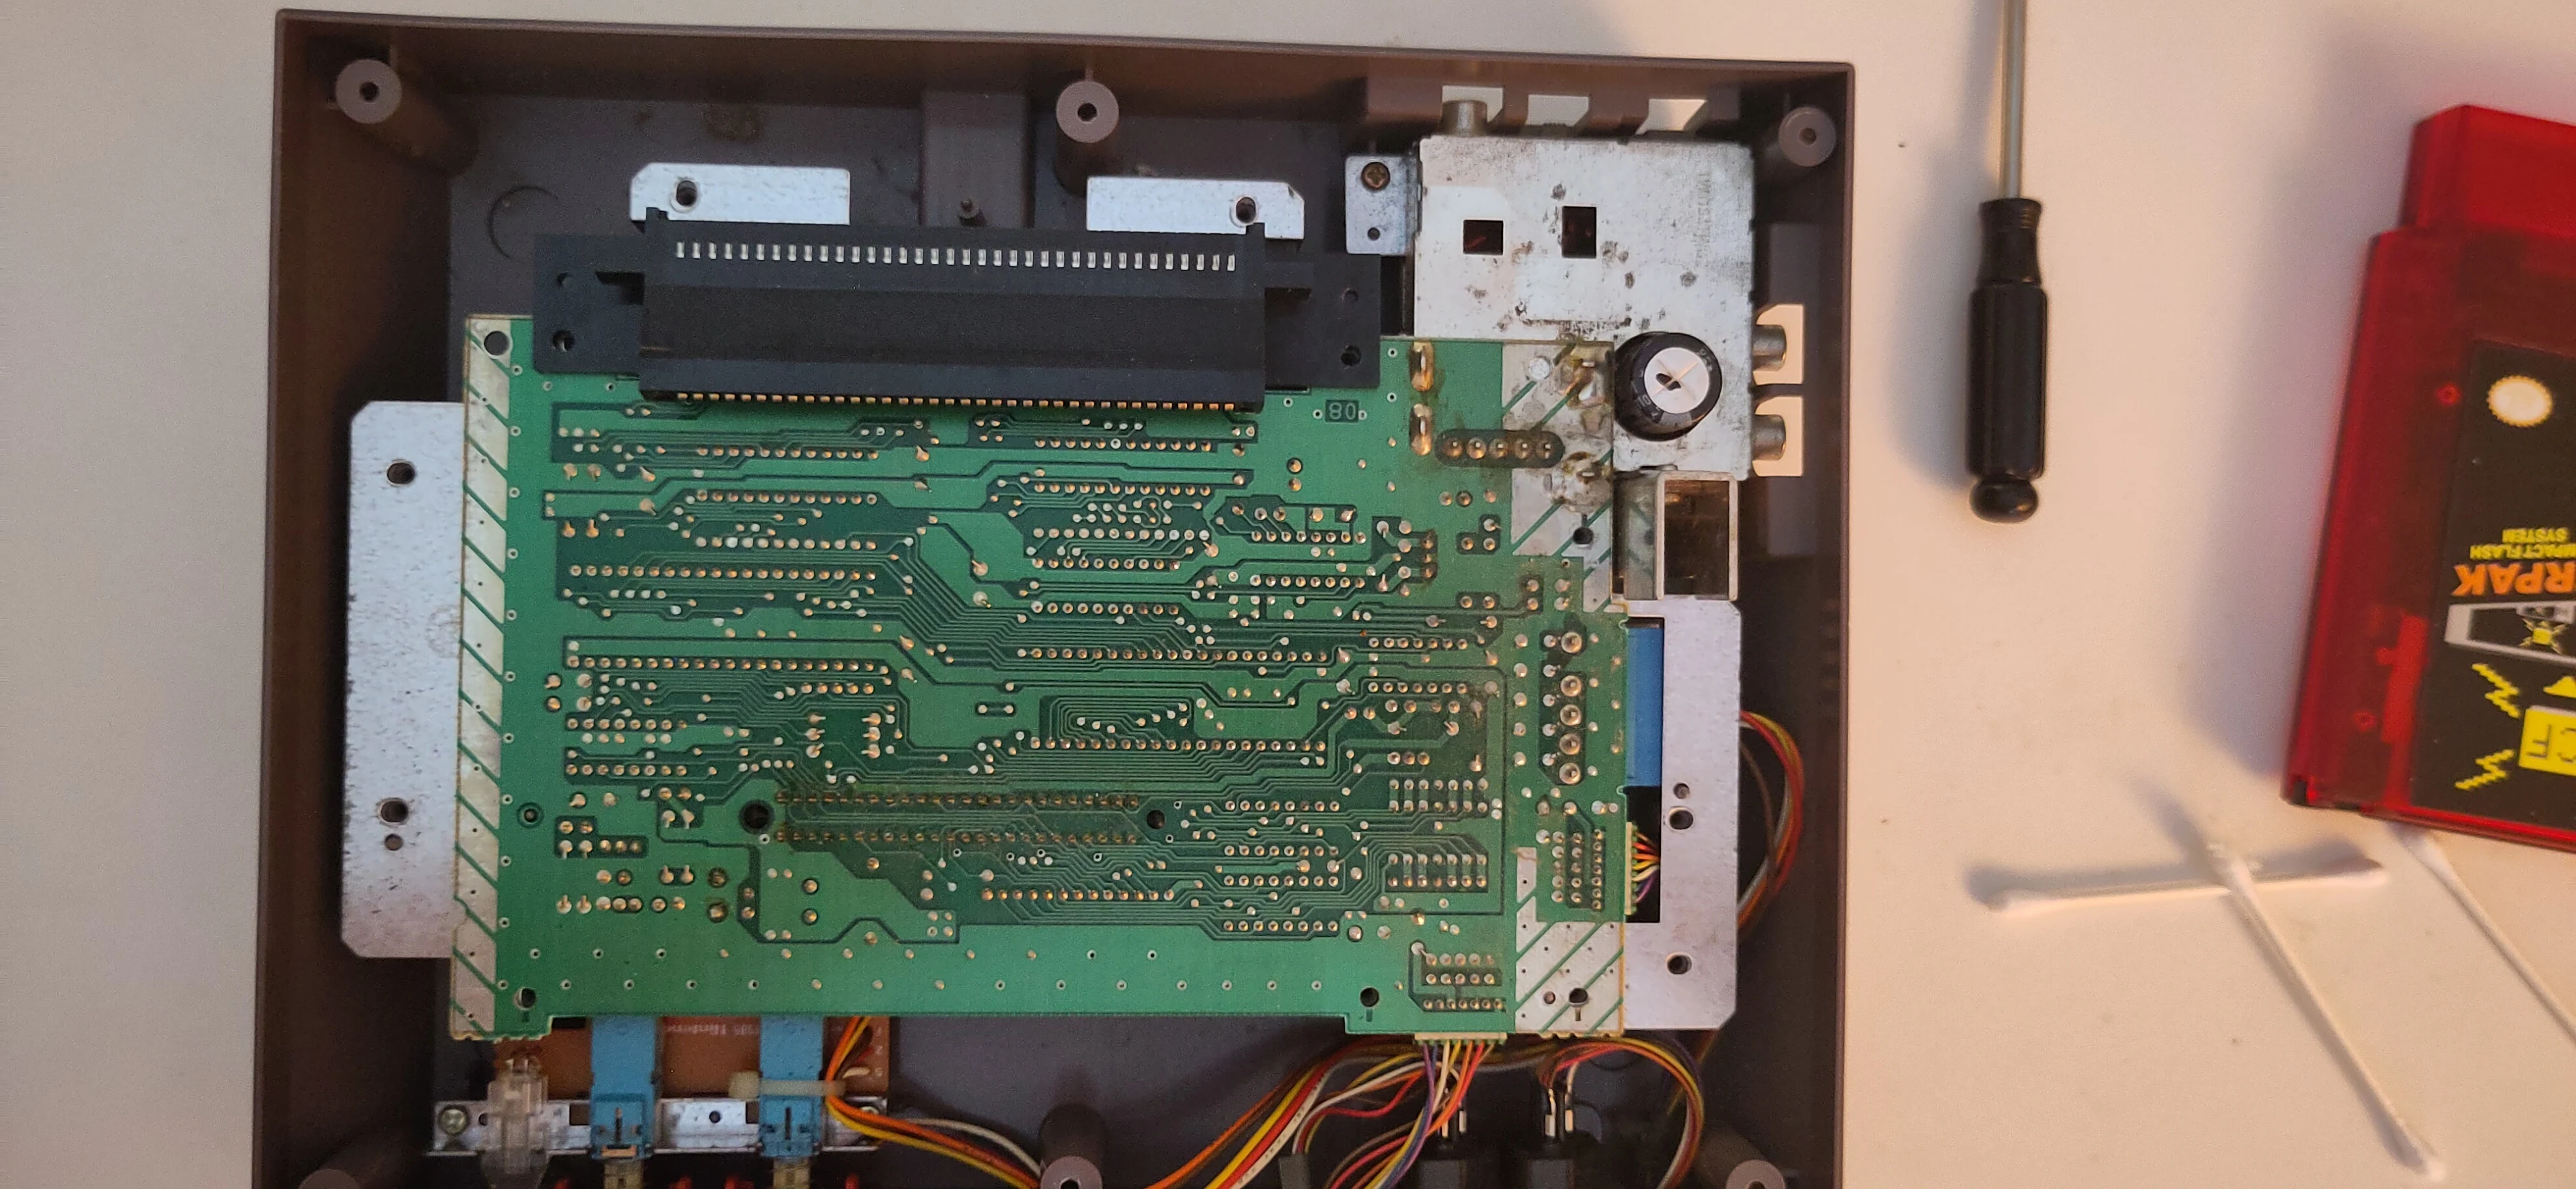
Remaining screws under top shield

9. Separate the motherboard from the lower shield.

The green-masked motherboard can be lifted out of the console, but might still be attached to another RF shield on the bottom.
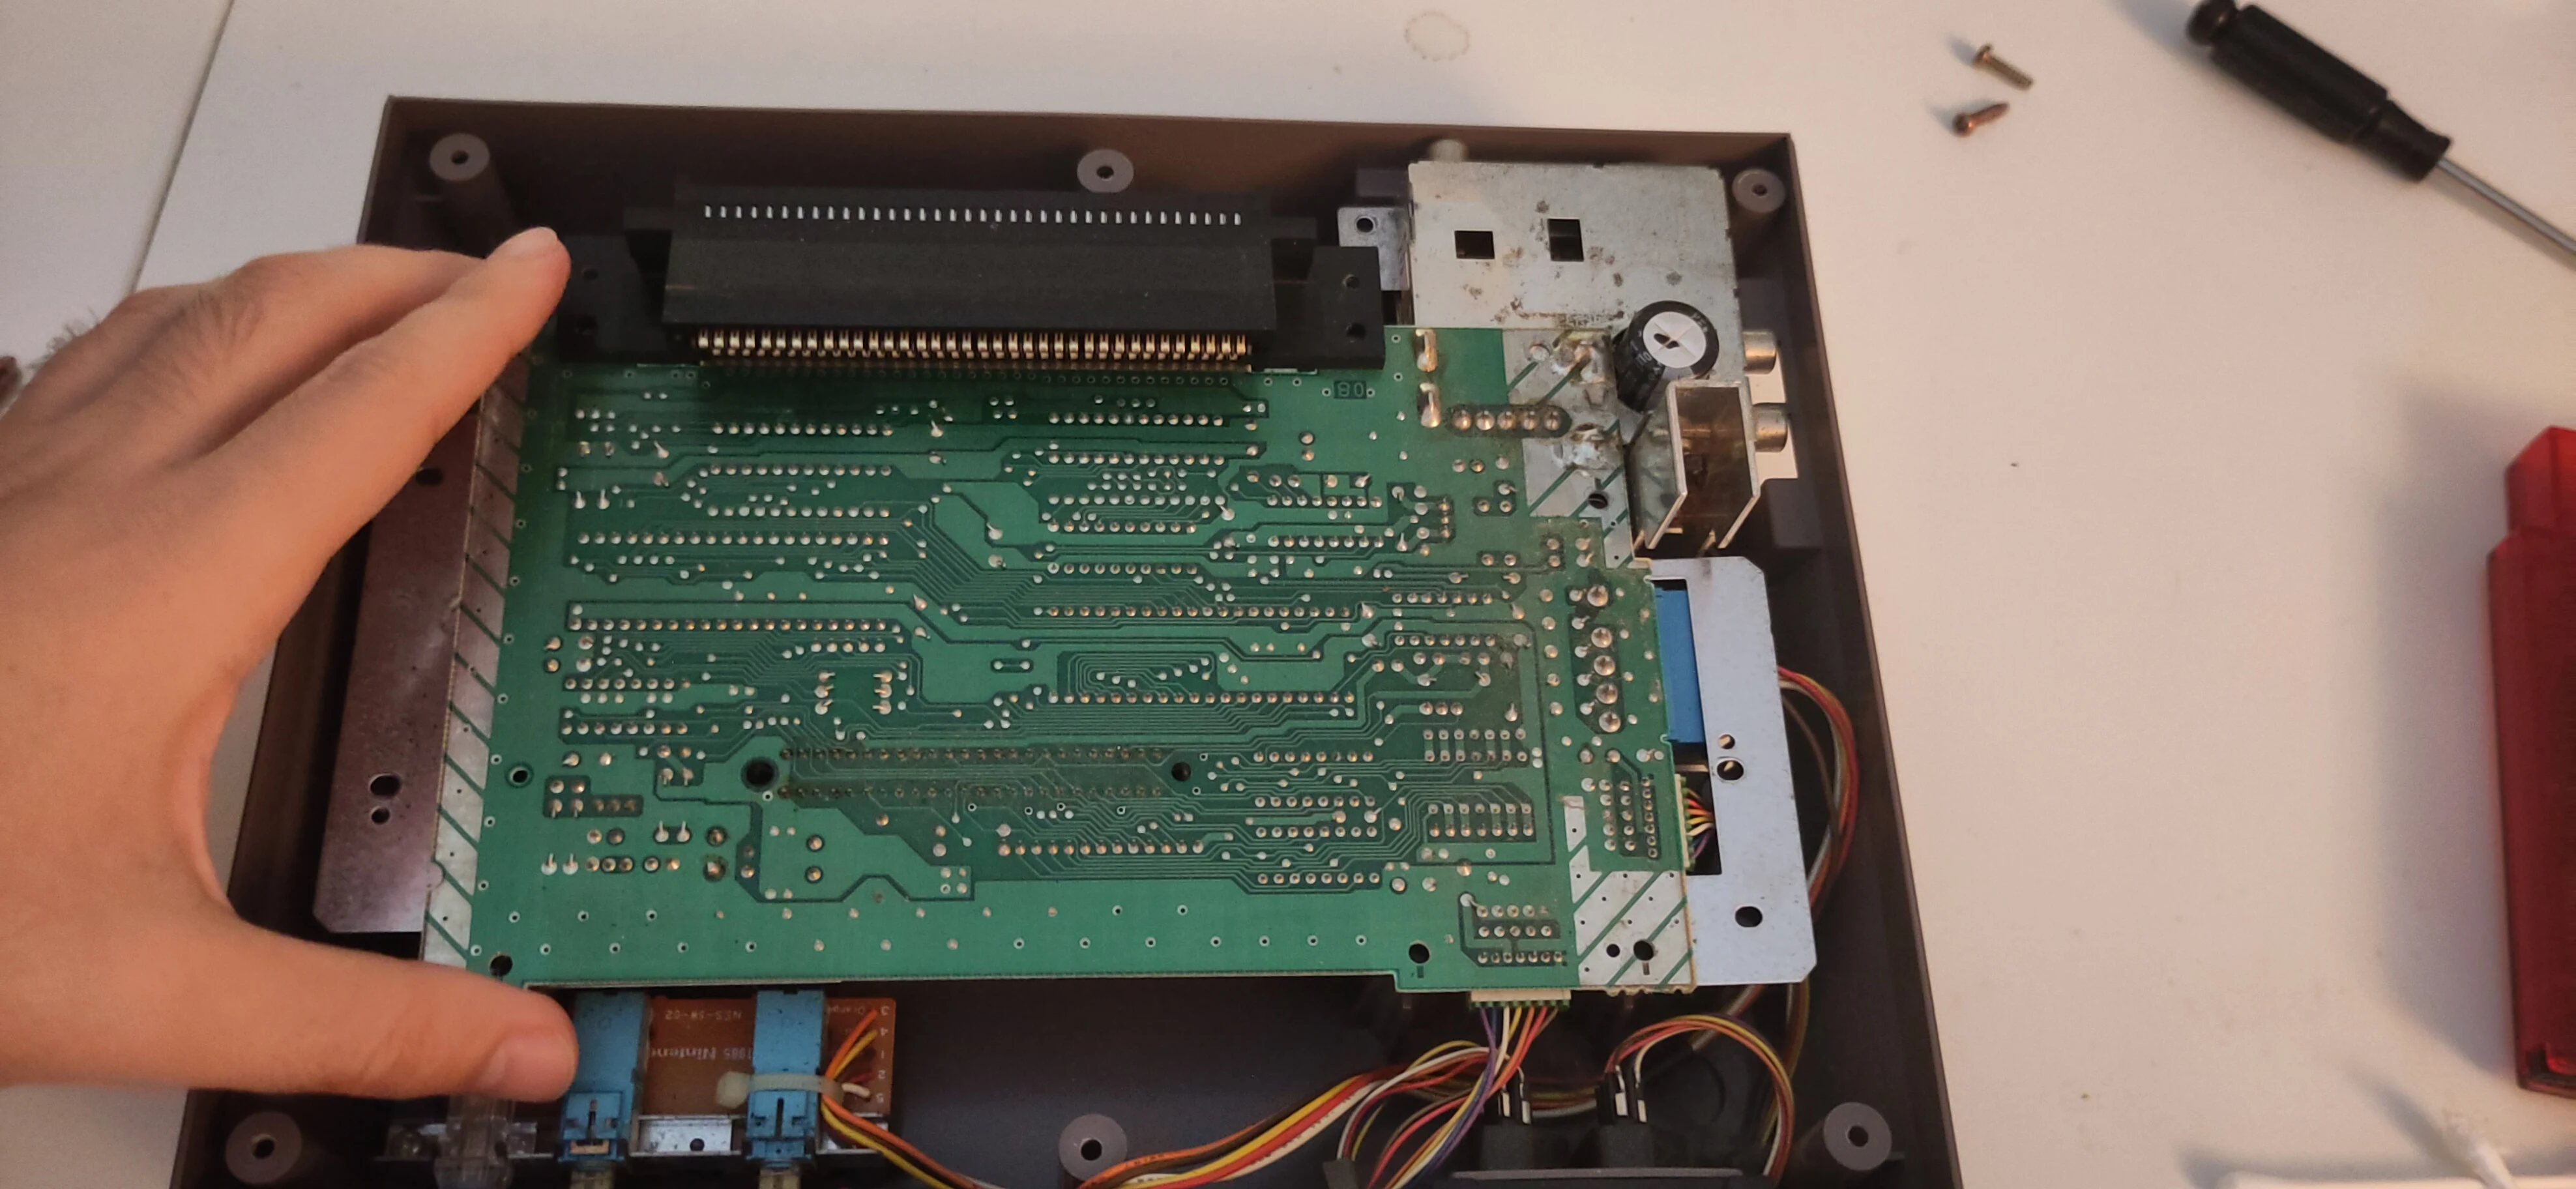
Grab motherboard

Separate the green board from the bottom metal.
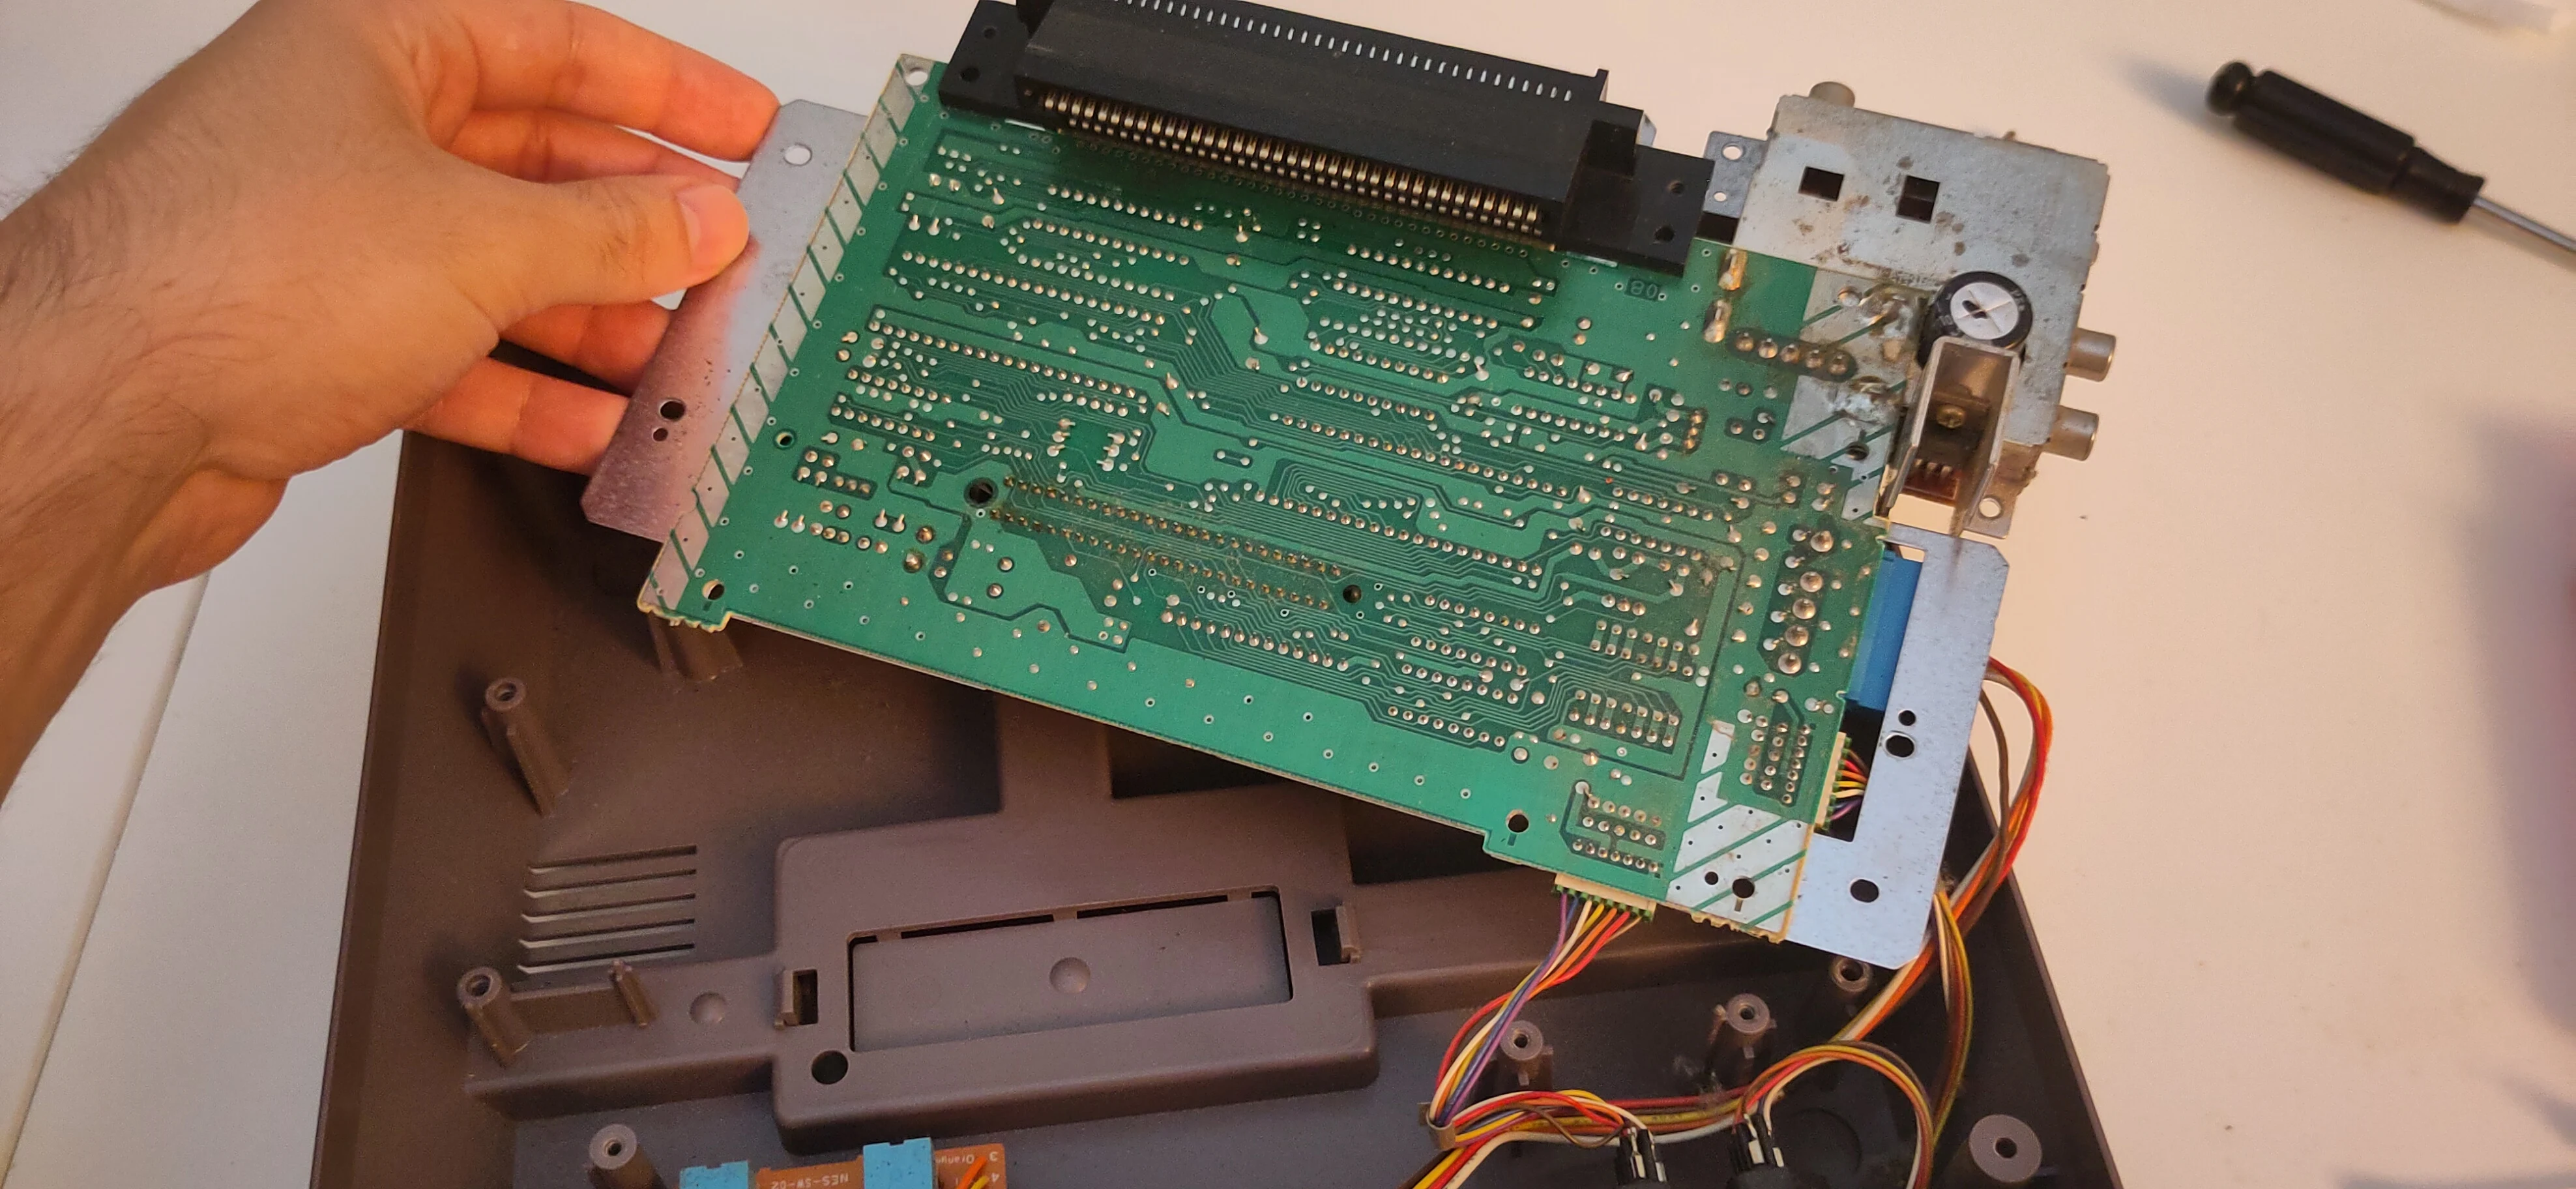
Separate from lower shield

Rotate the motherboard up and around to expose the 72-pin connector on the motherboard.
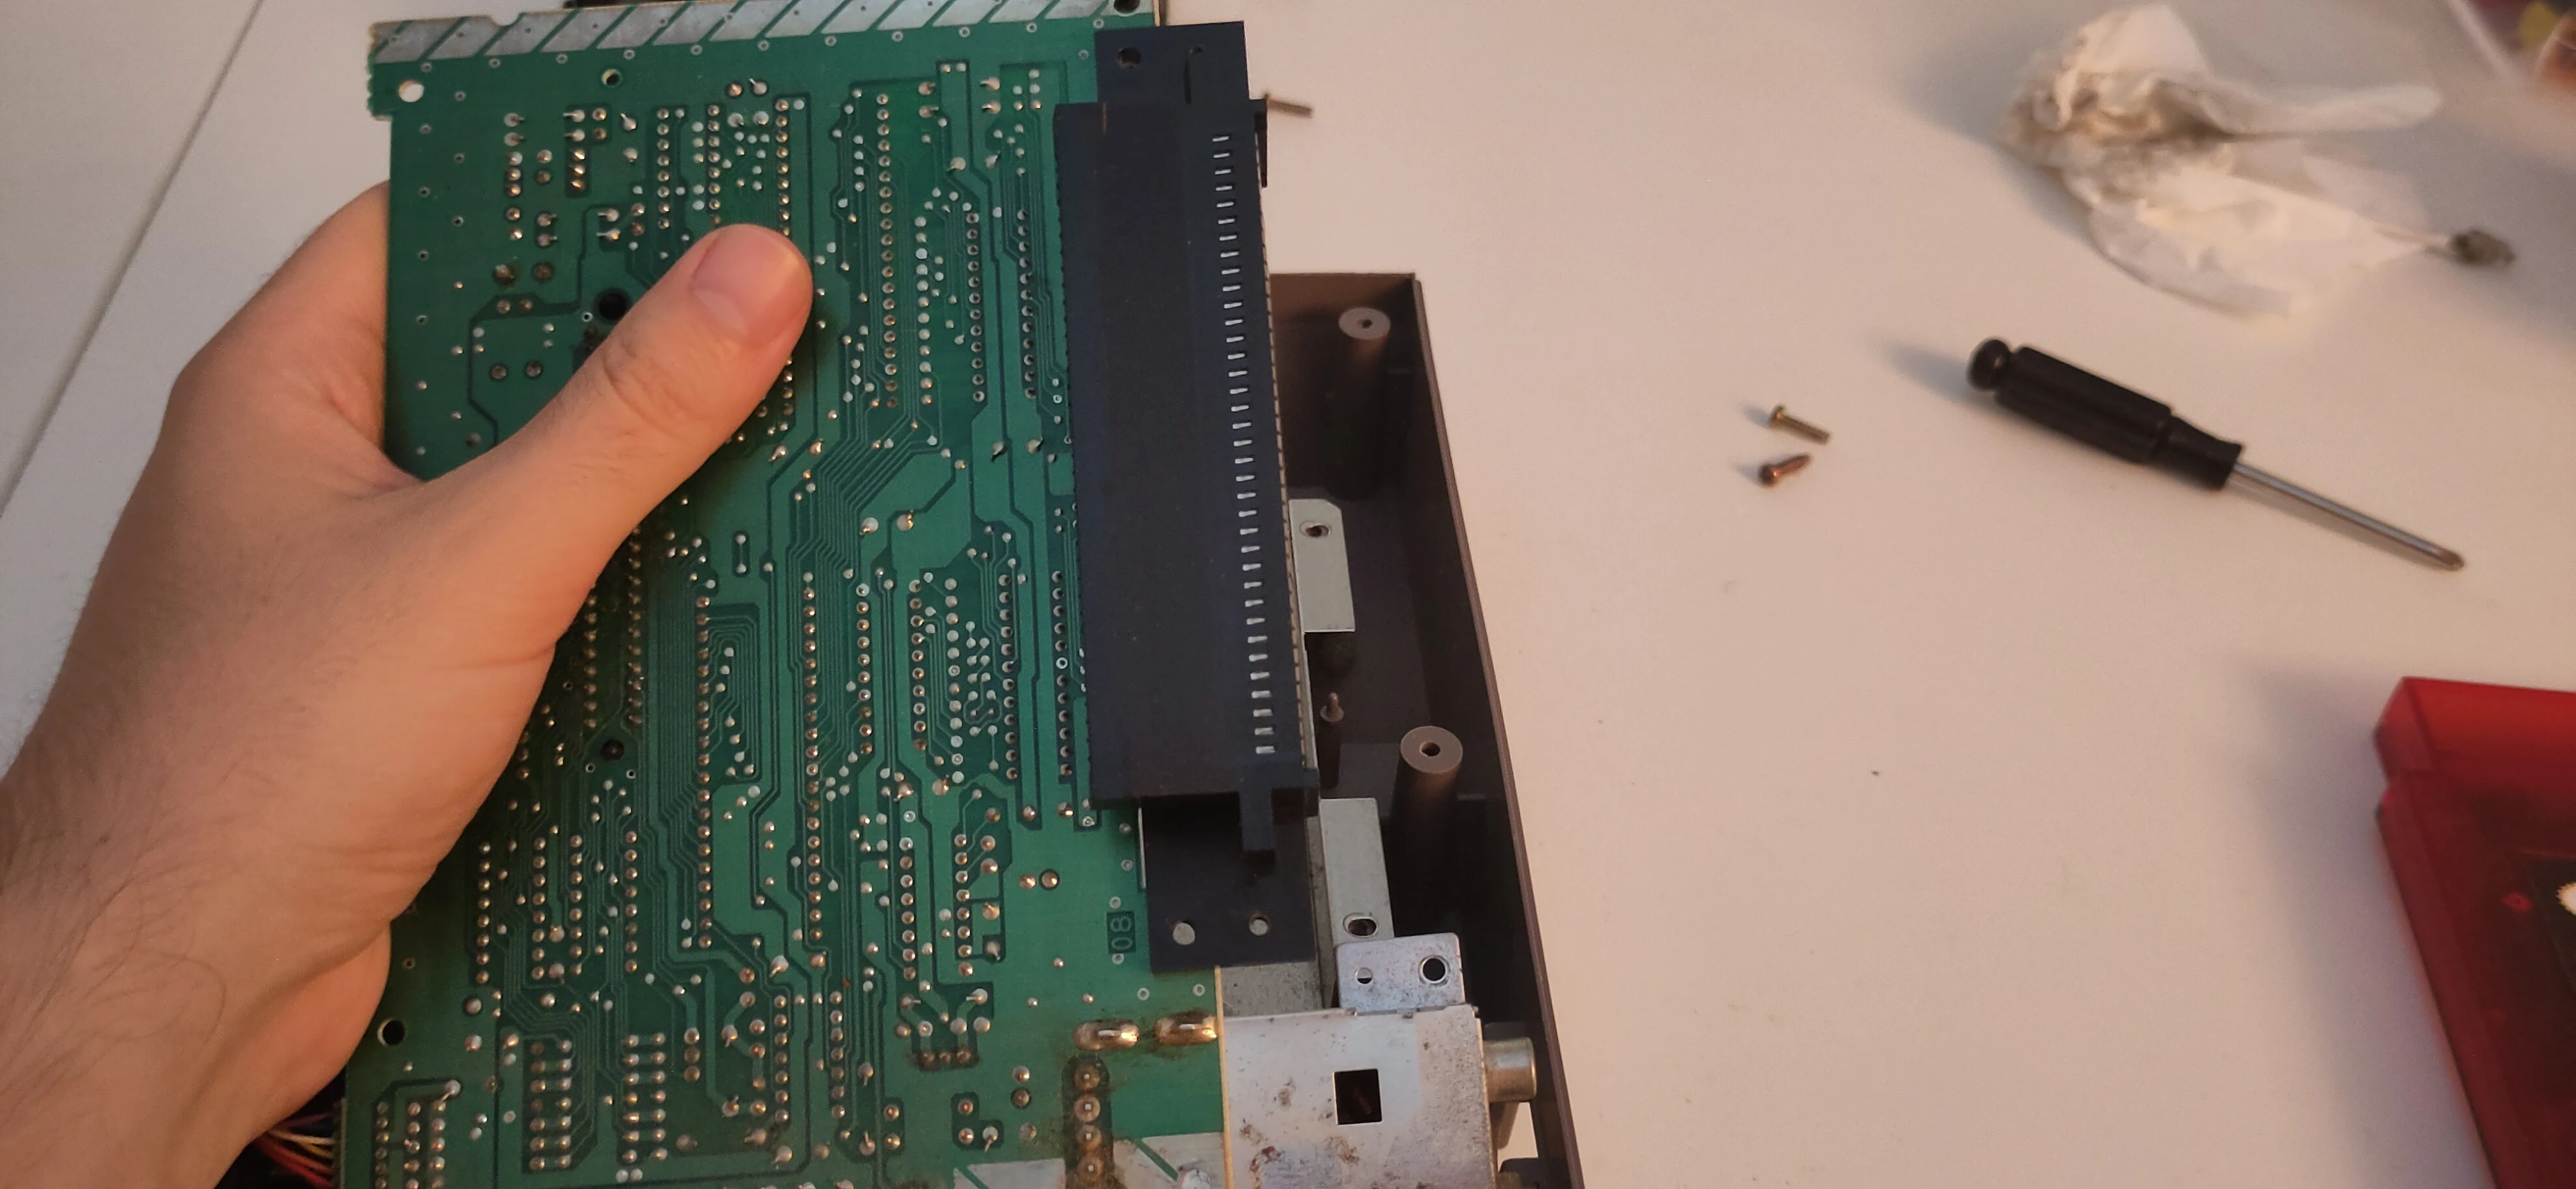
Rotate 72 pin

10. Remove the 72-pin connector.

Firmly grab one corner of the 72-pin connector.
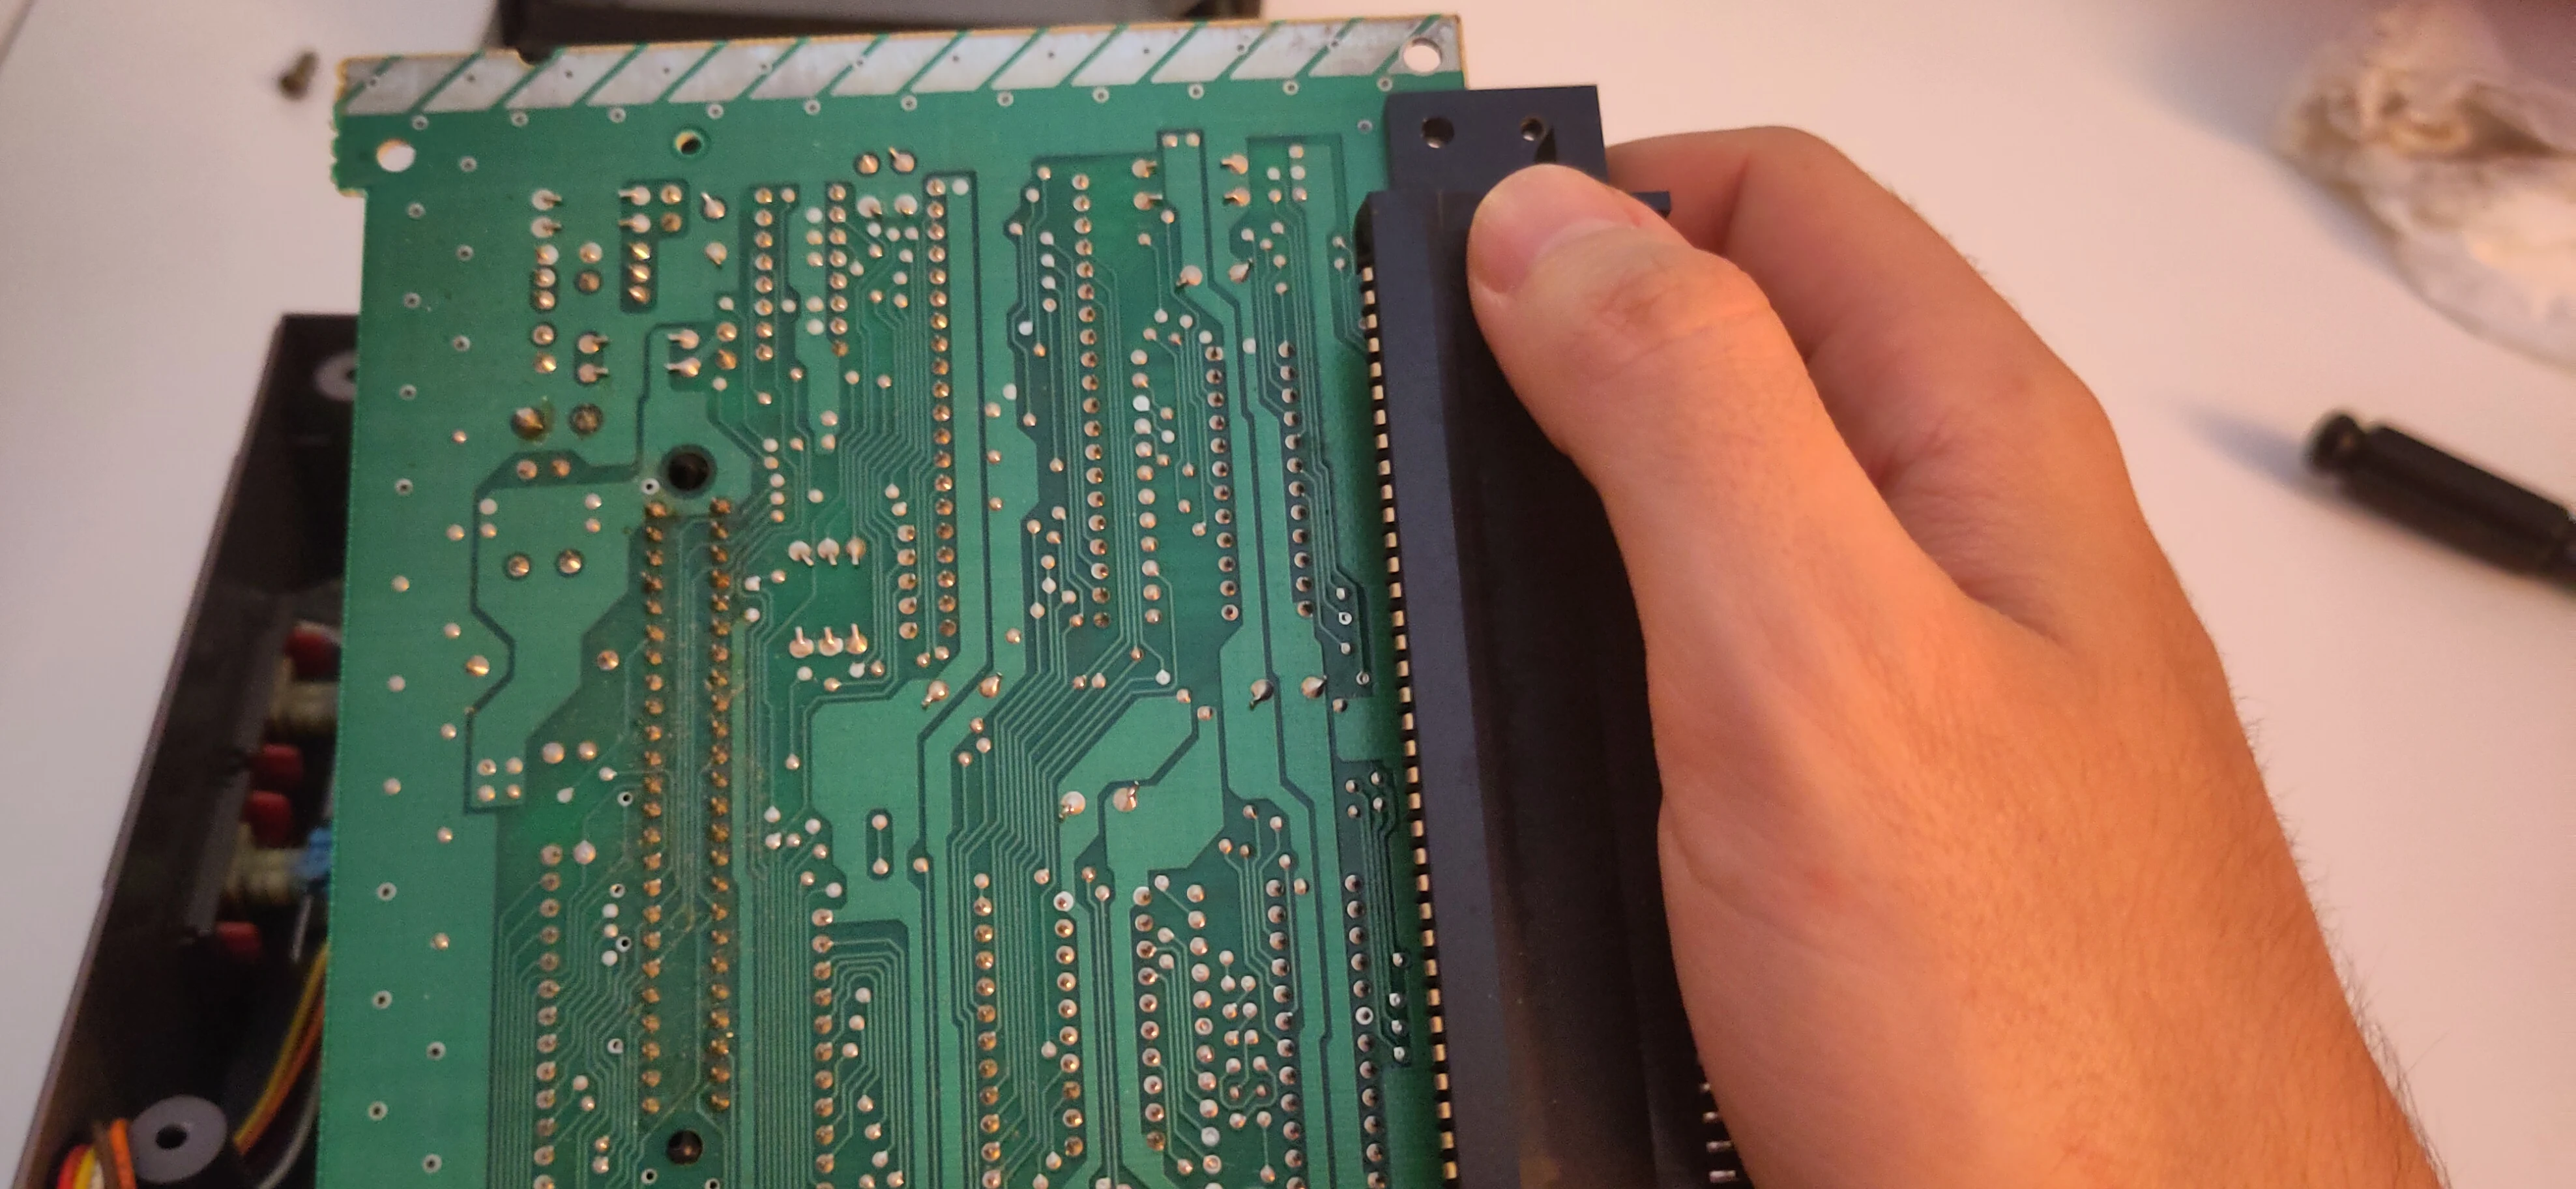
Grab connector

Apply steady pressure from the corner to loosen the connector from the board, then move your hand down to the other corner and pull out with the same steady pressure. Repeat back and forth between the corners until the connector is removed.
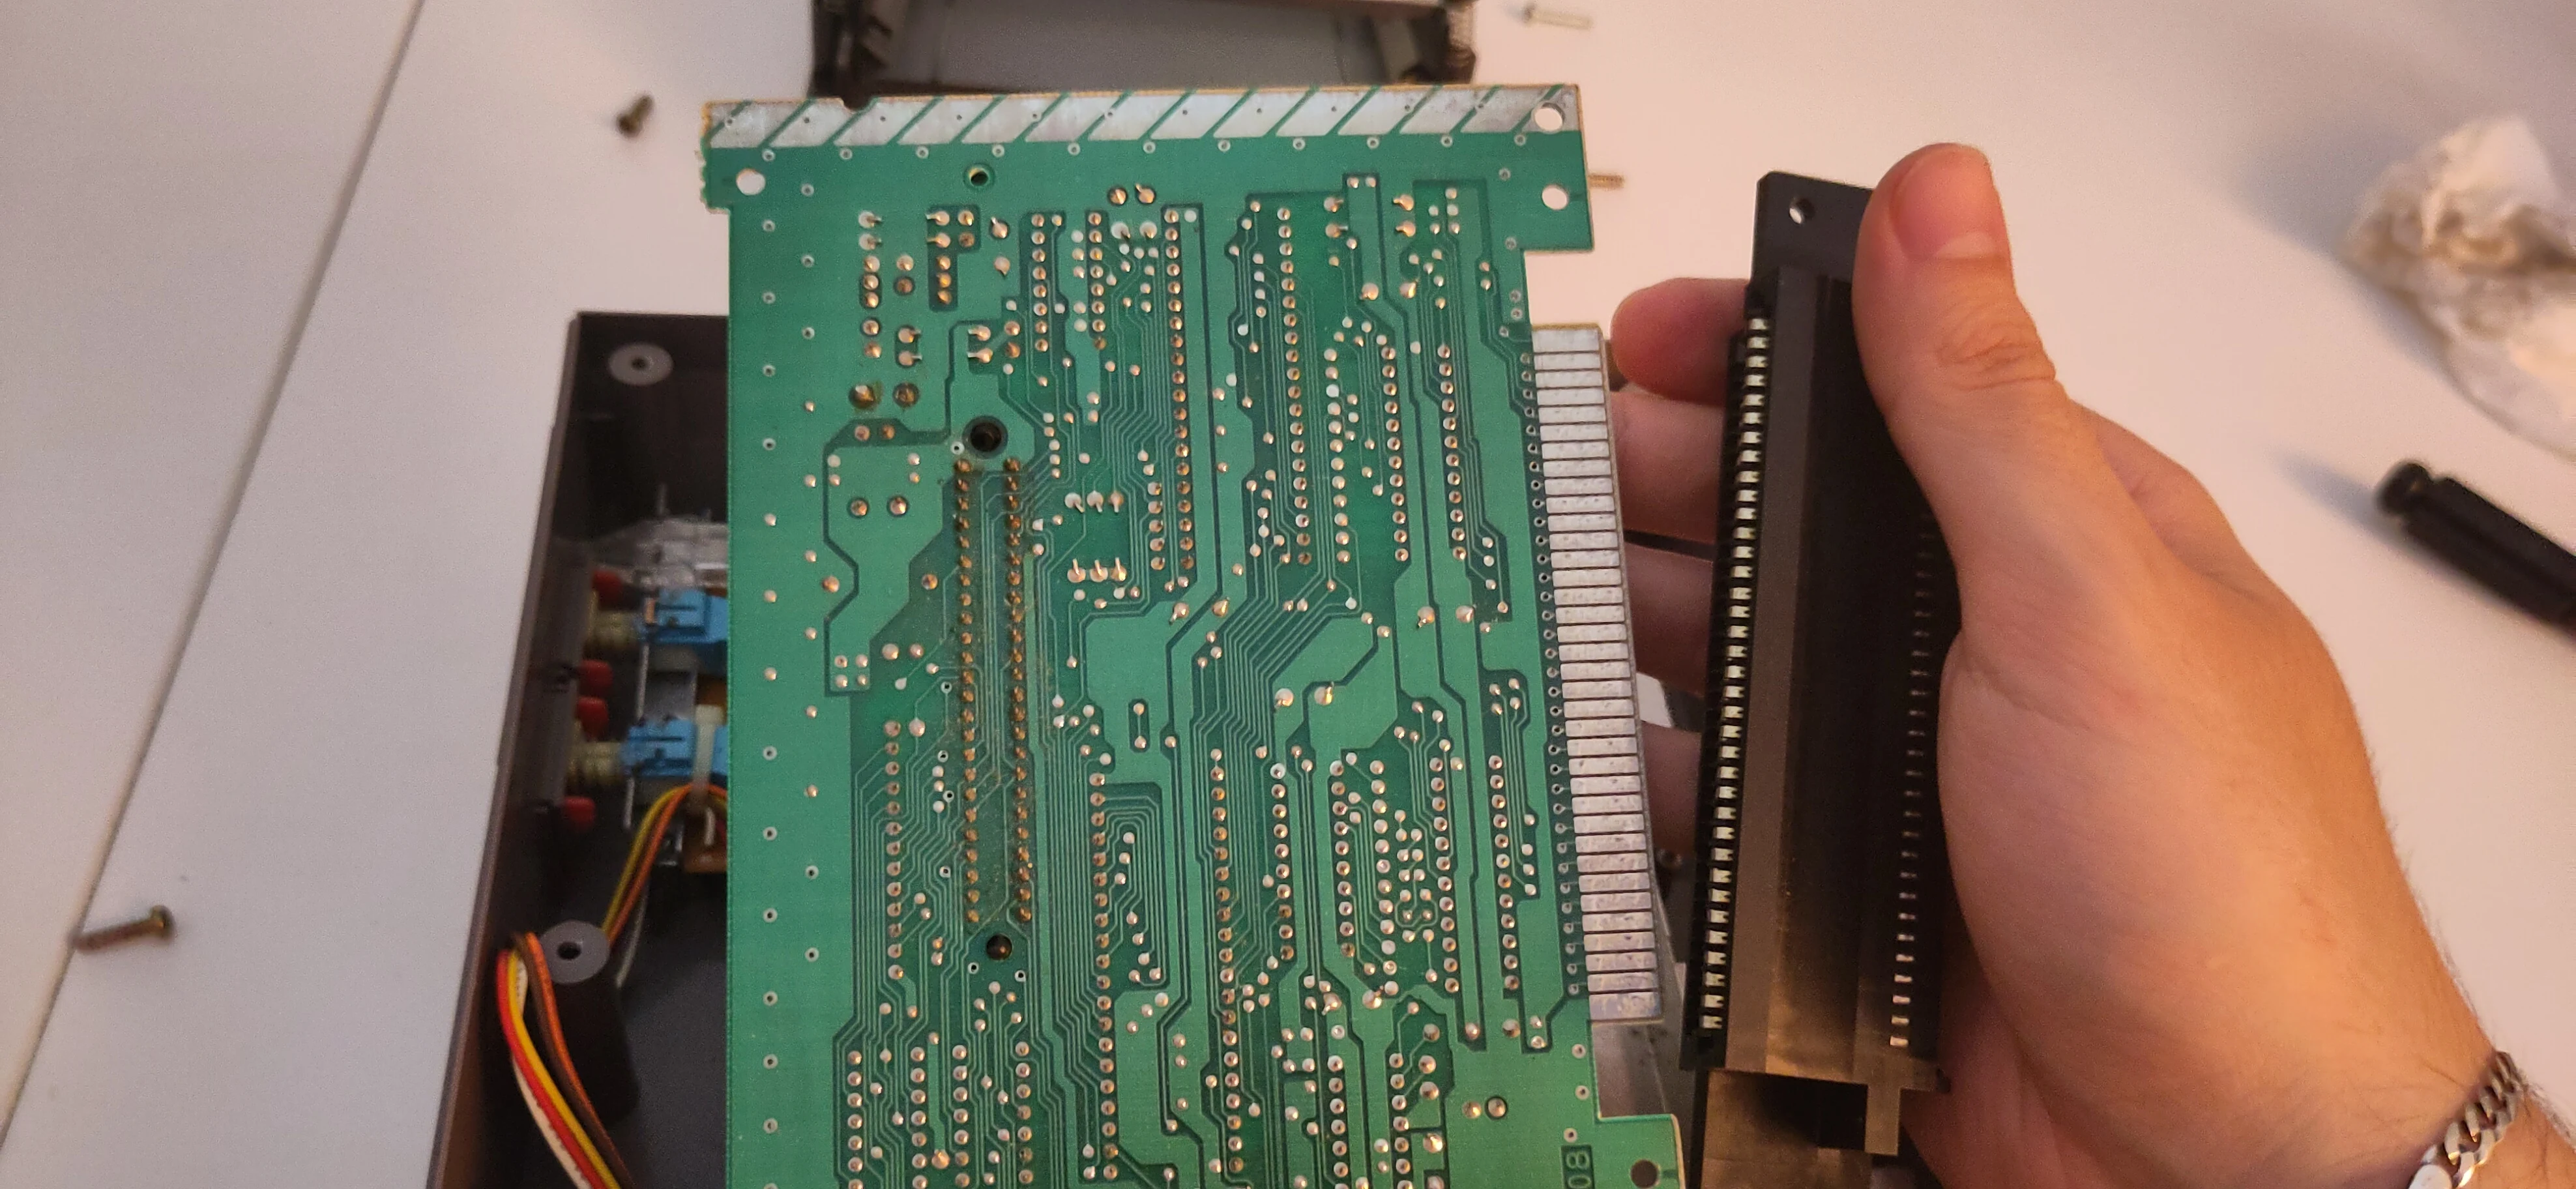
Connector removed

11. Apply DeOxIt to the exposed pins.

While the 72 pins on the motherboard are exposed, use a cotton swab and a thin layer of DeOxIt forumla to coat the pins, removing any old oxidation and improving the connection.
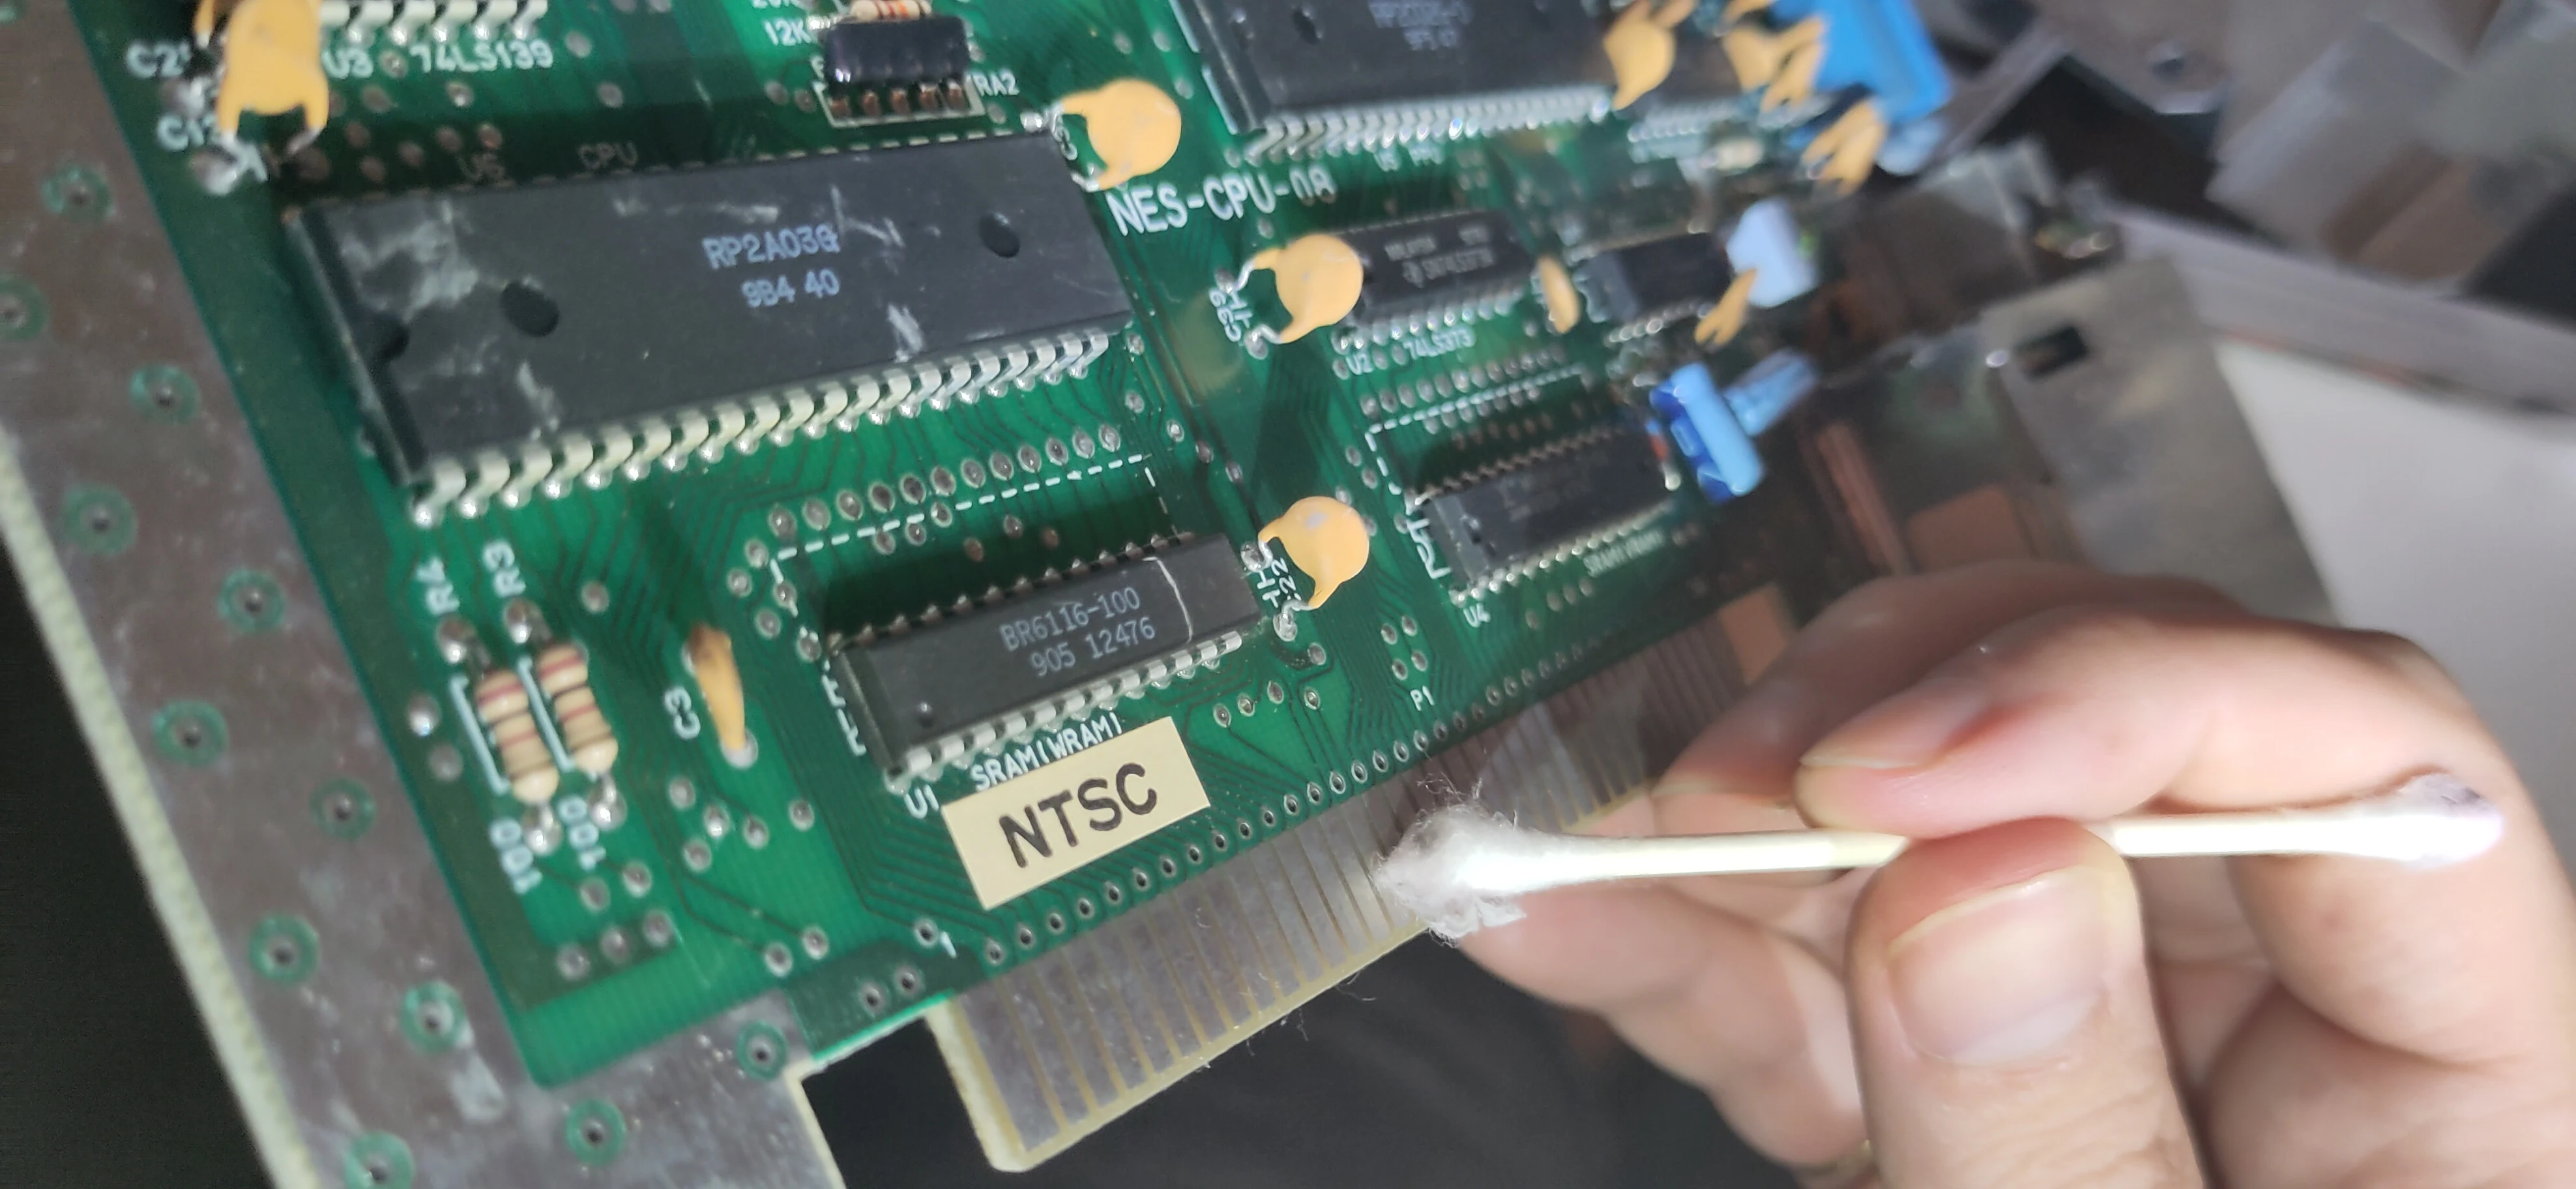
DeOxIt 72 pins motherboard

12. Install the Ninten-Drawer.

Align the bottom 72-bin connector of the Ninten-Drawer to the 72-pins on the motherboard.
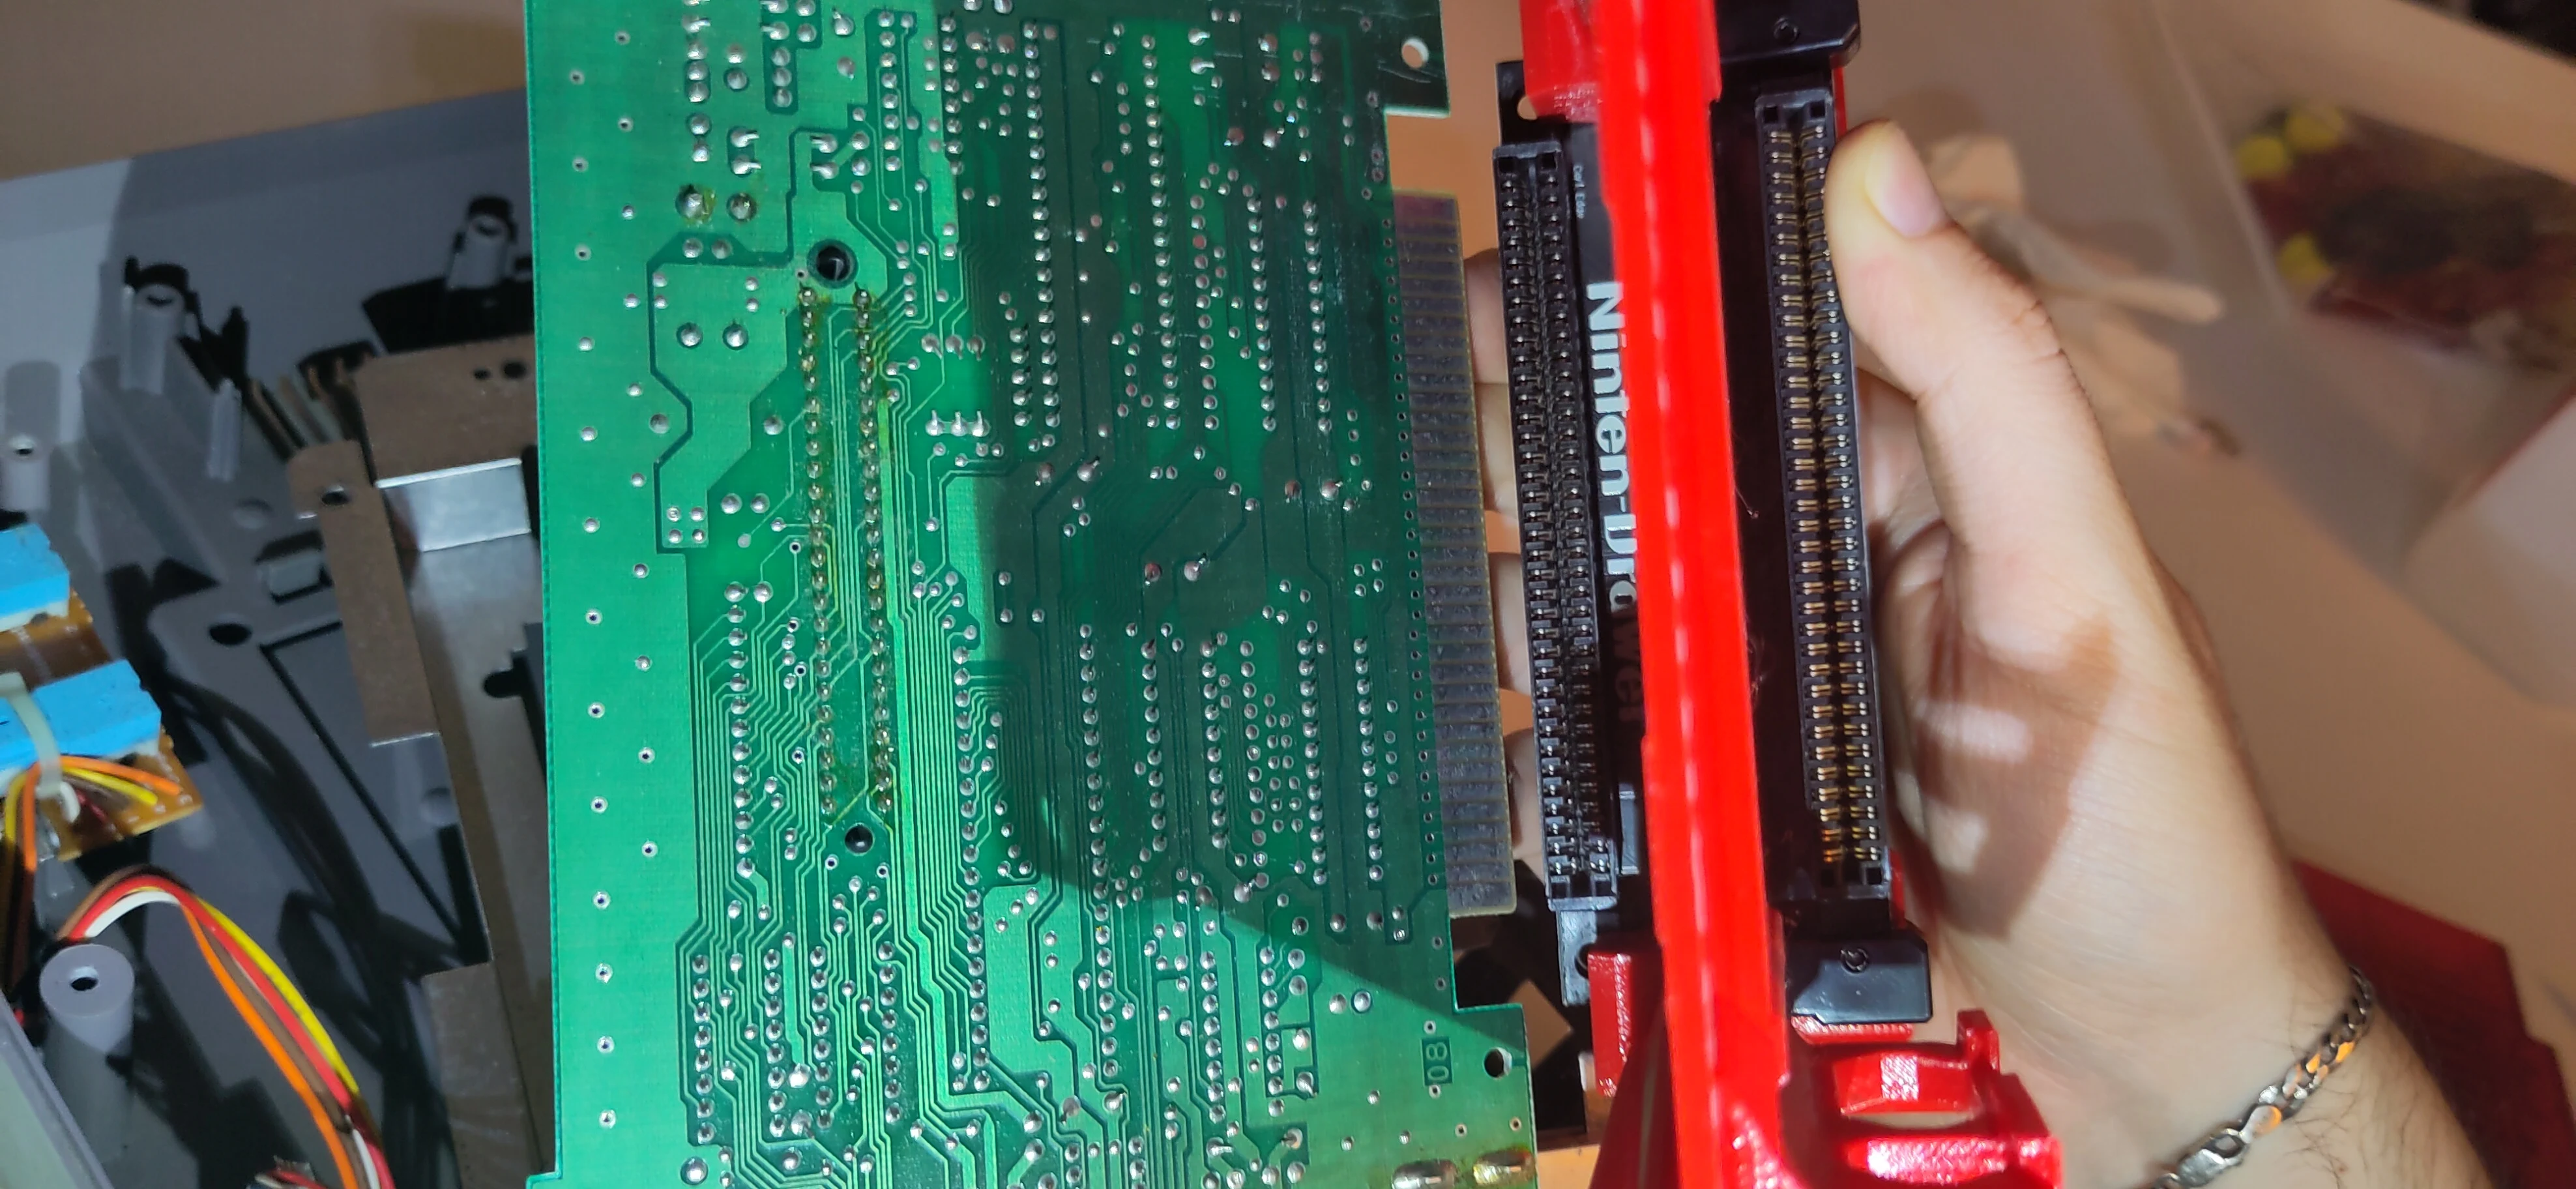
Align NintenDrawer Motherboard

Apply steady pressure to one corner of the connector to firmly seat it on the motherboard, then move your hand down to apply the same pressure to the other corner. Repeat between each corner, securing the connector over the pins.
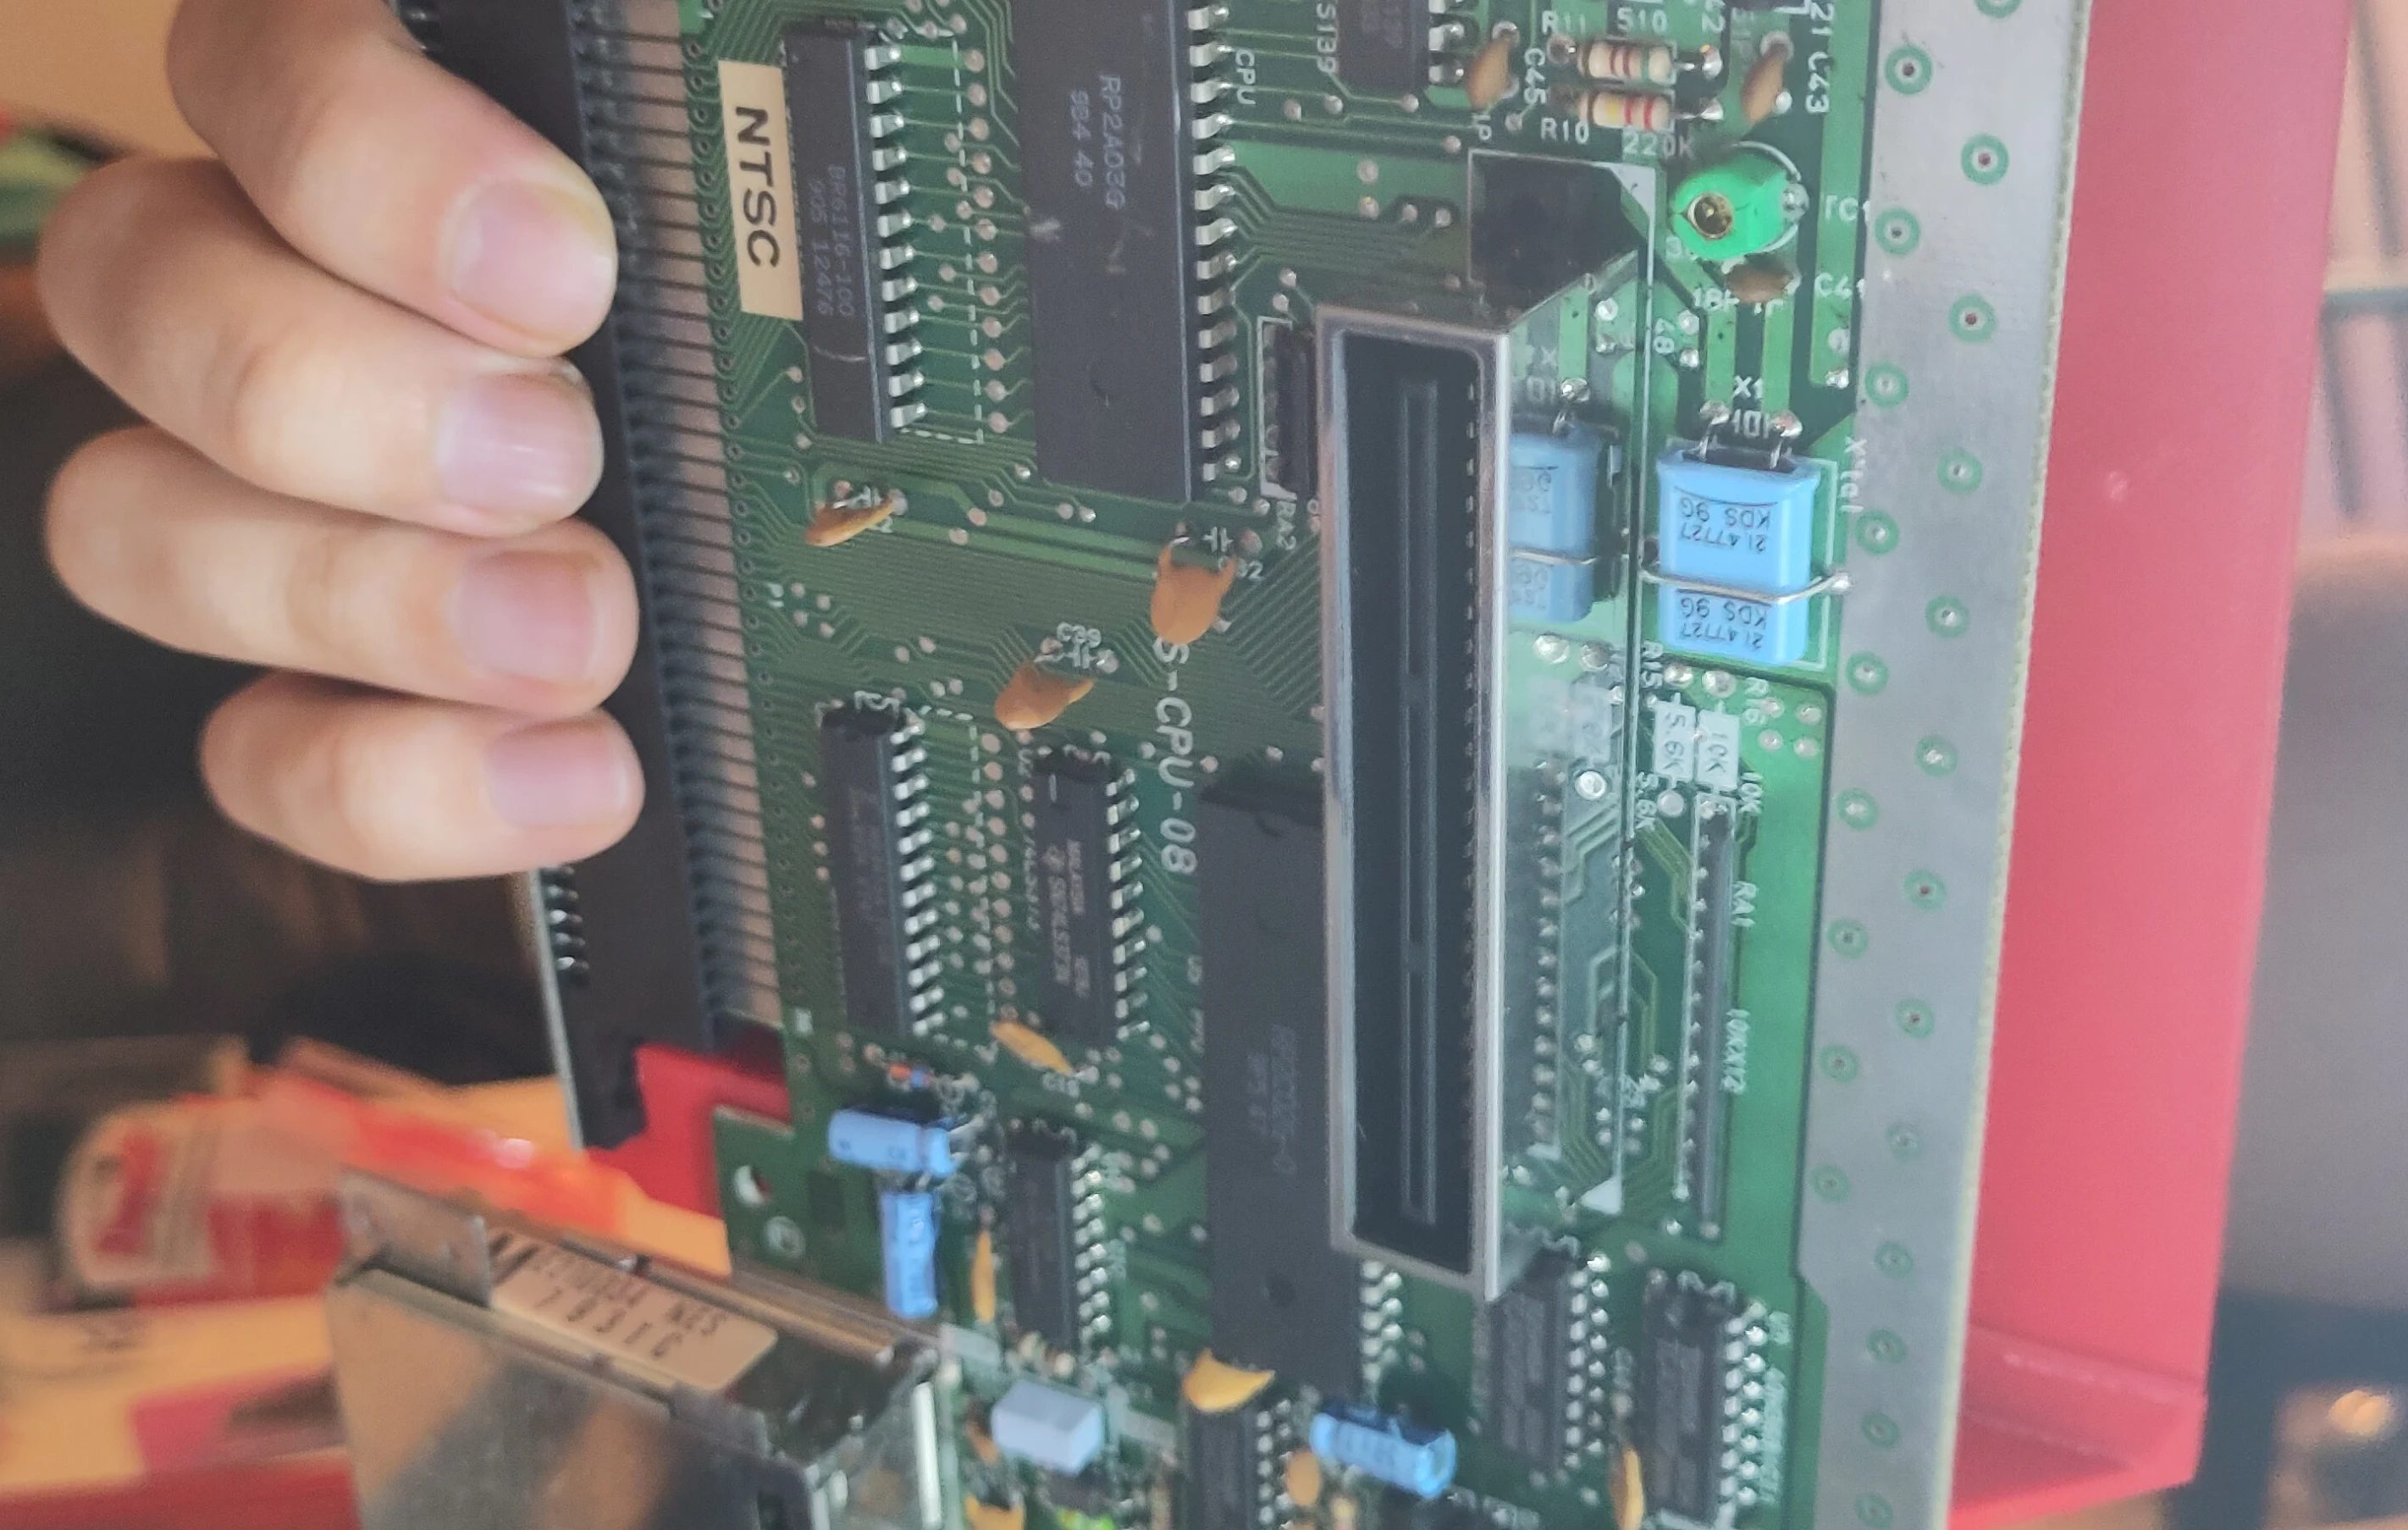
Align back

The black drawer piece should be completely over all the pins on the motherboard, viewable from the back.
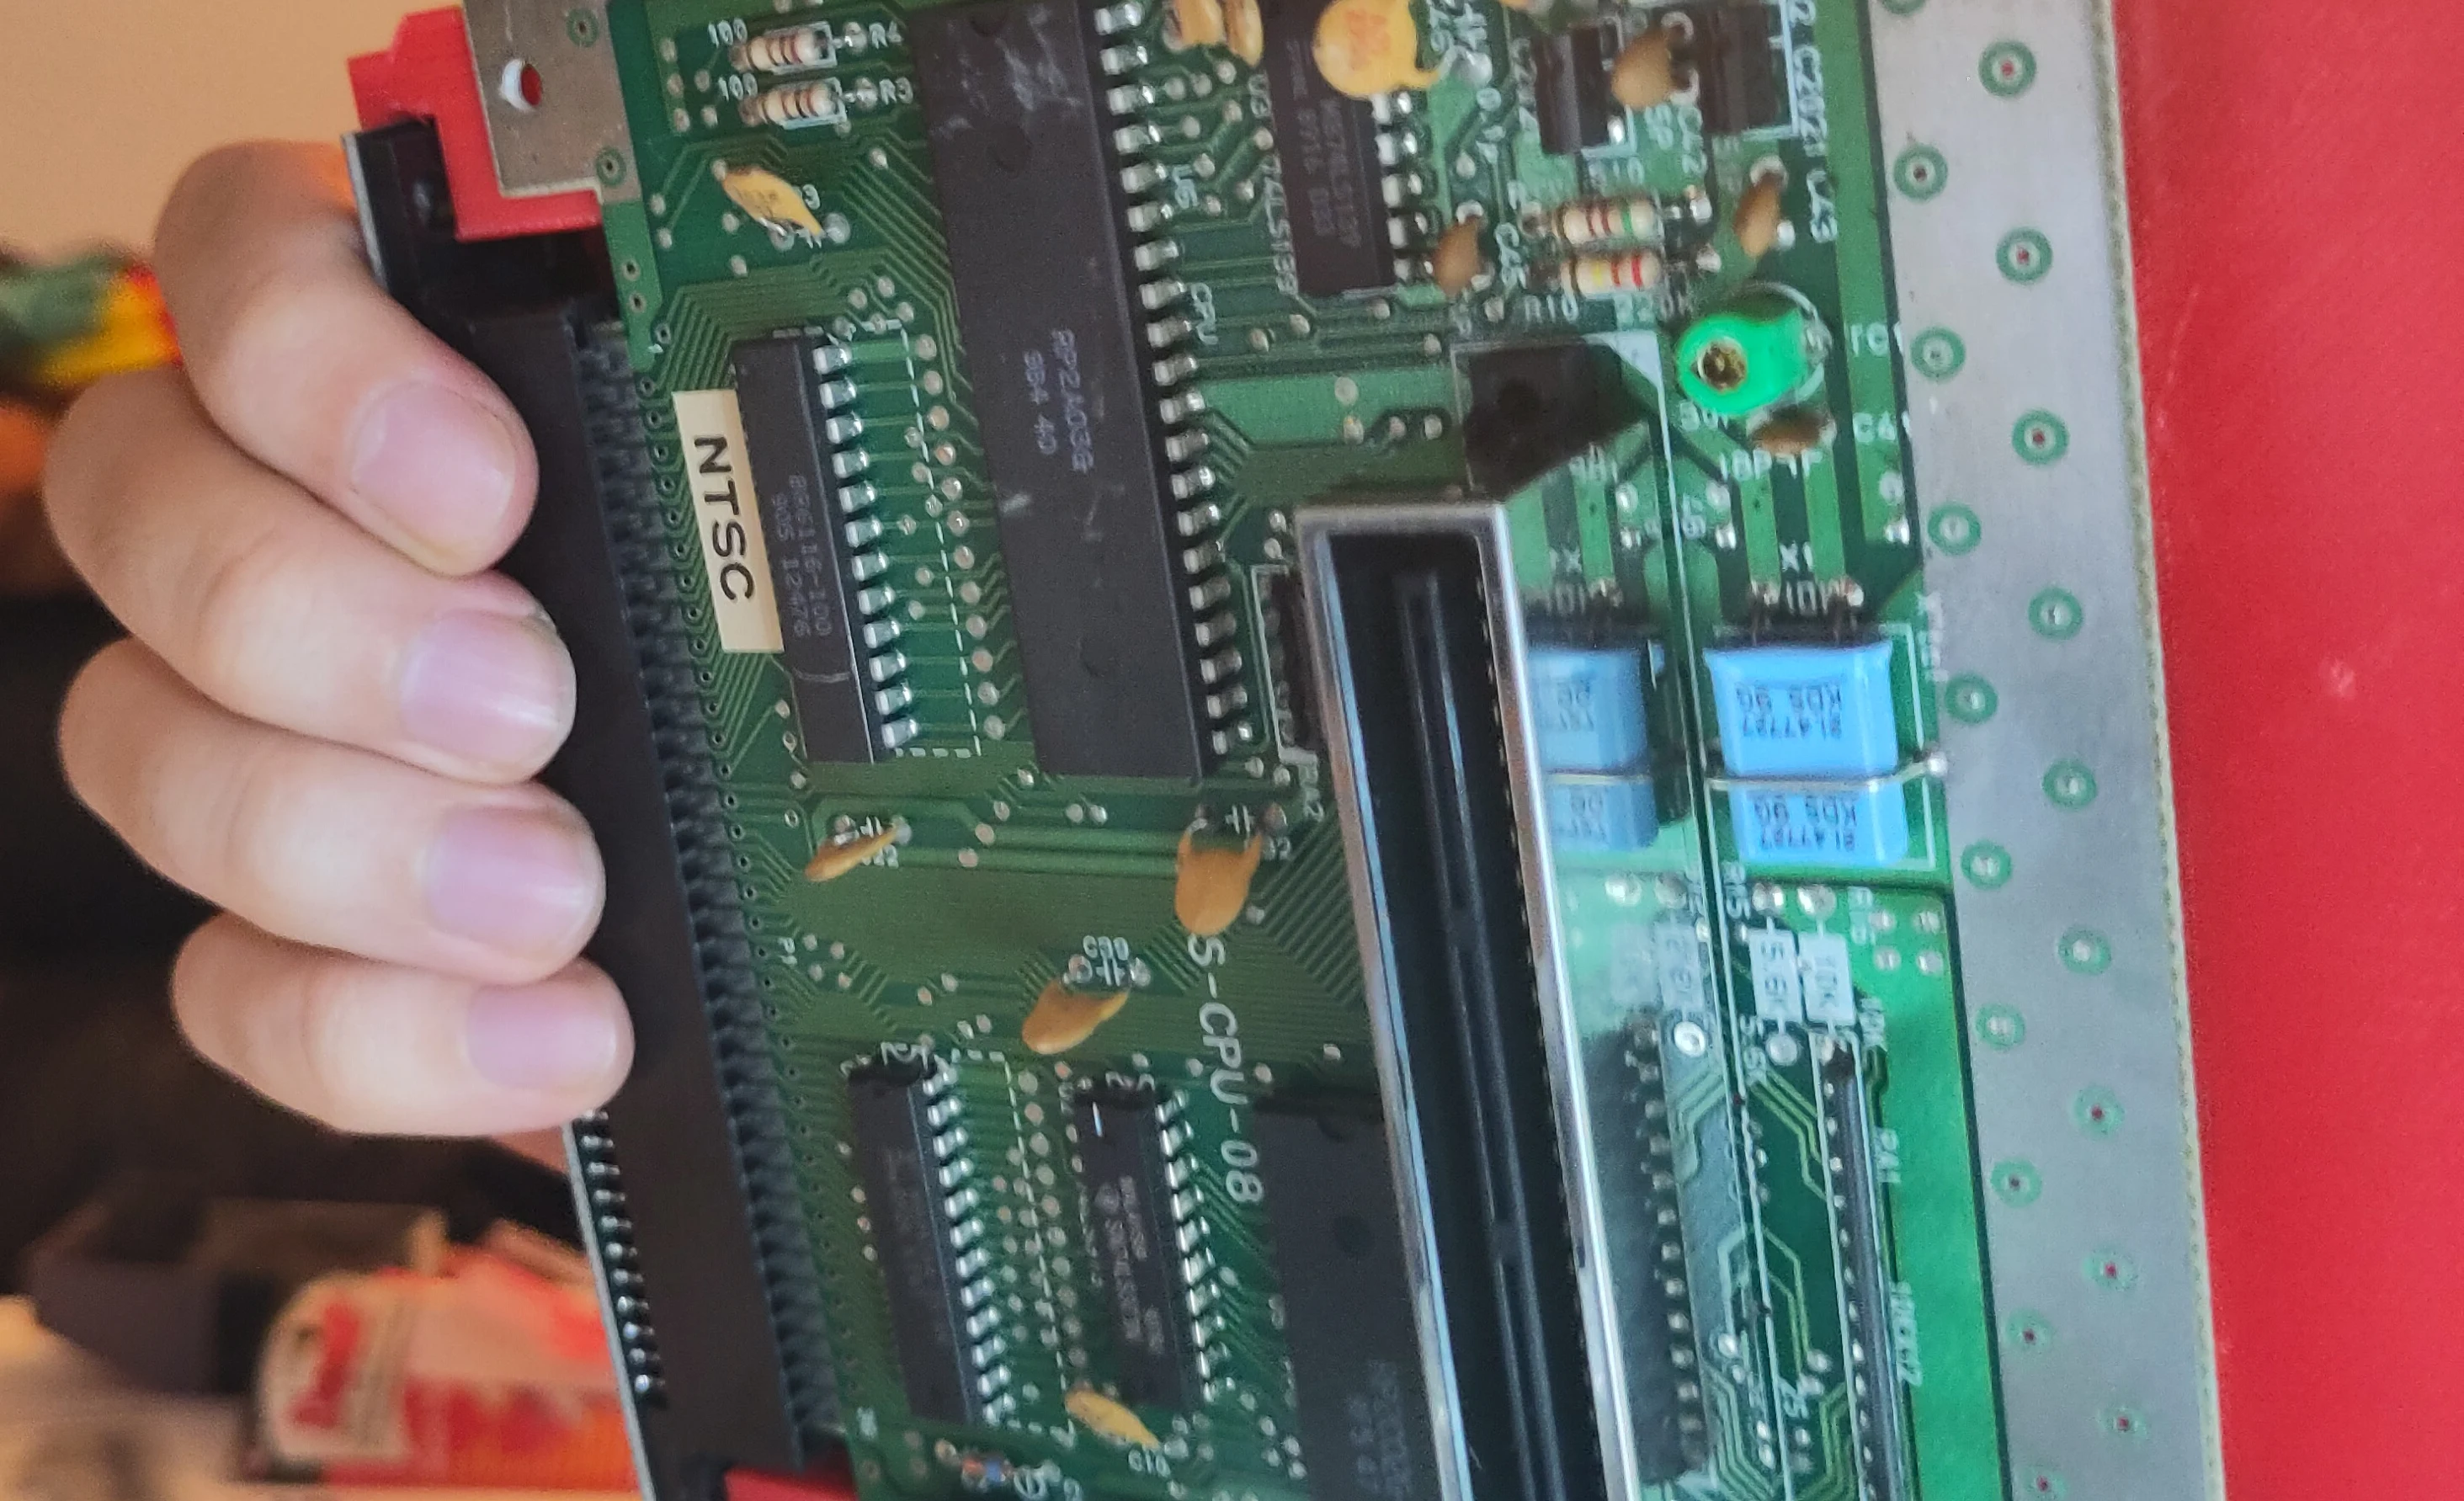
NintenDrawer Inserted

The holes on the Ninten-Drawer will also align with the holes on the motherboard.

13. Insert Cartridge and Test.

Reinsert the motherboard over the bottom RF shield, aligning the power and AV ports on the back corner of the console.

This is a good time to insert a known working cartridge.

Important! Make sure you provide support to the drawer when inserting and removing cartridges without the screws inserted.
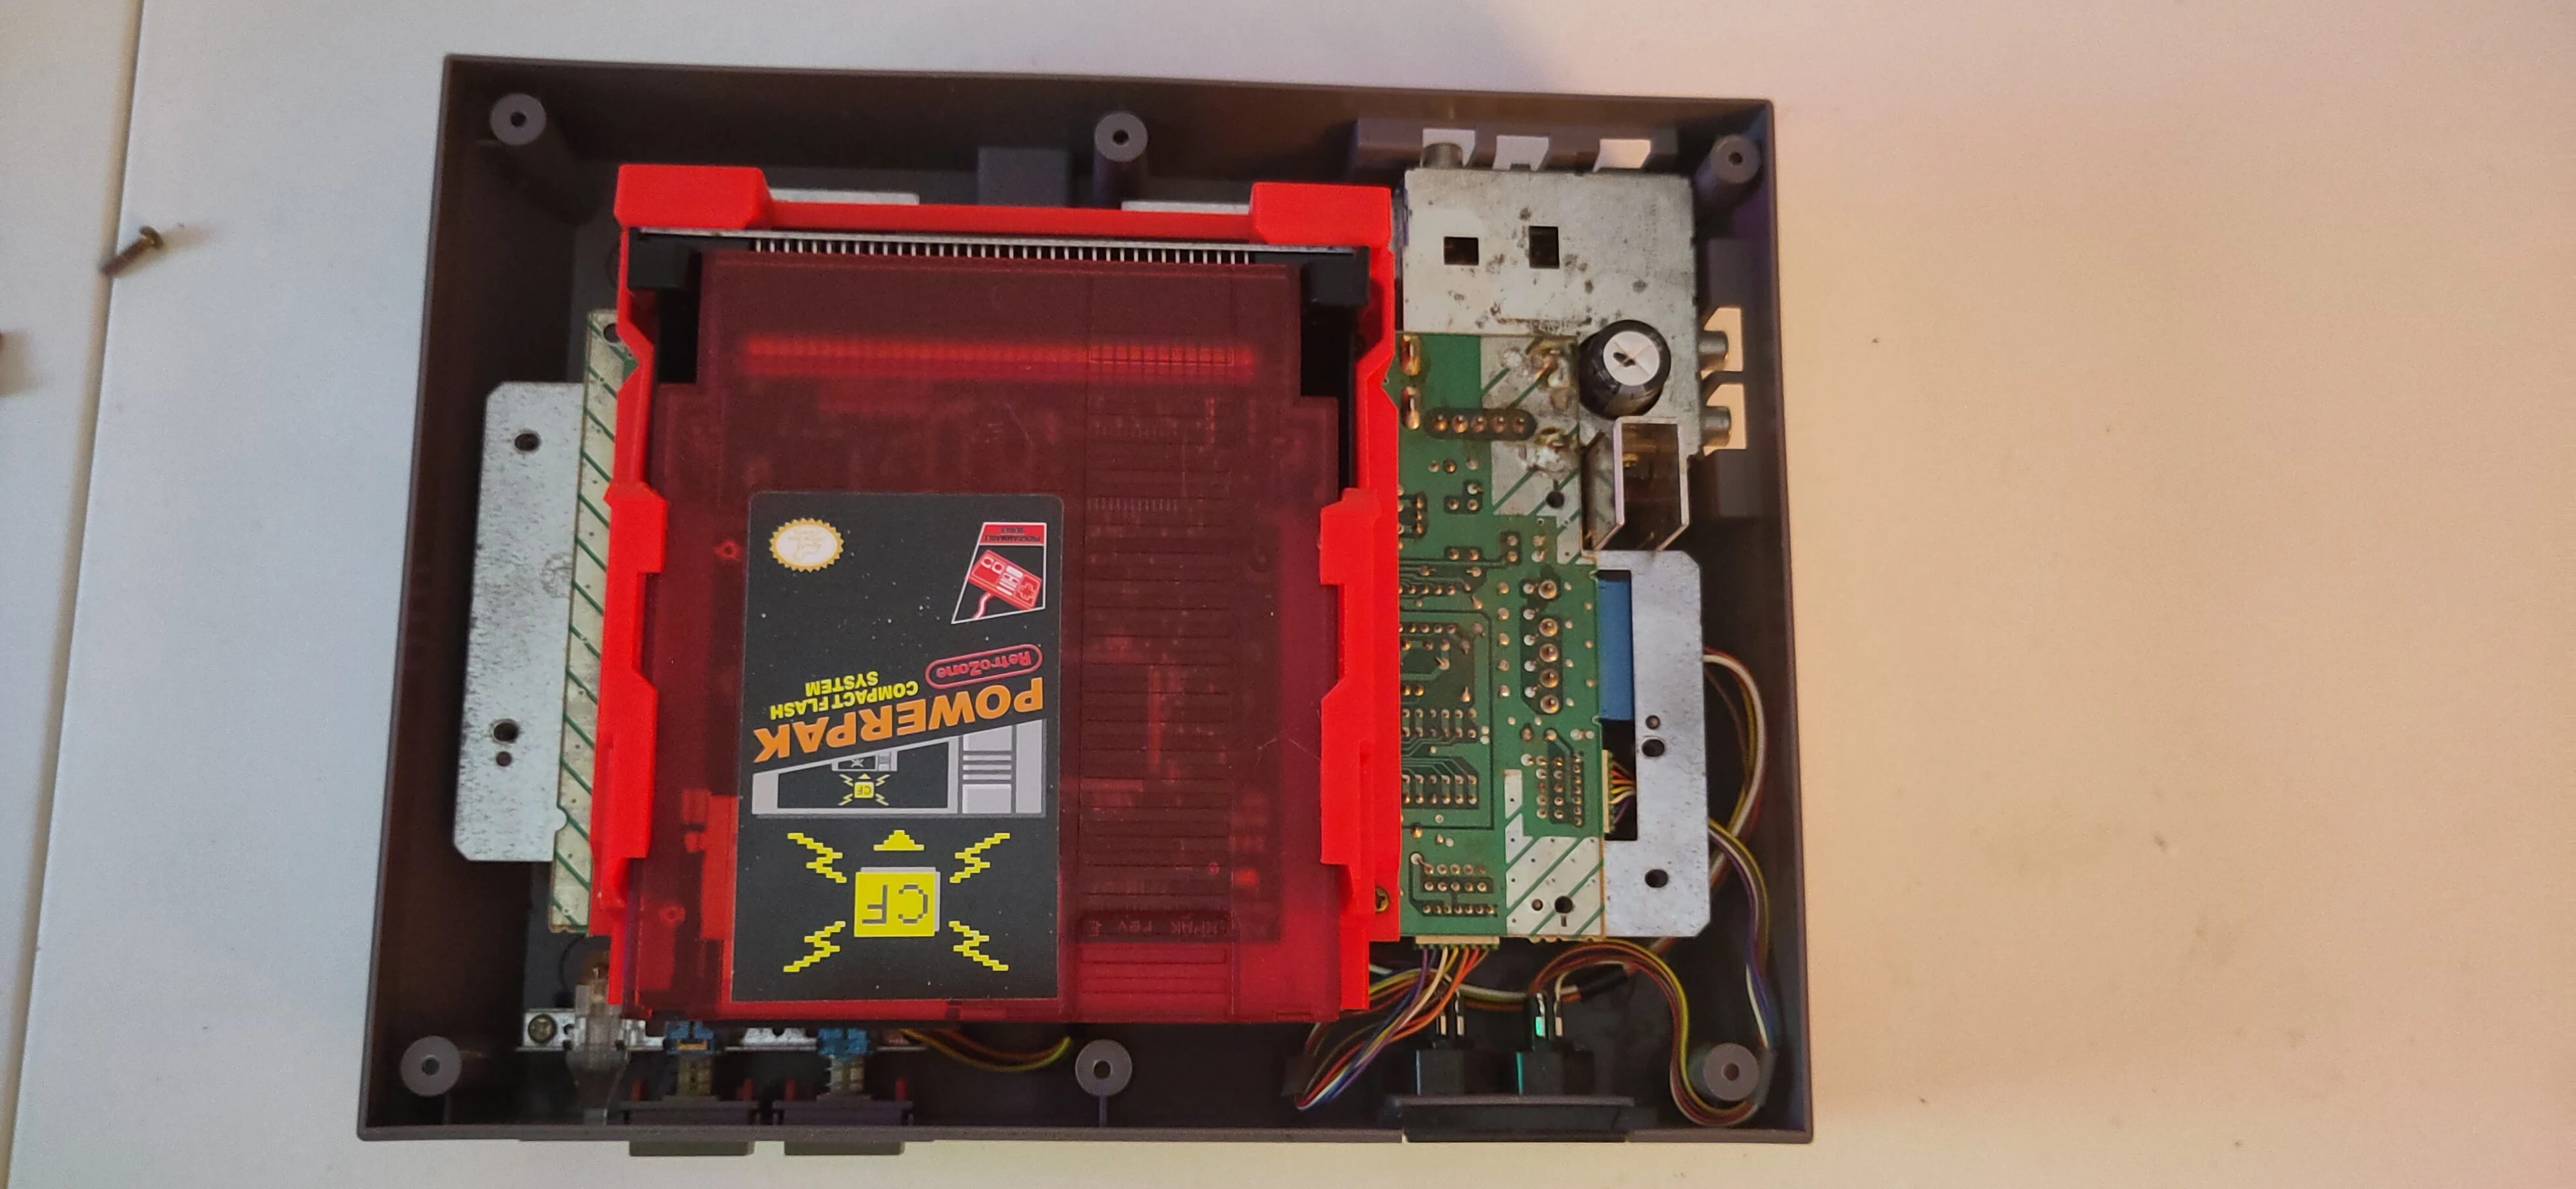
Cartridge Inserted

14. Reassemble.

  1. Start with the two screws by the AC/DC converter junction in the corner.
  2. Reinsert the four (4) Philips screws around the Ninten-Drawer.
    • The two silver screws above the top-most screws around the Ninten-Drawer can be omitted, conserved with the old 72-pin connector.
  3. Reinstall the top shield, then the seven (7) Philips screws around the shield.
  4. Replace the top cover, flip the console back over, and reinsert the six (6) Philips screws from underneath.

User Guide

Insert

Insert the cartridge directly into the Ninten-Drawer.
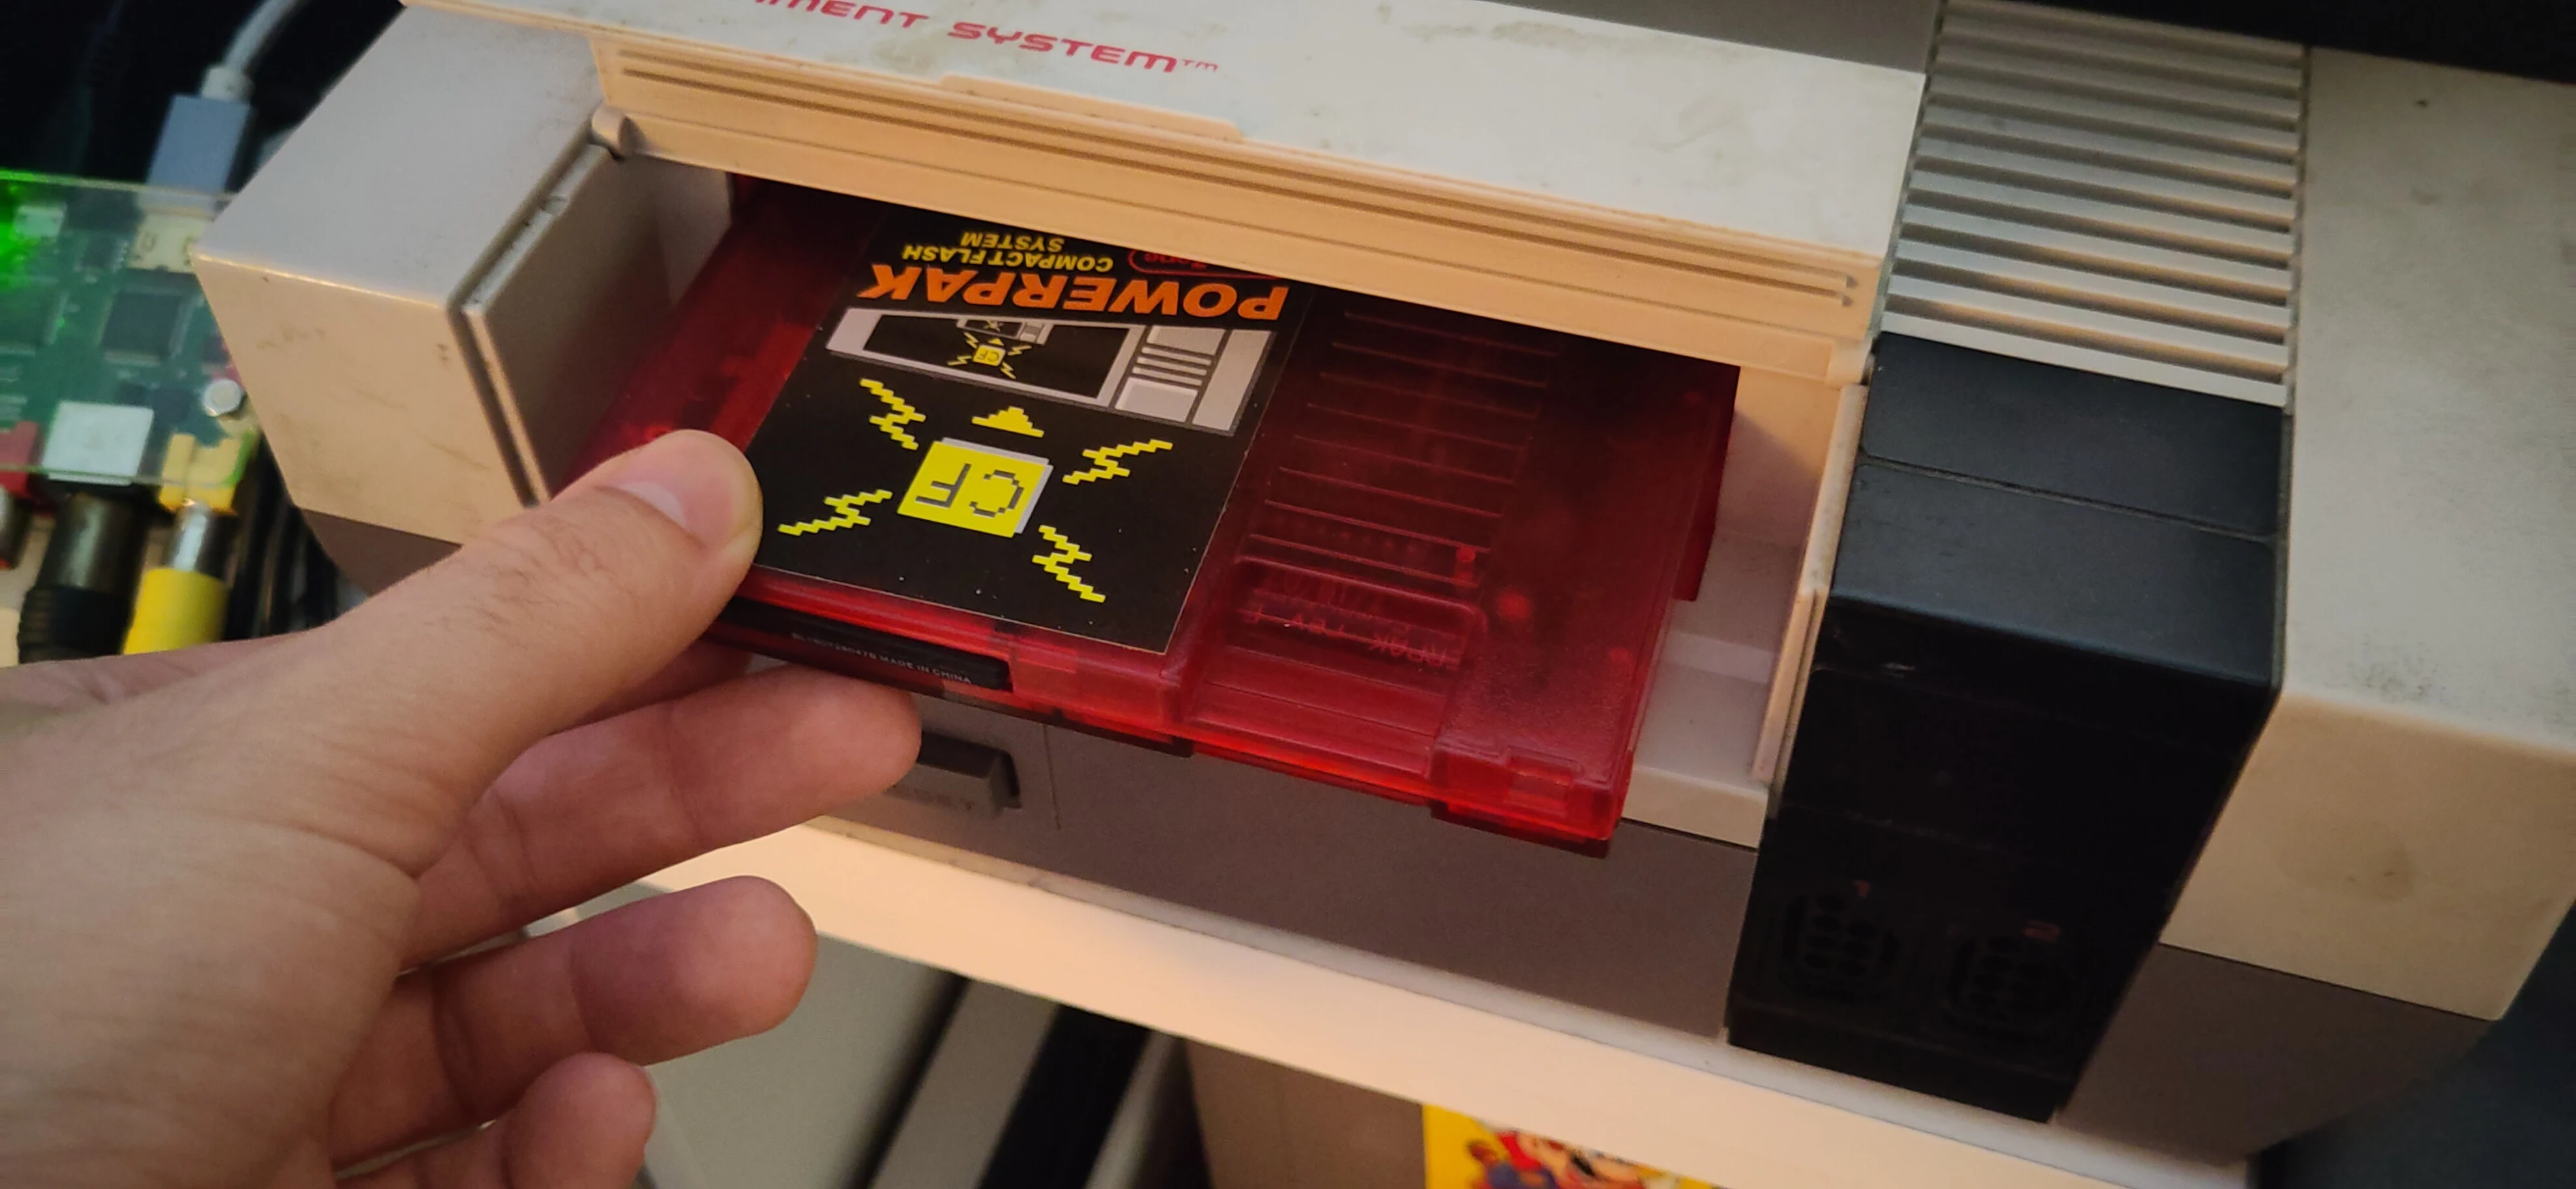
Insert cartridge

Important!

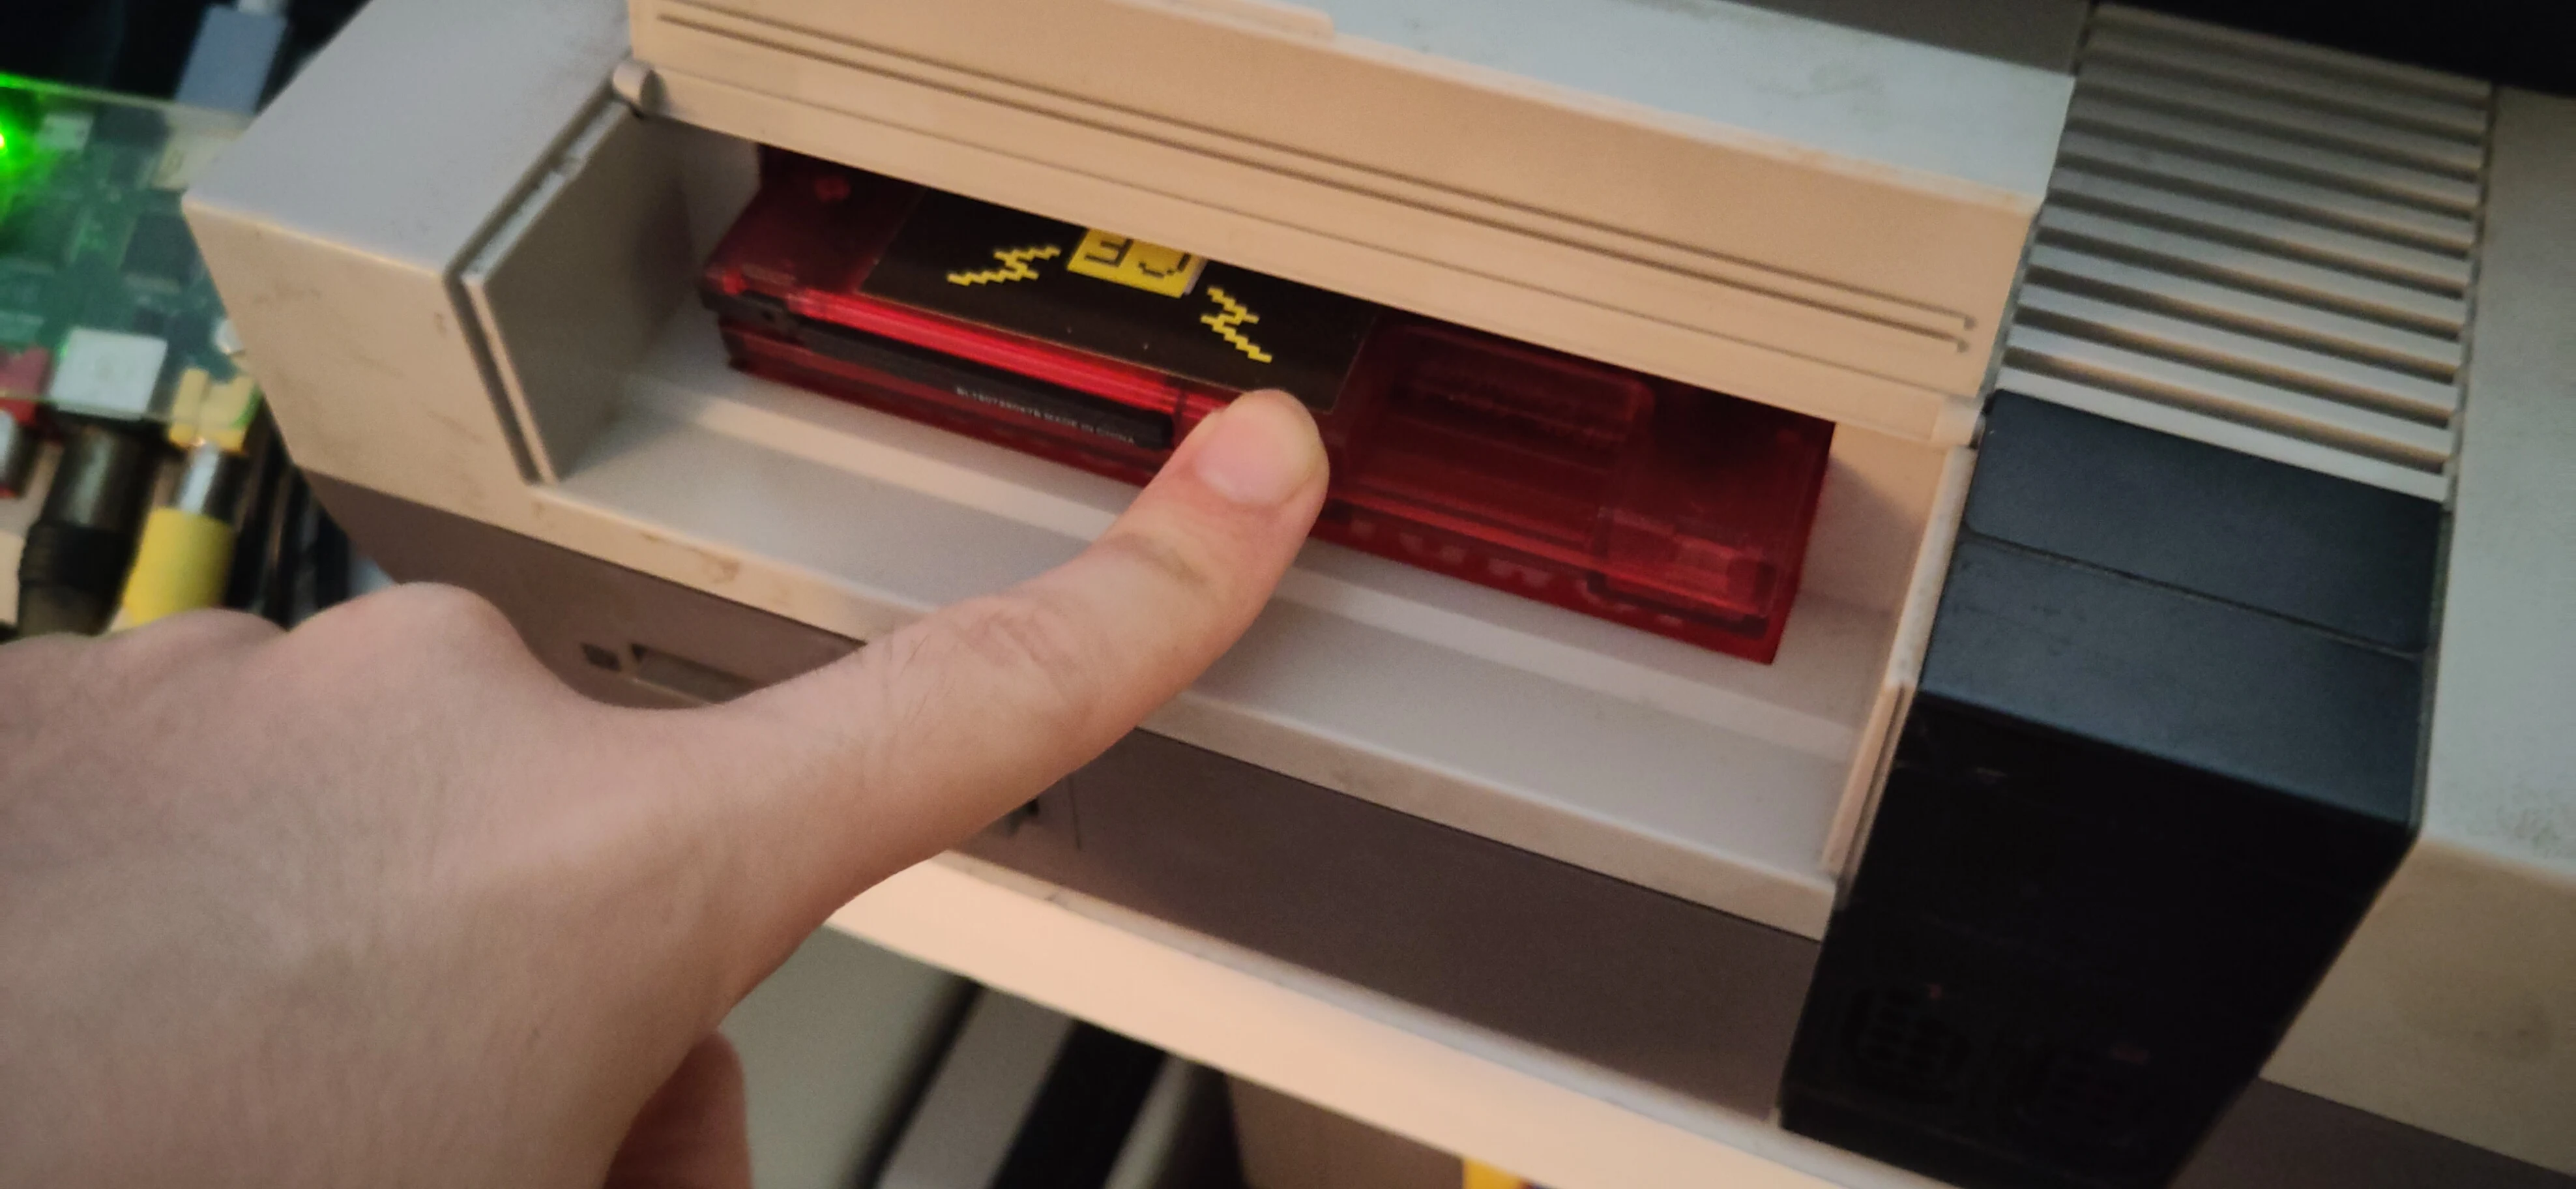
DO NOT PUSH DOWN ON THE CARTRIDGE.

Instead, push the cartridge further into the drawer. There should be a satisfying click along with a shift of the cartridge to the back of the console as it is grabbed by the magnets.
Push cartridge

Remove

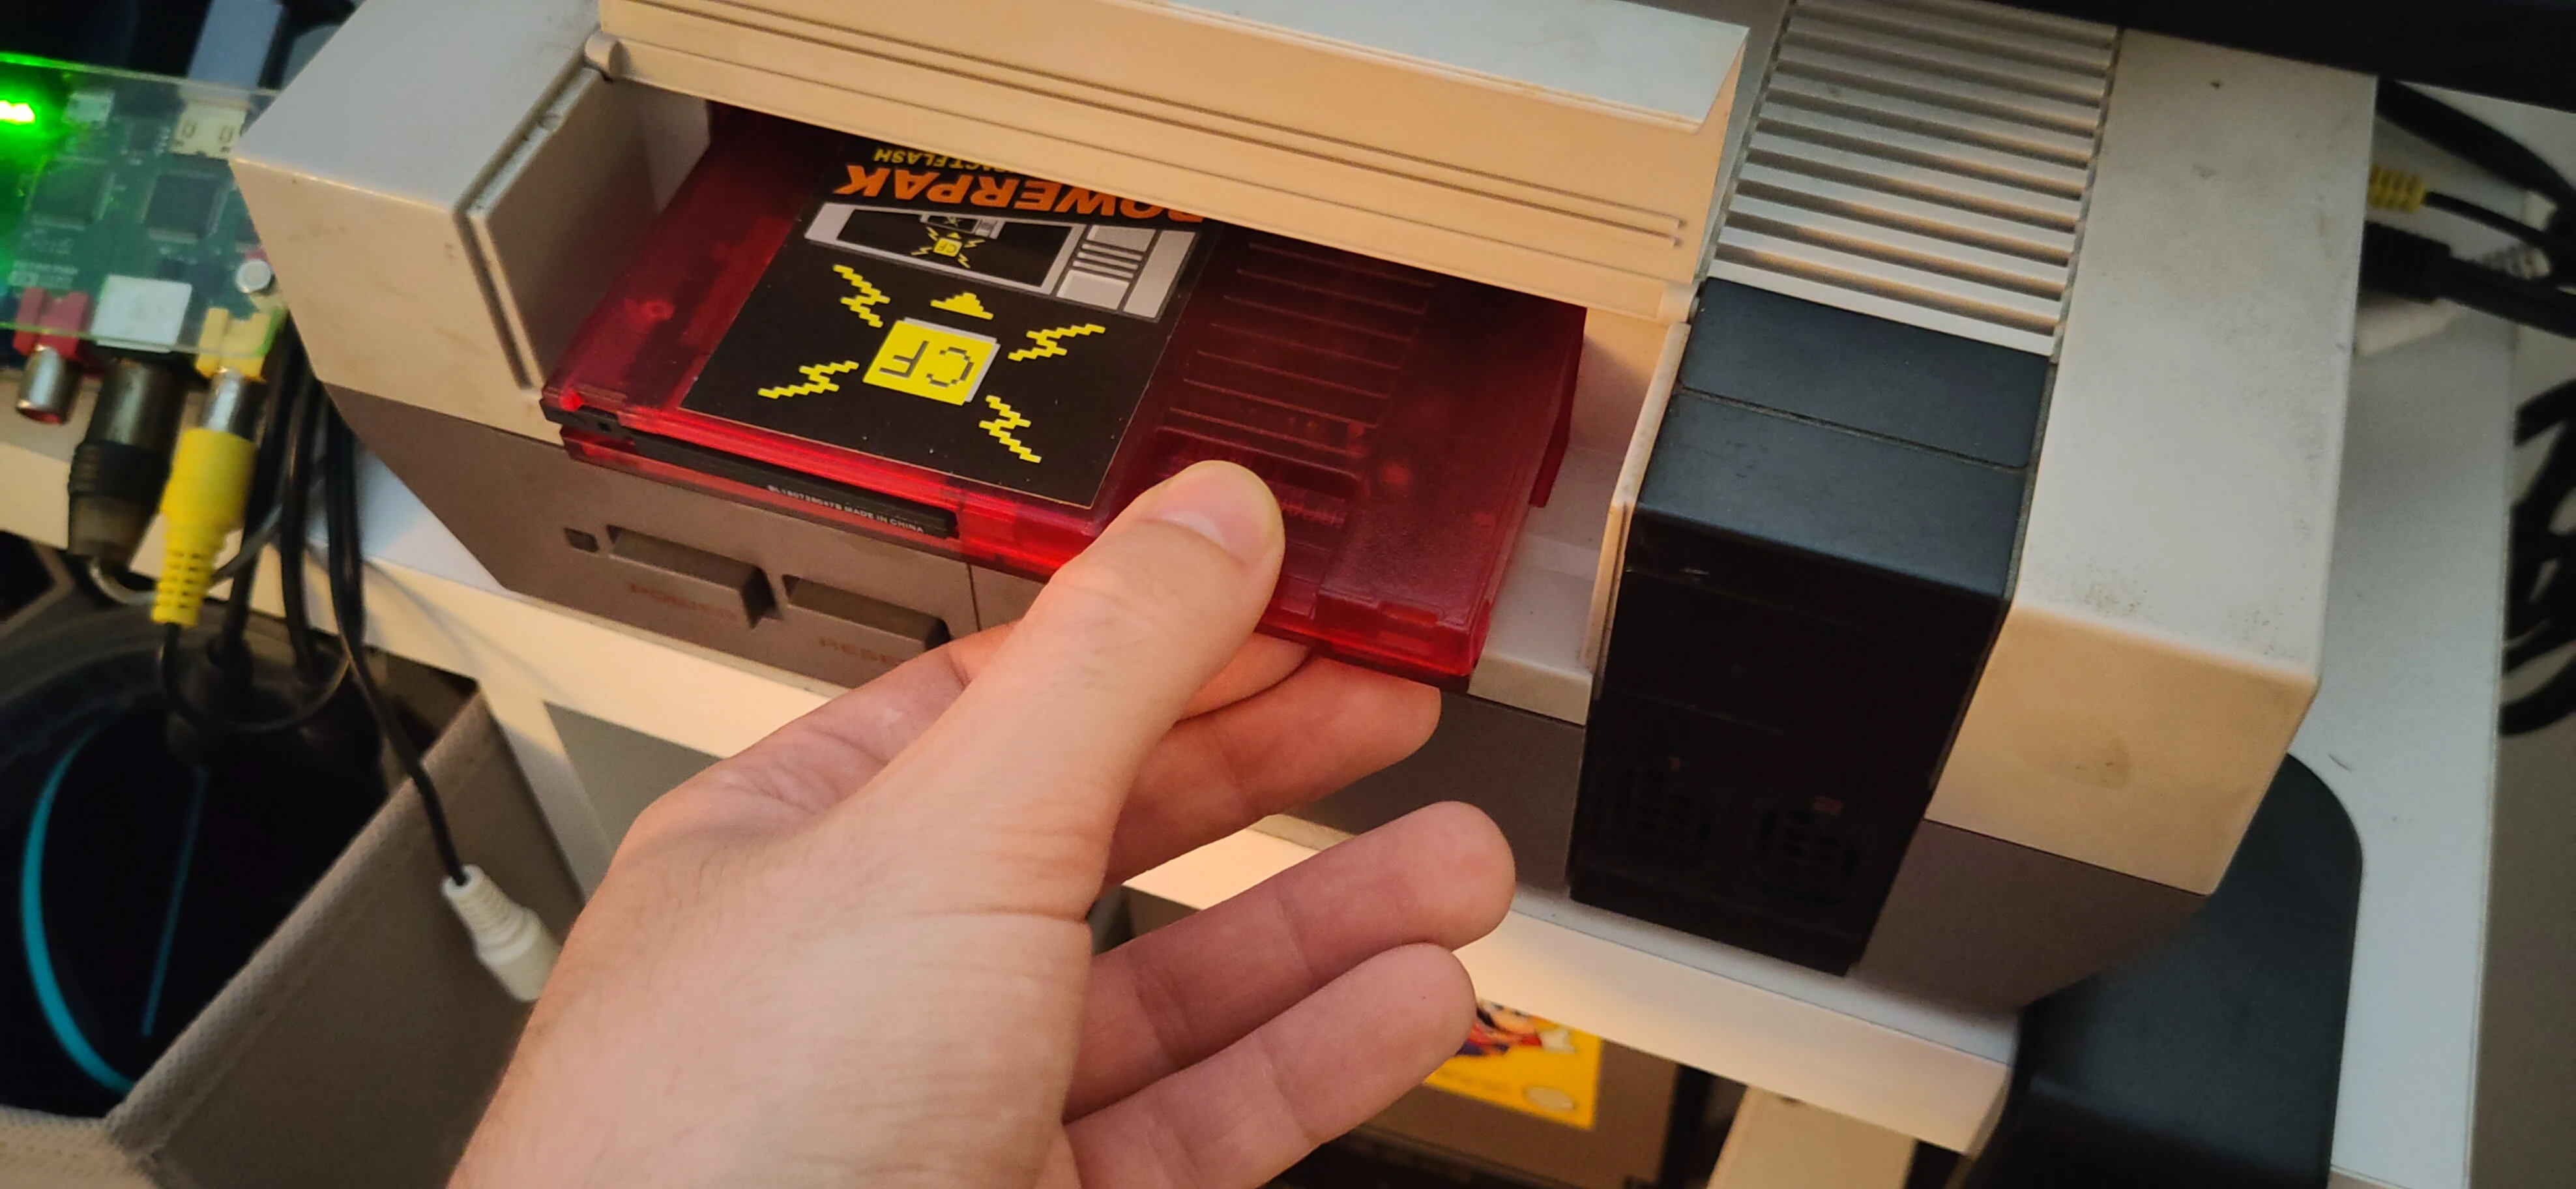
The magnet system has a strong grip on the cartridge.
Pull cartridge

It is recommended to use two hands to remove the cartridge, one on each side of the cartridge.
Corner cartridge removed

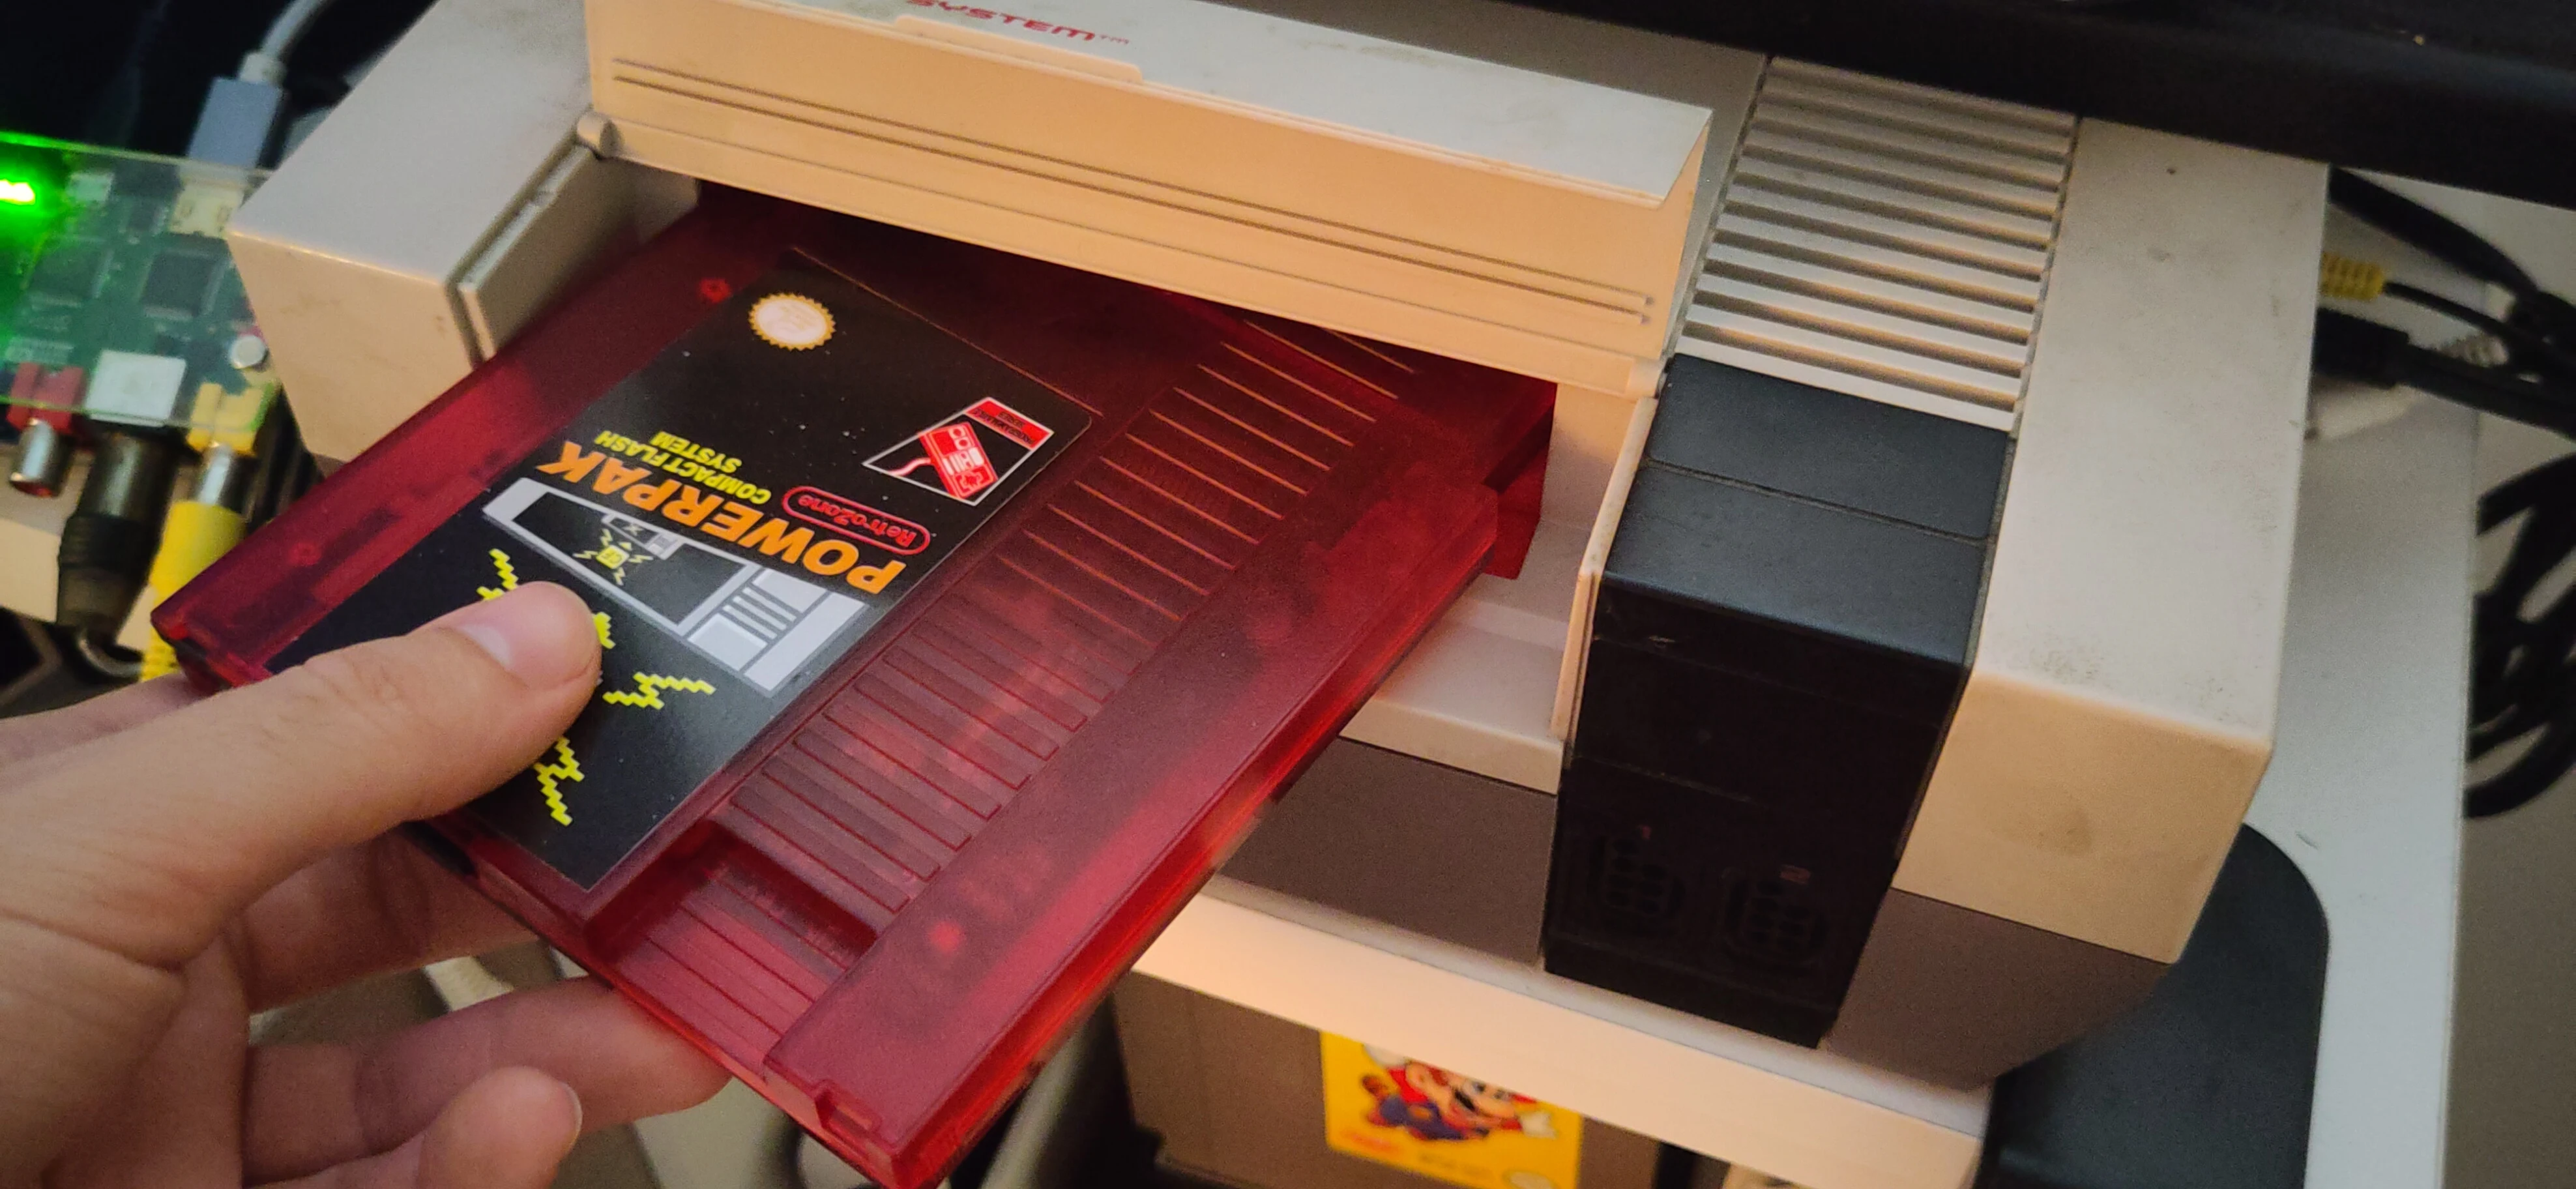
Work on nudging the cartridge out of the console corner by corner. The magnets will eventually give up the cartridge, and it can be pulled out of the Ninten-Drawer.

References

Rockergaming Instructions

A Useable Guide to the Alt Customs T60 Keyboard

The official user-guide on altcustom's webiste is atrocious; it's a borked output of some generated translation. This guide will attempt to expand on altcustom's lack of documentation, but a proper webpage demonstrating the keyboard's functionality is overdue. Maybe for a future project...

AltCustoms T60

HELP! RESET MY KEYBOARD!

Simple. While plugged in, hold Fn (bottom-right key) and press Esc. The keyboard lights will flash, and all settings will return to factory default.

Missing Keys

Of course, because the keyboard is significantly smaller, not every key will fit. Most keys are visible, while some keys known in certain regions of a traditional keyboard are toggled active in place of visible keys, based on specific combinations of the Fn key (at the bottom-right) and a number from the top row or auxiliary key on the bottom.

~ | `

To my current knowledge, the backtick/tilde key (usually above Tab but below Esc) is missing and not mapped to any alternate layout. This makes this keyboard not very viable for programming.

Fortunately, we have Alt Codes:

Key Alt-Code Linux
~ Alt + 126 Ctrl+Shft+U + 7E
` Alt + 96 Ctrl+Shft+U + 60

Functions

  • Toggle
    • Swap number row for FN row
    • Swap right-side keys for missing auxilary functions
    • Swap bottom-right keys for Arrow Keys
    • Swap WASD for Arrow Keys
  • Lights
    • Different Lighting Modes
    • Change colors
    • Directional Flow of illumination
    • Speed of illumination
    • Only WASD illuminated
    • No Keys illuminated

How to Switch Functions

FN + ? Description
FN + 1 Toggle F1 - F12 Keys
FN + 2 Toggle Top-Right Keys
FN + 3 Toggle Bottom-Right Arrow Keys
FN + 4 Toggle WASD Arrow Keys
FN + 5 Light Mode: QWERT
FN + 6 Light Mode: QWER
FN + 7 <--> 10 Turn Light Off
FN + Menu Switch Light Mode
FN + Windows Toggle Lock Windows Key
FN + Ctrl Color Switch
FN + Alt Direction Switch
FN + O Decrease Speed
FN + P Increase Speed
FN + Esc Reset Keyboard

Fn + 1

Number Key
1 F1
2 F2
3 F3
4 F4
5 F5
6 F6
7 F7
8 F8
9 F9
10 F10
11 F11
12 F12

Fn + 2

Off On
[ Print Screen
] ???
K Insert
L Home
; Page Up
' Page Down
, Delete
. End

Fn + 3

Off On
/ ? Up Arrow
Right Alt Left Arrow
Menu Down Arrow
Right Ctrl Right Arrow

Fn + 4

Off On
W Up Arrow
A Left Arrow
S Down Arrow
D Right Arrow

Light Modes

Fn + 5

The following become illuminated:

- - - - -
2 - 4 - 6
Q W E R T
A S D F G
Shift - - C V
Ctrl - - - -

Fn + 6

The following become illuminated:

- - - -
2 - 4 6
Q W E R
A S D F

Colors

  • I owe a list

About Windows Lock

Lock the Windows key to prevent accidentally pressing it, useful for gameplay. The lock icon under the Windows logo will illuminate when the key is locked.

Introduction to Nintendo Switch Virtual Game Card

Prior to the release of the Nintendo Switch 2, and in the timely release of system firmware version 20.0, players have an alternative to the cloud-based verification method owners with multiple consoles to play their games purchased from the Nintendo e-shop, on top of which is a better way for family members to share their games with each other.

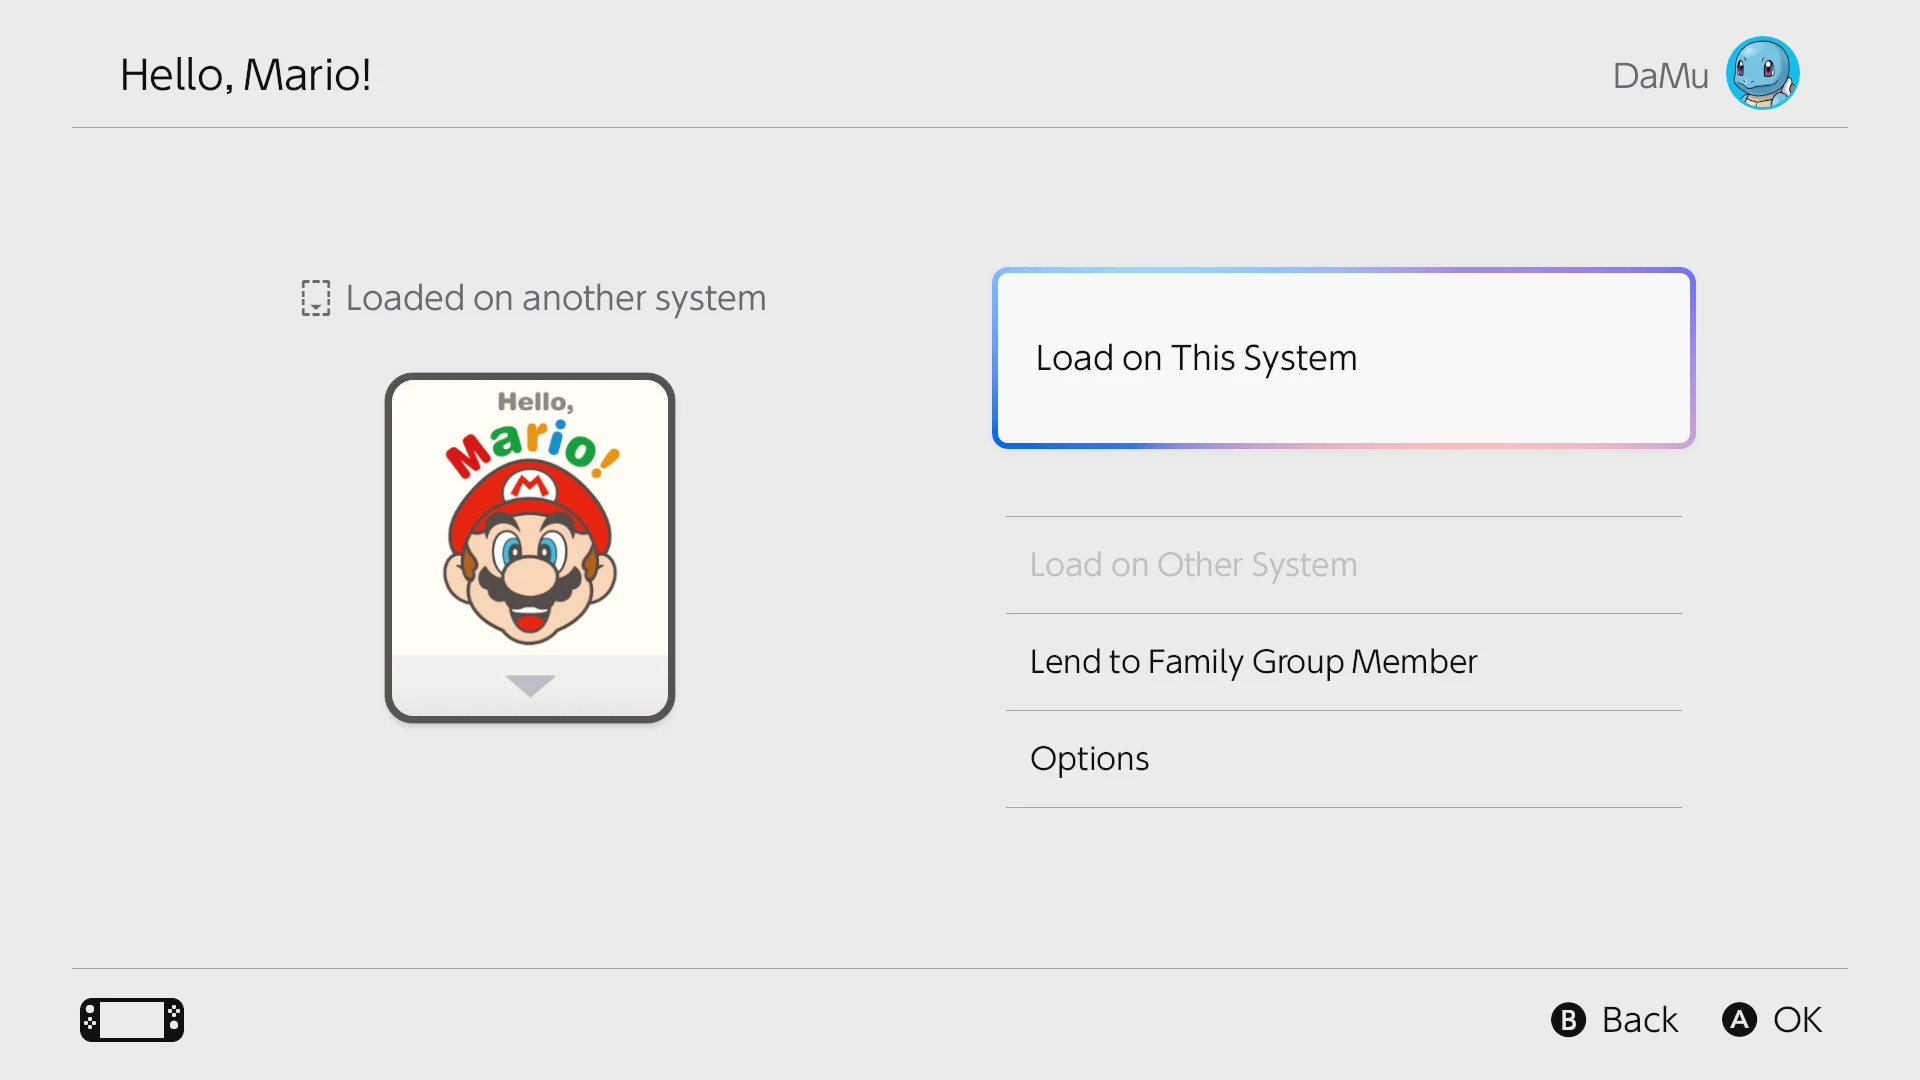
Home menu Virtual Game Cards

Nintendo has an official support article all about the Virtual Game Cards here, but this blog post will describe all you need to know, and other details not covered there.

Virtual Game Card

What is Virtual Game Card

A virtual game card is an abstract representation of a player's digital game and/or Downloadable Content (DLC). It's not necessarily the data, but rather the permission granted by the owner to the console to use the game/DLC. Any user on this console is permitted to play, even offline.

You need both the game data and the Virtual Game Card to play.

You can still download game data to all consoles a player owns or loans to other family members, but the receiving console can only play on one select console by loading its virtual game card, and vice versa; one cannot play the game that has loaded its virtual game card if its data is not installed.

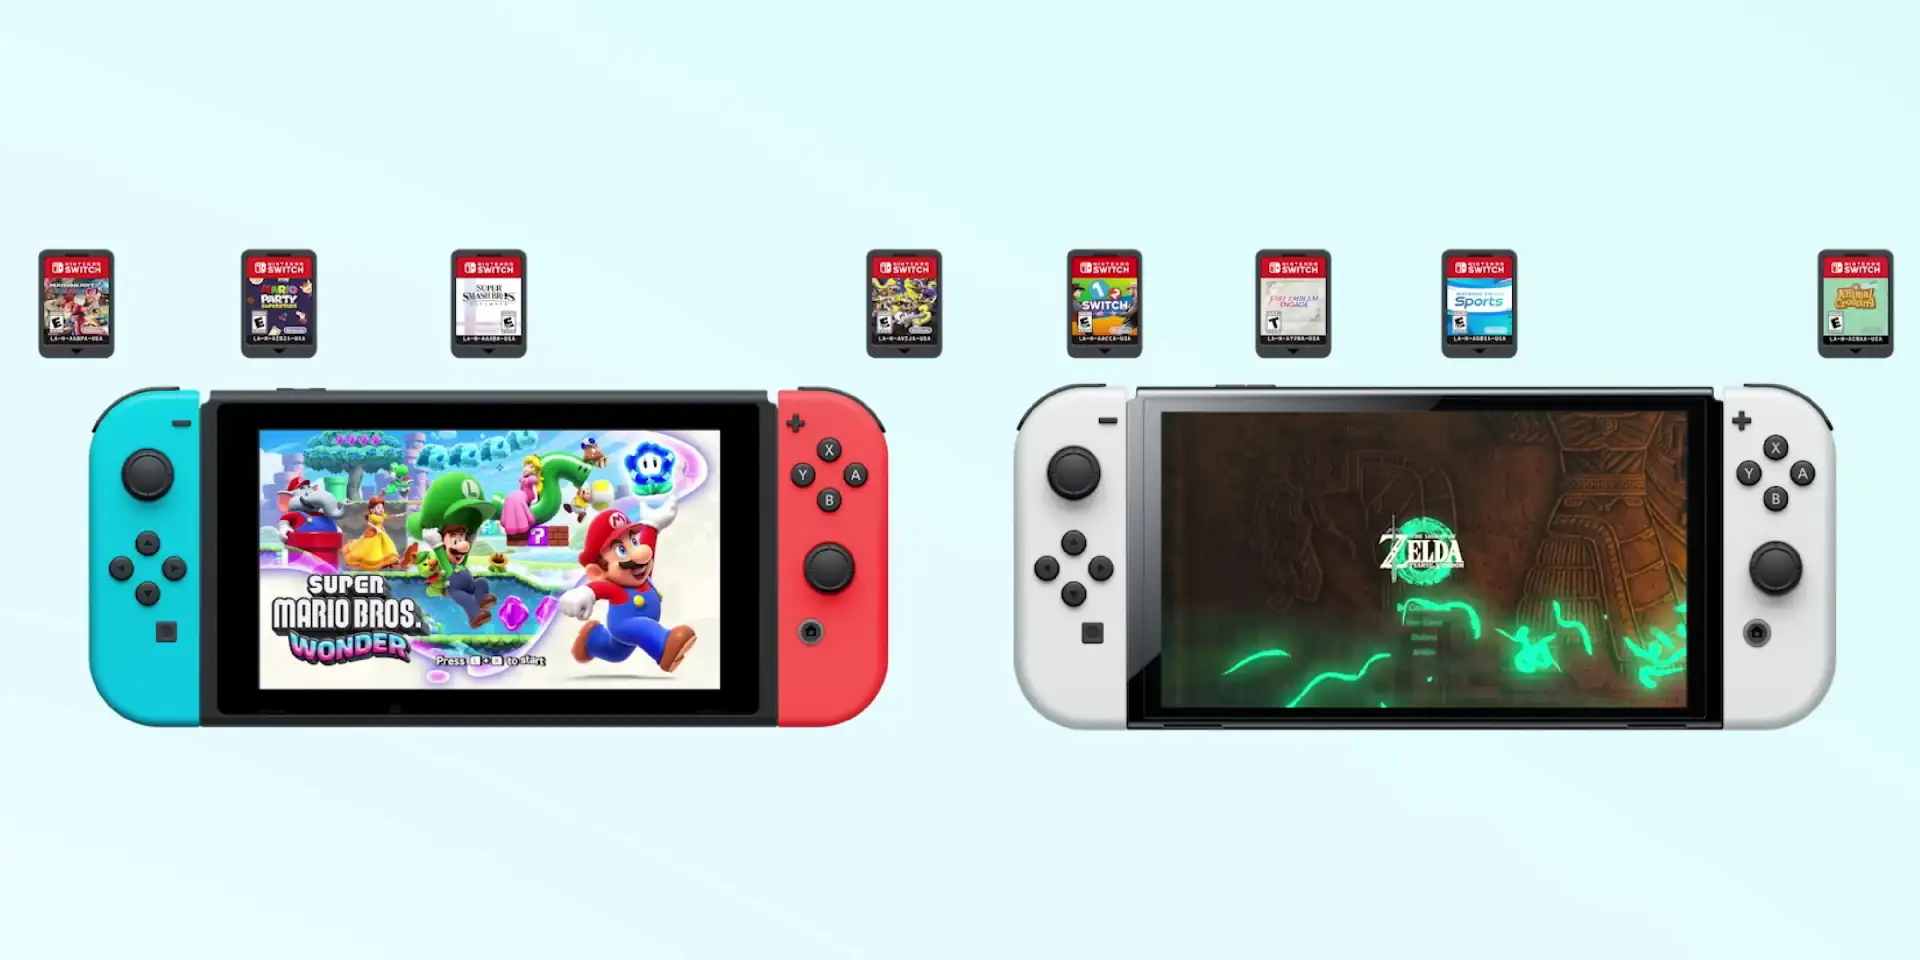
This applies to the entire Nintendo Switch family of systems, including:

  • original Nintendo Switch
  • Nintendo Switch Lite
  • Nintendo Switch OLED
  • Nintendo Switch 2

The previous generation of Nintendo Switch family of systems need to have their operating system firmware upgraded to version 20.0 or higher.

Prior to Firmware Version 20.0

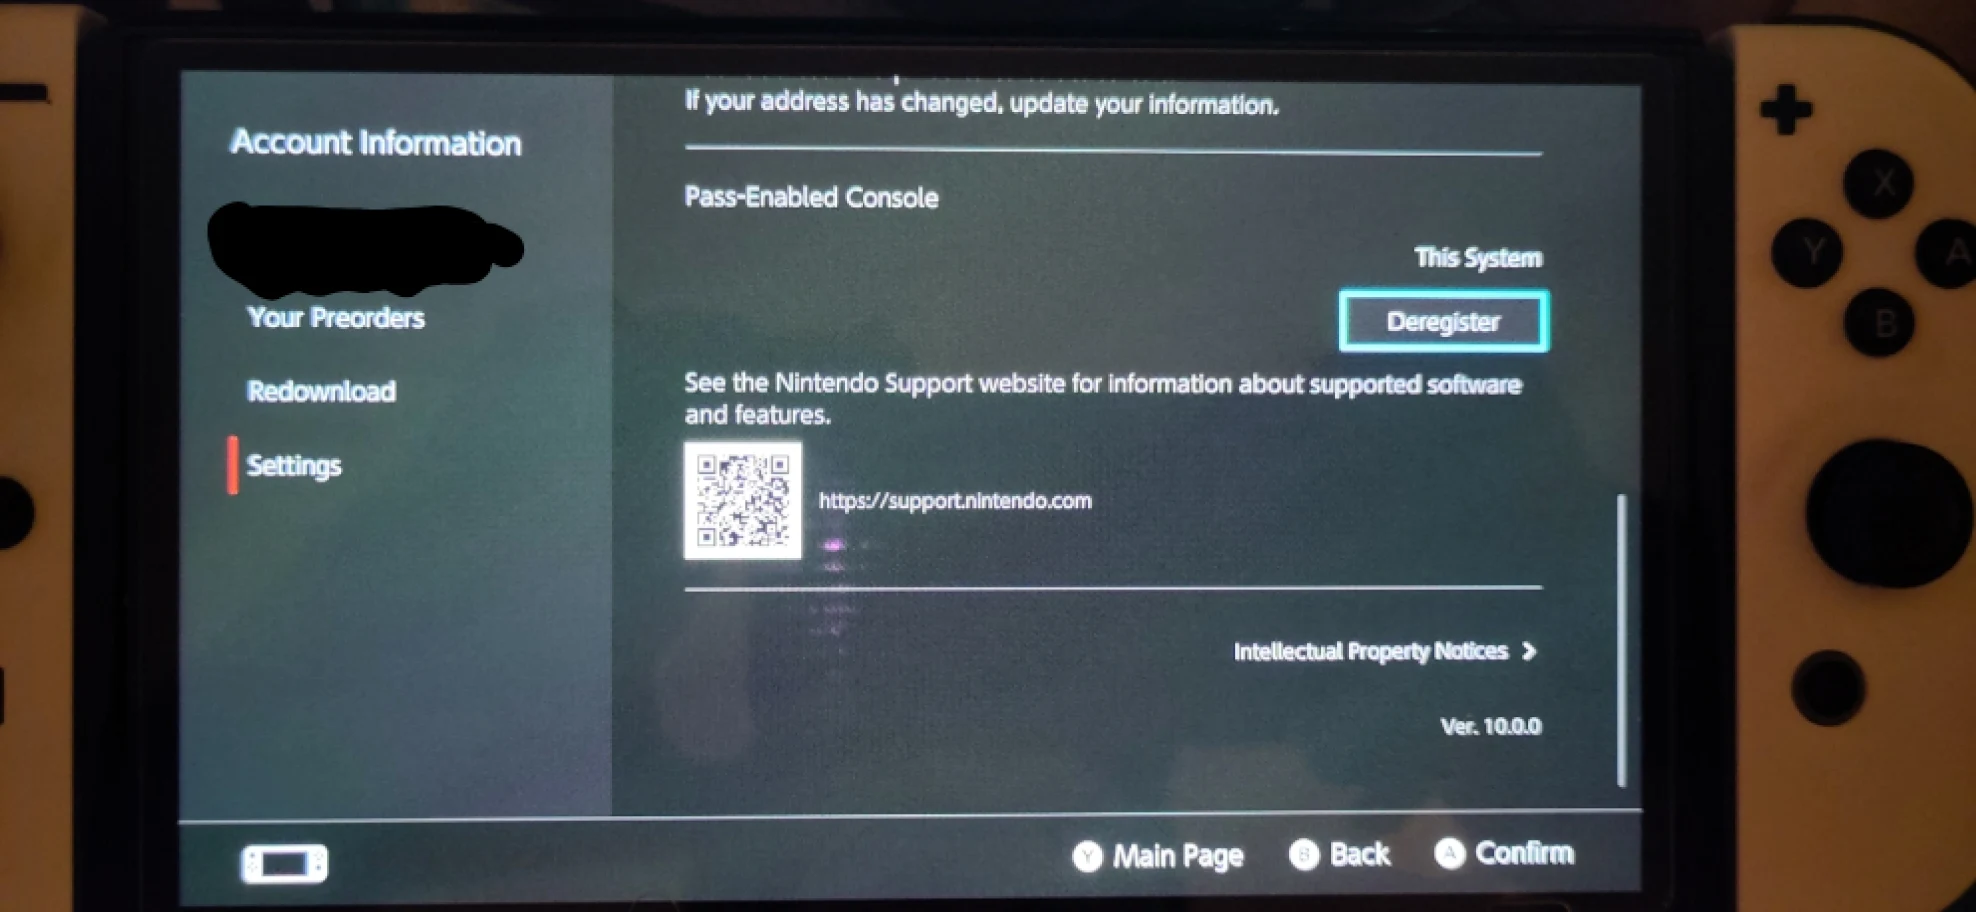
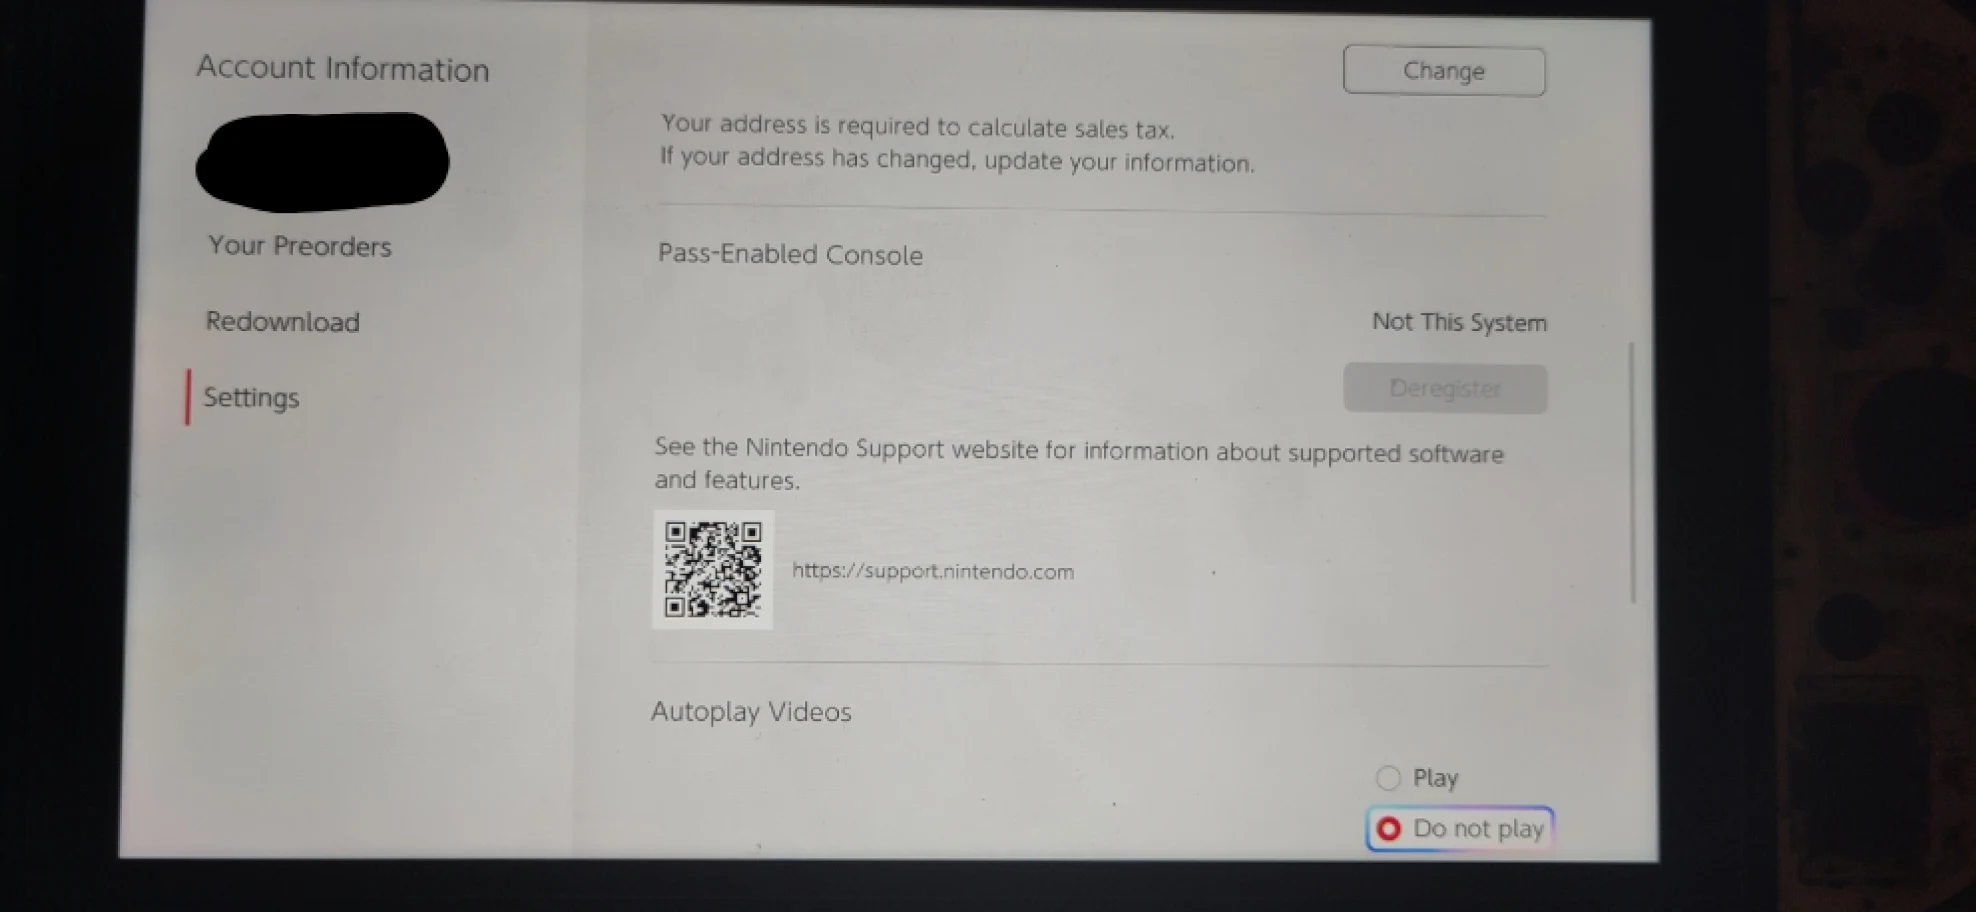
A player who owns multiple consoles with their same Nintendo Account user had to delegate one console as the "Primary" in the Nintendo e-shop. This "Primary" console was able to, after downloading and installing, play digital games and DLC offline without verification. All other consoles owned by the player required an internet connection to start and play content.

Pass enabled Primary console

Only the user who has purchased the content was permitted to play the downloaded software. Non-primary or not-pass-enabled consoles had to connect to the Internet to check if the current user can play this content, based on their previous purchase or online license.

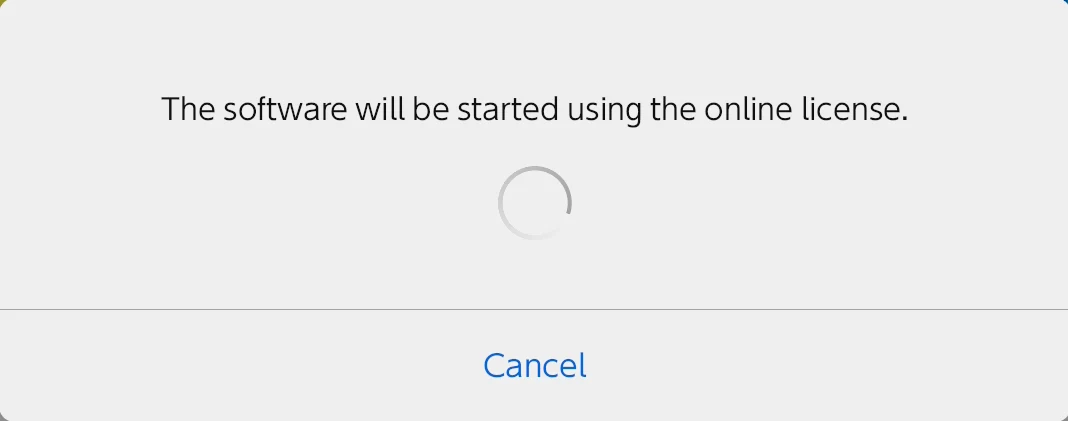
Check for license

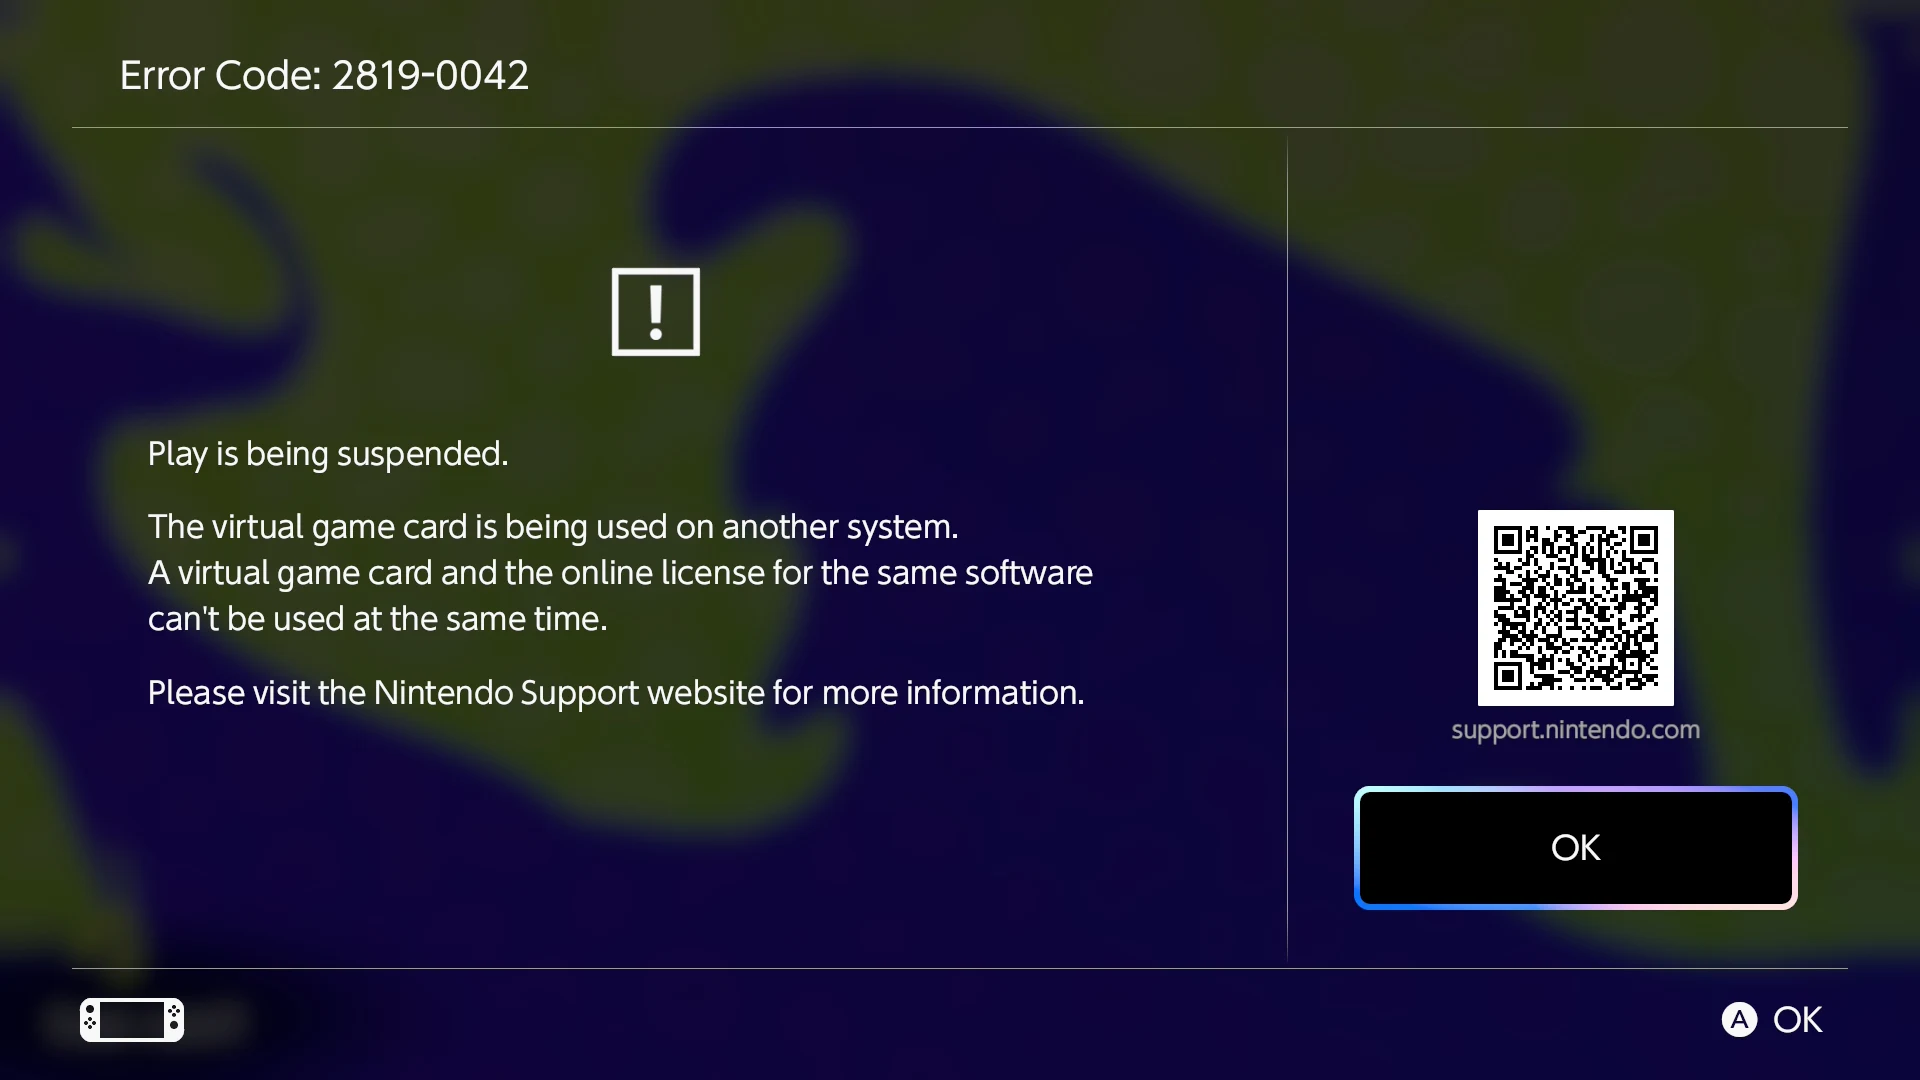
Not only that, but the "Primary" console has priority over all others. If the "Primary" console, with the same Nintendo Switch online account, started up to play a game, current play sessions on all other consoles are suspended until the "Primary" either disconnects from the Internet or closes their running game.

Suspend play

One cannot use a console with the Virtual Game Card and an online license at the same time, but one was never able to play the same game from the same user on two or more different consoles.

Advantages to Virtual Game Cards

There is no longer a sole "Primary" console delegation that has priority permission over the entire library; up to two consoles per Nintendo Switch account user can be linked for Virtual Game Cards.

All users on the console that has the loaded Virtual Game Card are permitted to play, even offline. Prior, only the user with either an Online License to their own copy of the game or the "Primary" user of the console was permitted.

Instead of one console having priority over all games, Virtual Game Card system permits these two consoles to permit offline access for different games between each other.

Exceptions

The following are downloadable content that are known to not use Virtual Game Cards:

  • Nintendo Switch Online Classic Games Collections
    • NES
    • SNES
    • N64
    • Game Boy / Advance
    • Sega Mega Drive / Genesis
    • Gamecube
    • Virtual Boy
  • Tetris 99
  • F-Zero 99

Nintendo Switch Online Apps

The common trait is that subscribers' benefits to paid Nintendo Switch Online membership are not considered Virtual Game Cards.

Setup Consoles for Virtual Game Cards

Prerequisites

Only for the setup, both consoles must be in close proximity, connected to the Internet, and have the interested Nintendo Switch online account registered.

After setup, the consoles no longer need to be in close proximity to (un)load Virtual Game Cards.

Prerequisites to Loading Virtual Game Cards

Both of the user's consoles need to be powered on (or in sleep mode) and connected to the Internet.

Download Game Data

Keep in mind that Virtual Game Cards and the downloadable software, data and DLC are independent; loading a Virtual Game Card will not launch a game if the console does not have the data.

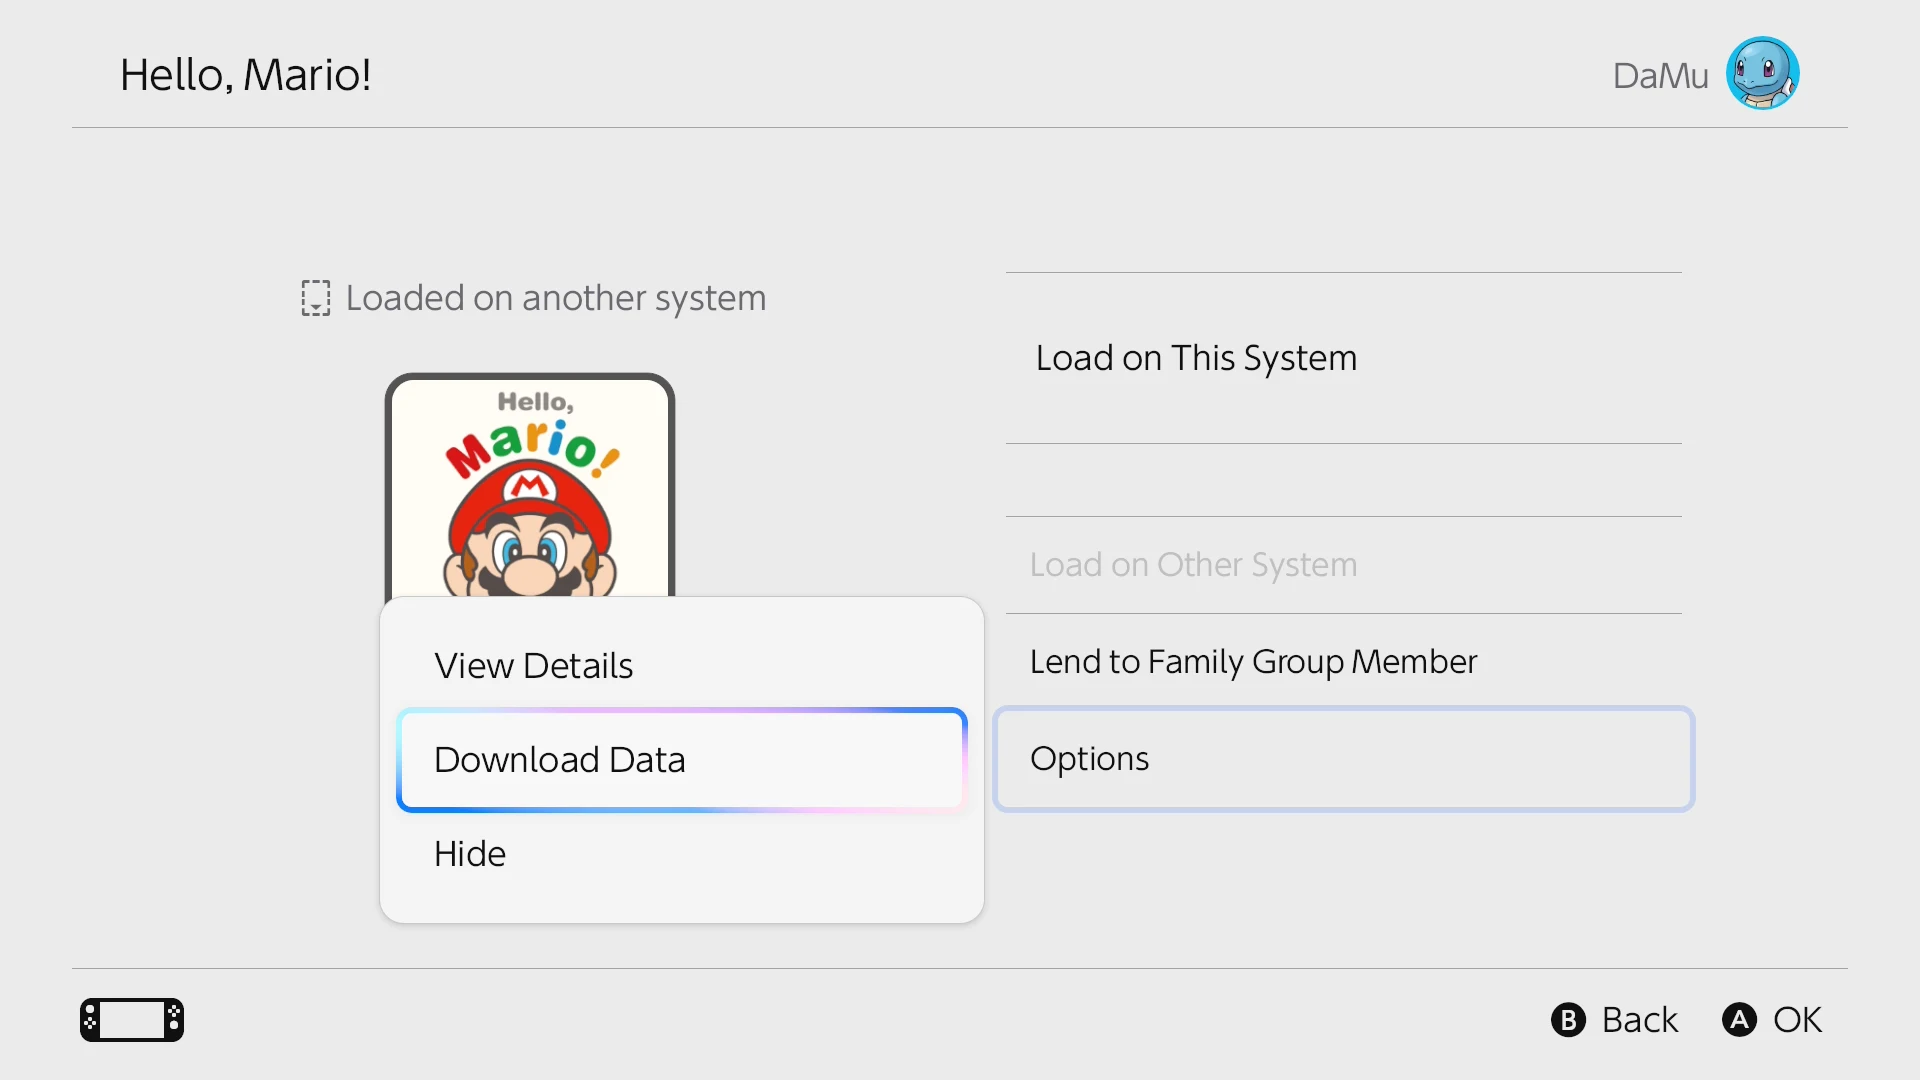
Download data from Virtual Card menu

Fortunately, with this system, it's easier to order a console connected to the Internet to pre-download necessary data: use the Virtual Game Card menu from a linked console's Home Menu, or the Account Home page on Nintendo's Website.

Access and (Un)Load Virtual Game Cards

Virtual Game Cards are best easily accessed from the Virtual Game Card menu from one of the linked console's Home Menu.

Home menu Virtual Game Cards

Load game on this system

Alternatively, use the Account Home page on Nintendo's Website to manage virtual game cards between the two pass enabled consoles.

Using the same behavior as prior to Firmware Version 20.0

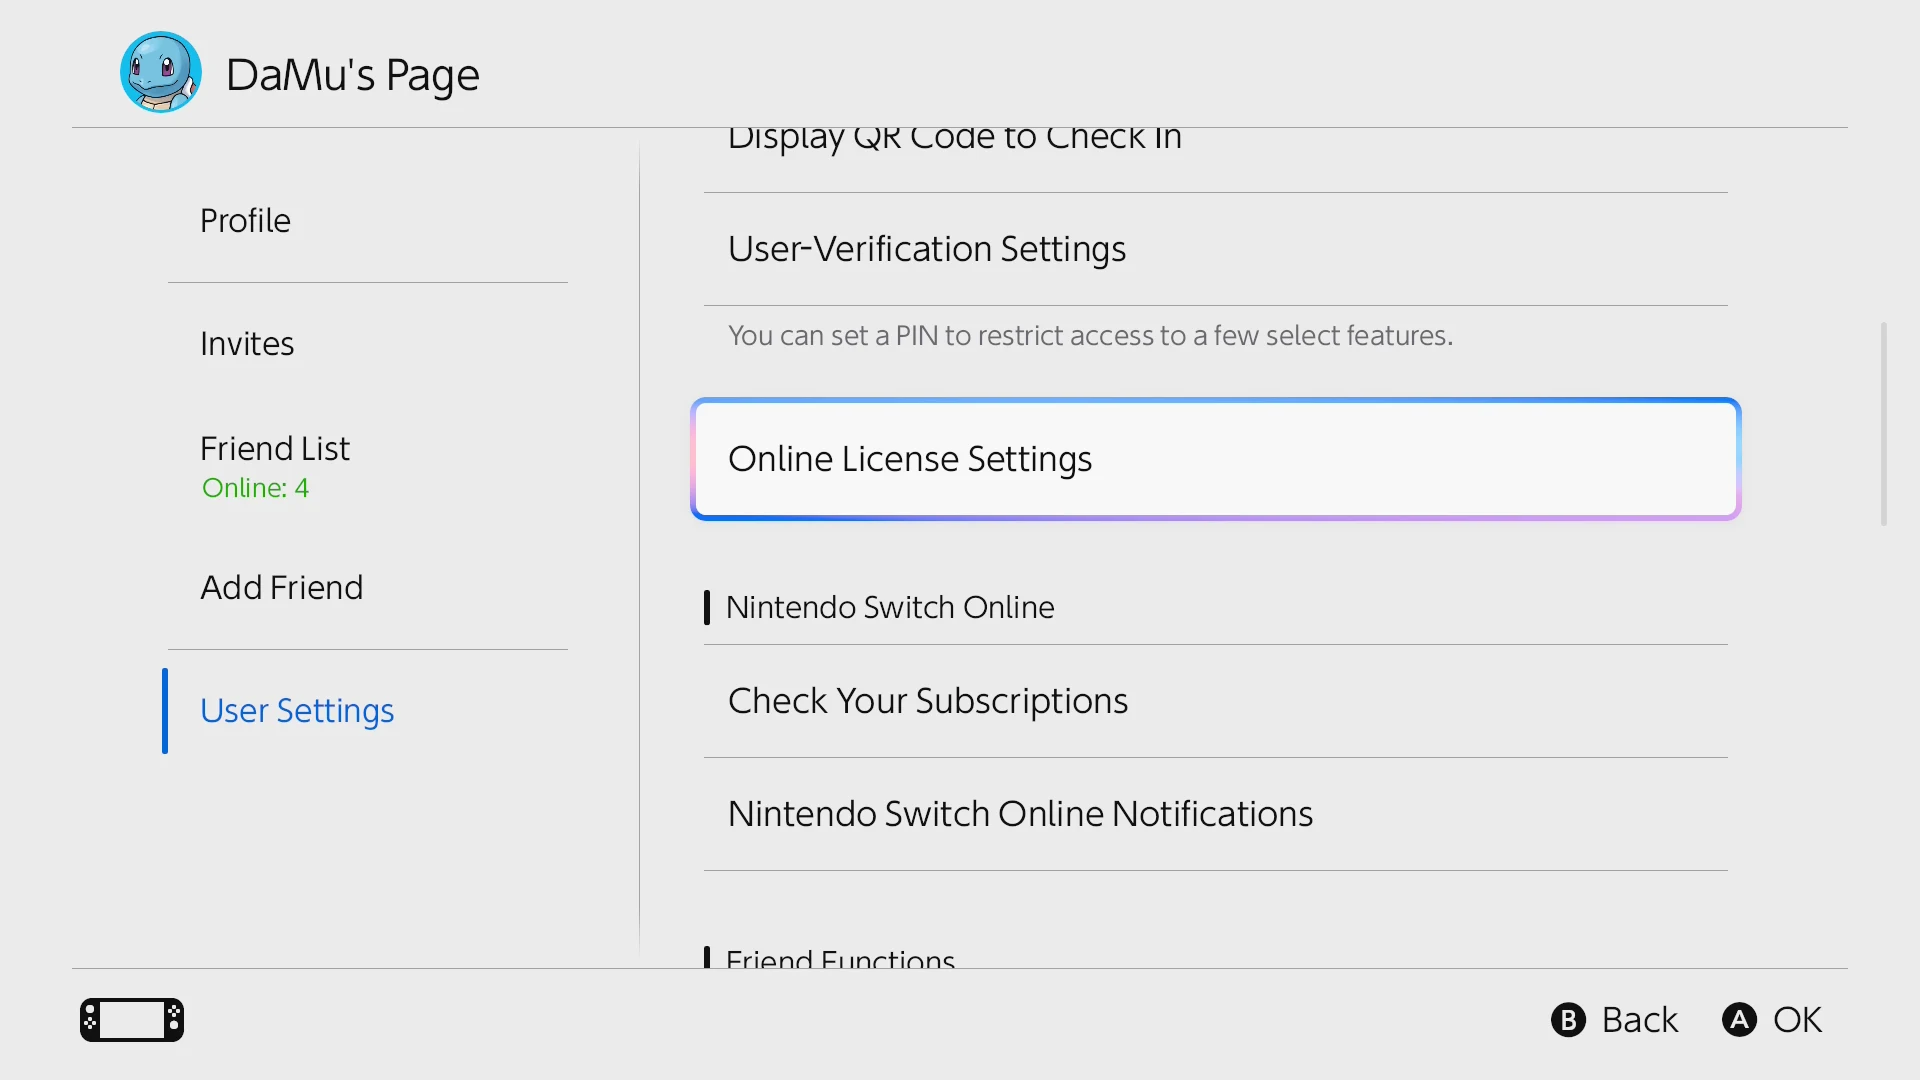
The previous feature is retained in "Online License Settings". It may be disabled by default after updating the firmware. To re-enable:

Online License Settings

  1. From a Nintendo Switch Home menu, go to the interested User's Page (on the top-left).
  2. Left side, User Settings
  3. Under Nintendo Account, go to Online License Settings
  4. Turn "Use Online License" On.
  5. Afterwards, the next time this User connects to the Nintendo eShop via the applet from the Home Menu, that console will be designated as the Primary console.
    • This console can be revoked its Primary status from the Nintendo eShop applet, found near the bottom of its Settings page.

Pass enabled Primary console

This only needs to be enabled from one of the consoles that a user owns. The behavior is retained across all consoles on which the User exists.

Pass Enabled Secondary Console

Although it's only recommended to use this setting for more than two consoles (especially when one requires an Internet connection for most games anyway), enabling this feature and loading all Virtual Game Cards on a dedicated "Primary" console will retain the same behavior as before the new Virtual Game Card feature was released.

What about DLC?

Specifically, what would happen if only one family member.

I believe the answer is that the Virtual Game Card from the user who purchased the DLC should permit other consoles and users loaned their game should permit them to use the downloadable content, simply by loading that card. This needs confirmation, sometime in the future...